Differential Axle Housing: Service and Repair
CORVETTE
1984---88
1. Remove air cleaner and distributor shields, then disconnect cap from distributor.
2. Raise and support vehicle, and remove spare tire, tire cover and under body braces, as required.
3. Remove exhaust system assembly as follows:
a. Disconnect AIR pipe at converter and AIR pipe clamps at manifold.
b. Disconnect electrical connector from oxygen sensor.
c. Support exhaust system, remove bolts securing mufflers to hangers, and remove converter bracket.
d. Disconnect exhaust pipes at manifolds and remove exhaust system.
Fig. 1 Rear axle assembly mounting. 1984---88 Corvette:
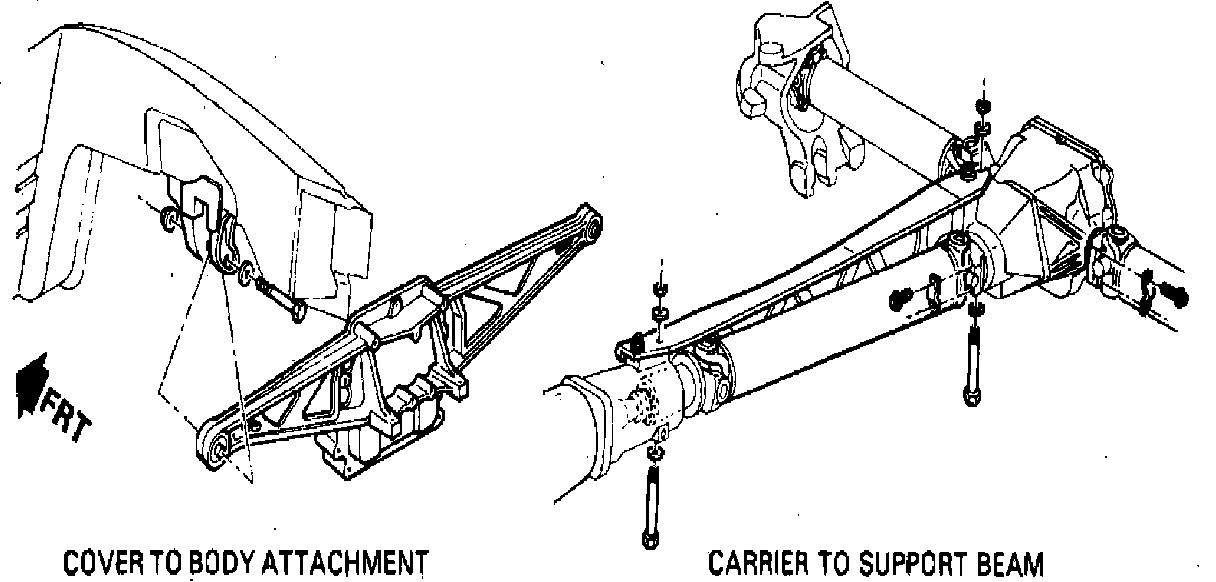
4. Disconnect leaf spring from spindle support knuckles, then remove bolts securing spring to differential carrier and spring as outlined in ``Rear Suspension Section.''
5. Scribe mark between cam bolts and brackets, then remove cam bolts and mounting bracket from carrier.
6. Disconnect tie rods from left and right spindle support knuckles.
7. Remove straps securing driveshaft universal joints to differential side yokes, push wheel and tire assemblies outward, and disconnect drive shafts from side yokes. Tape bearing cups to universal joint yokes to prevent loss of needle bearings.
8. Remove straps securing propeller shaft universal joint to pinion flange, push propeller shaft forward into transmission and tie shaft to support beam.
9. Support transmission and remove bolts securing differential carrier beam to frame brackets, Fig. 1.
10. Remove mounting bolts at front of differential carrier and carrier assembly.
11. Reverse procedure to install, then check rear suspension alignment.