Lower Intake Manifold Replacement
REMOVAL PROCEDUREIMPORTANT: Remove the upper intake manifold in order to uncover hidden bolts on the front and left rear corners of the lower intake manifold.
1. Remove the upper intake manifold.
2. Remove the engine coolant temperature sensor.
3. Remove the lower intake manifold bolts.
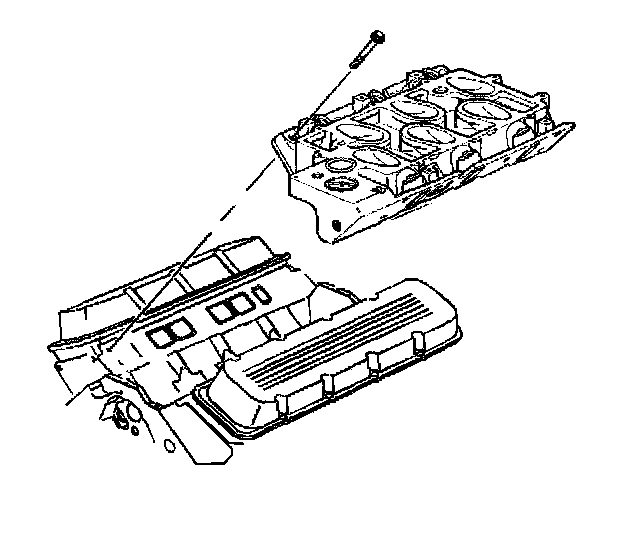
4. Remove the lower intake manifold.
5. Remove the lower intake manifold gaskets and seals.
INSTALLATION PROCEDURE
1. Apply GM P/N 12345336 or equivalent to both the front and rear intake manifold seals.
2. Install the intake manifold gaskets and seals.
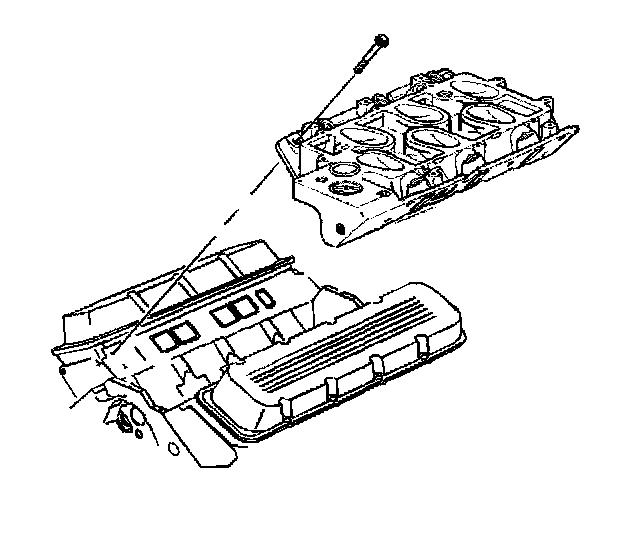
3. Install the lower intake manifold.
4. Install the lower intake manifold bolts.
IMPORTANT: The two lower intake manifold bolts are located under the upper intake manifold. They must be installed before the upper intake manifold.
5. Apply GM P/N 12345493 or equivalent thread lock compound to the bolt threads before installing.
NOTICE: Refer to Fastener Notice in Service Precautions.

6. Torque the lower intake bolts to specifications.
^ Tighten the lower manifold bolts in sequence as shown to 15 Nm (11 ft. lbs.).
7. Install the engine coolant temperature sensor.
8. Install the upper intake manifold.