Brake Pad: Service and Repair
REMOVAL PROCEDURE1. Remove two-thirds of the brake fluid from the master cylinder reservoirs.
2. Raise the vehicle and support.
3. Remove the tire and wheel assembly. Refer to Tire and Wheel Removal and Installation in Tires and Wheels.
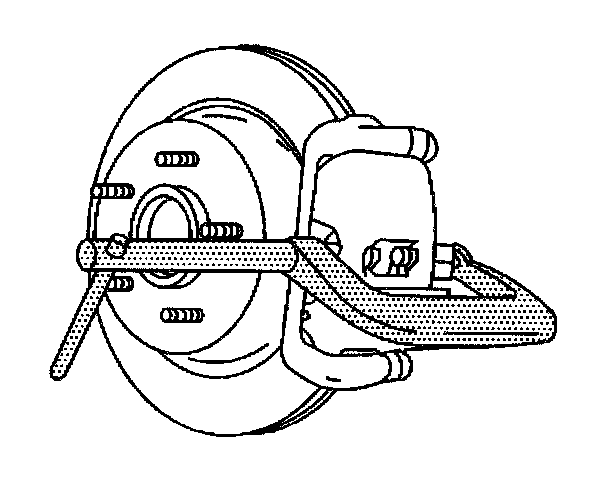
4. Depress the piston into the brake caliper housing bore to provide clearance between the brake pads and the brake rotor.
5. Make sure one end of the C-clamp or equivalent, rests on the inlet fitting bolt and the other end against the outboard brake pad.
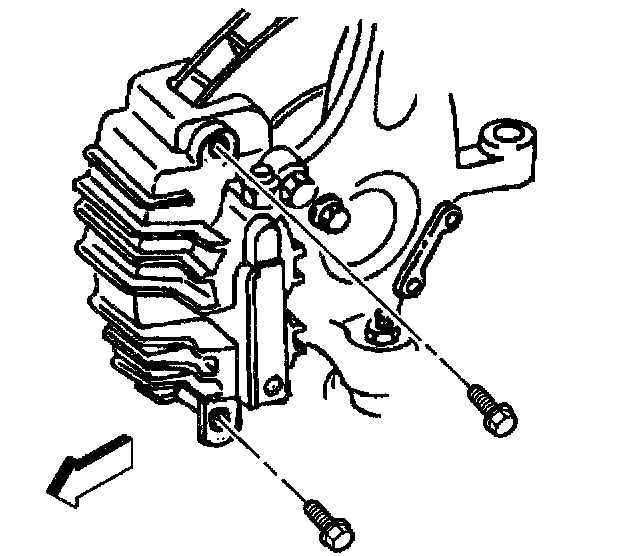
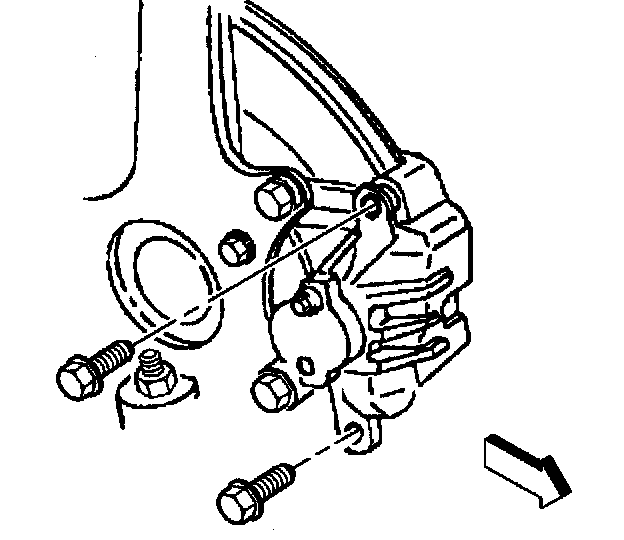
6. Remove the brake caliper guide pin bolts.
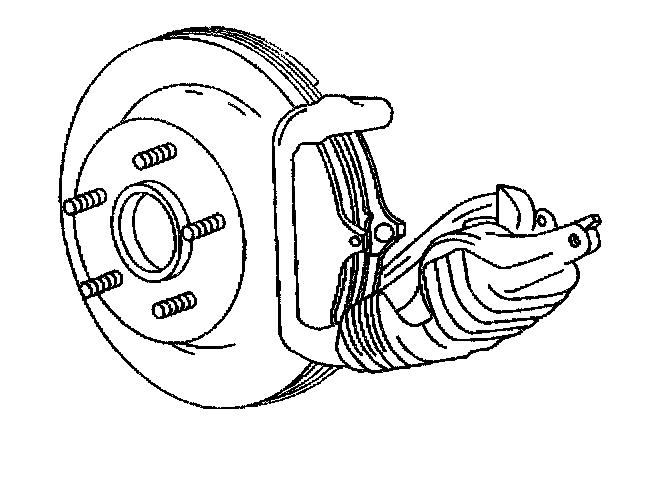
7. Remove the brake caliper from the brake caliper mounting bracket and the brake rotor.
Support the caliper so that there is no weight on the brake hose.
8. Remove the brake pads.
INSTALLATION PROCEDURE
1. Install new brake pads on the brake caliper mounting bracket.
1.1. The outboard brake pad with insulator installed toward the brake caliper housing.
1.2. The inboard brake pad with the wear sensor installed nearest the brake caliper piston.
1.3. The wear sensor must be in the trailing position during forward wheel rotation.
1.4. Replace brake pads in axle sets only.
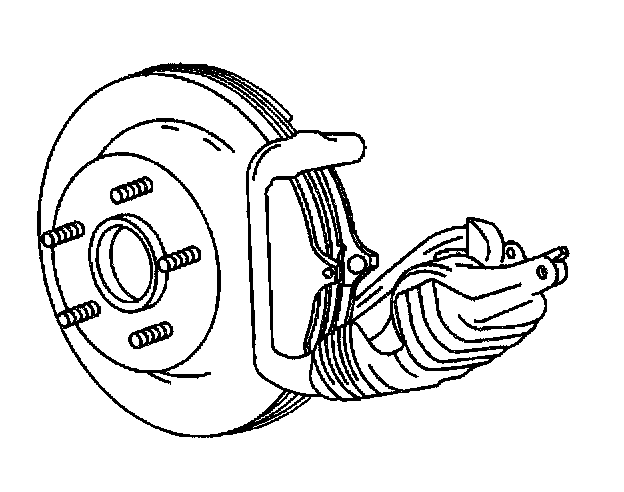
2. Install the brake caliper to the brake caliper mounting bracket and the brake rotor
NOTICE: Refer to Fastener Notice in Service Precautions.
3. Install the brake caliper guide pin bolts.
- Tighten the brake caliper guide pin bolts to 31 Nm (23 ft. lbs.).
4. Install the tire and wheel assembly. Refer to Tire and Wheel Removal and Installation in Tires and Wheels.
- Tighten the wheel nuts in sequence to 140 Nm (100 ft. lbs.).
5. Lower the vehicle.
6. Refill the master cylinder to the proper level with clean fresh brake fluid
7. With the engine running, pump the brake pedal slowly and firmly to seat the brake pads.
8. Inspect the hydraulic brake system for brake fluid leaks.
9. Burnish brakes as necessary. Refer to Burnishing Pads and Rotors.