Remove
Removal Procedure1. Recover the refrigerant.
2. Disconnect the negative battery cable.
3. Remove the battery.
4. Remove the battery heat shield.
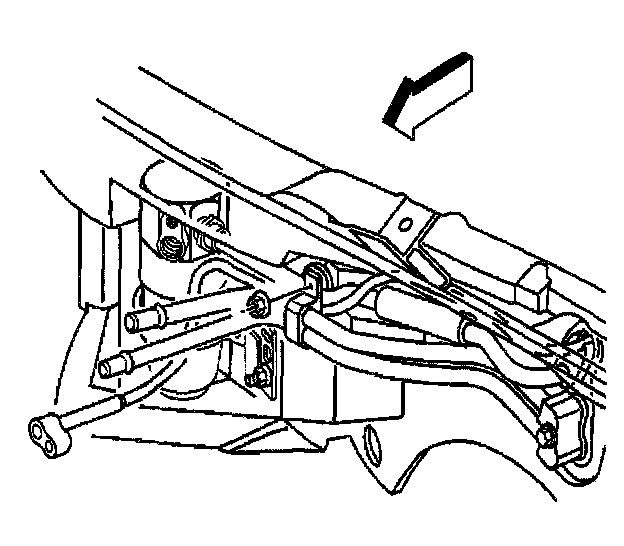
5. Remove the nut retaining the heater pipe bracket to the dash panel.
6. Reposition the heater pipe bracket to access the refrigerant lines.
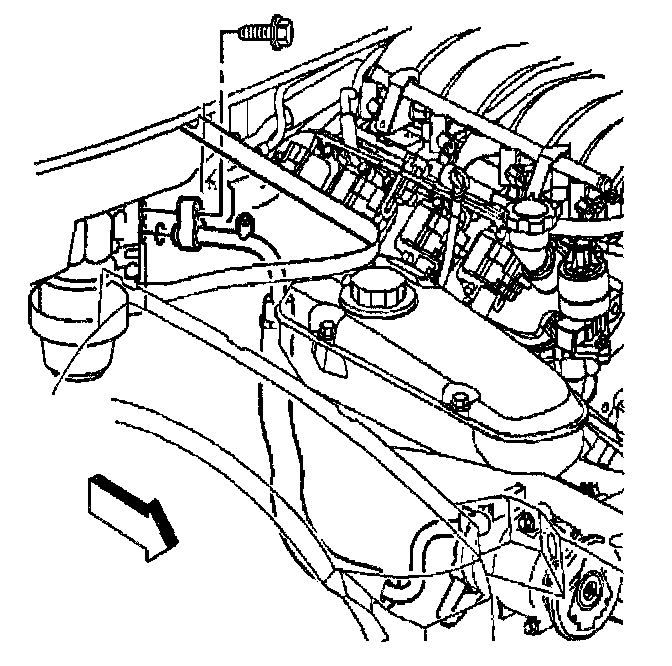
7. Remove the compressor hose to accumulator retaining bolt.
Important: Cap or tape the open compressor hose and the accumulator immediately.
8. Disconnect the compressor hose from the accumulator, discard the O-ring seal and cap or tape the compressor hose and the accumulator to prevent contamination.
9. Reposition the compressor hose end.
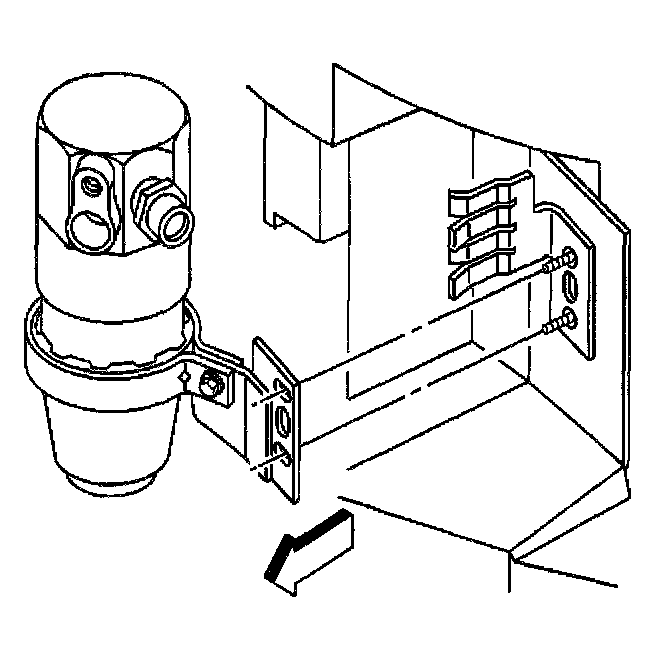
10. Remove the accumulator bracket mounting nuts.
11. Reposition the accumulator slightly to access the accumulator hose to accumulator fitting.
Important: Prior to removal, take note of the accumulator orientation to the accumulator hose and the evaporator tube - rear.
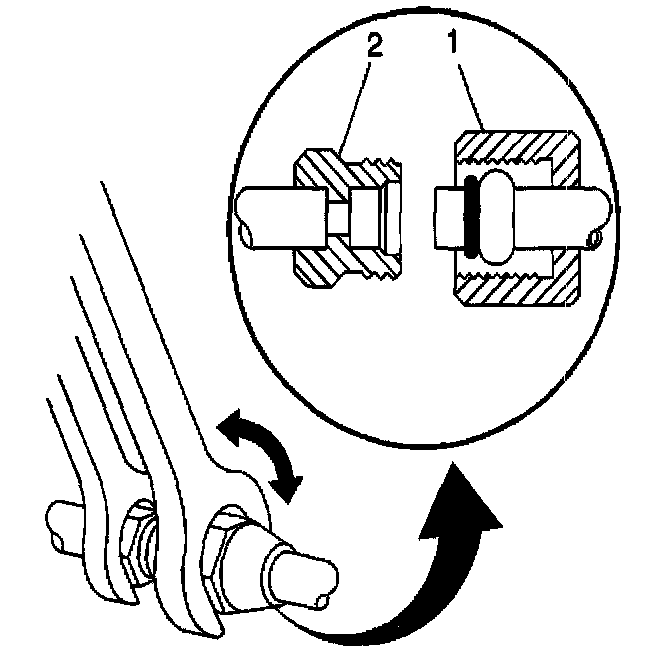
12. Using a back-up wrench on the accumulator fitting (2), loosen the accumulator hose fitting (1) from the accumulator.
Important: Cap or tape the open accumulator hose and the accumulator immediately.
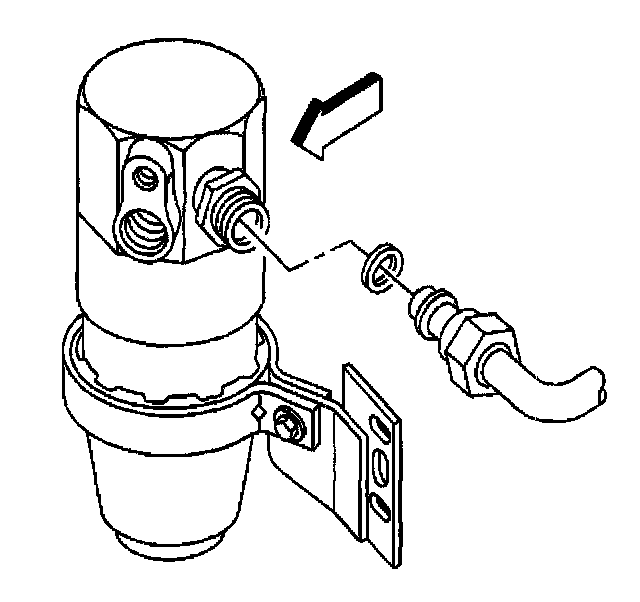
13. Disconnect the accumulator hose from the accumulator, discard the O-ring seal and cap or tape the accumulator hose and the accumulator to prevent contamination.
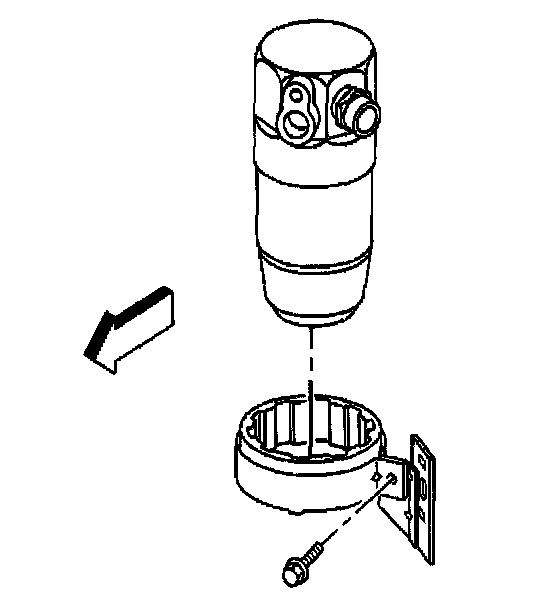
14. Remove the accumulator from the vehicle.
15. Loosen the accumulator bracket bolt.
16. Remove the accumulator from the accumulator bracket.
17. Inspect the accumulator bracket insulator and the accumulator lower insulator for wear or damage.