EVAP Tank Pressure Control Solenoid Valve Replace
EVAP Tank Pressure Control Solenoid Valve ReplaceRemoval Procedure
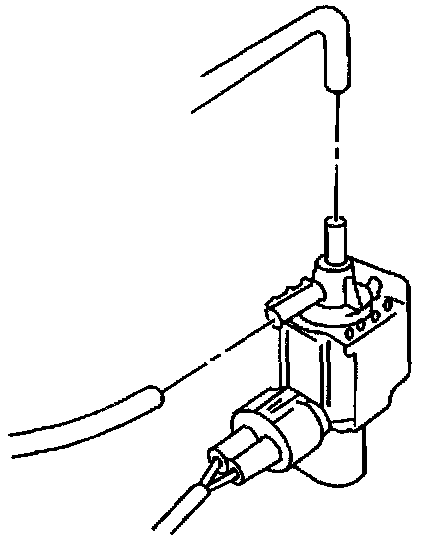
1. Remove the air cleaner. Refer to Air Cleaner
^ Assembly Replacement.
2. Disconnect the two vacuum hoses from the EVAP tank pressure control solenoid valve.
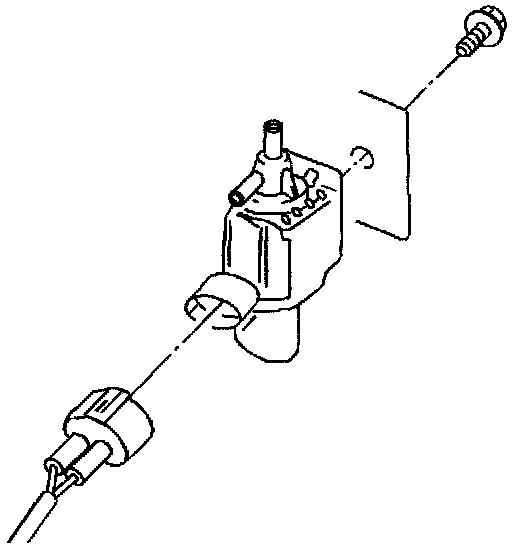
3. Disconnect the EVAP tank pressure control solenoid valve electrical connector.
4. Remove the one screw and the EVAP tank pressure control solenoid valve from the engine compartment bulkhead.
Installation Procedure
1. Install the EVAP tank pressure control solenoid valve to the engine compartment bulkhead and secure with the one screw.
2. Connect the EVAP tank pressure control solenoid valve electrical connector.
Important: Refer to the Vehicle Emissions Control Information Label for the proper routing of the EVAP hoses.
3. Connect the two vacuum hoses to the EVAP tank pressure control solenoid valve.
4. Install the air cleaner. Refer to Air Cleaner Assembly Replacement