Receiver Dehydrator Replacement
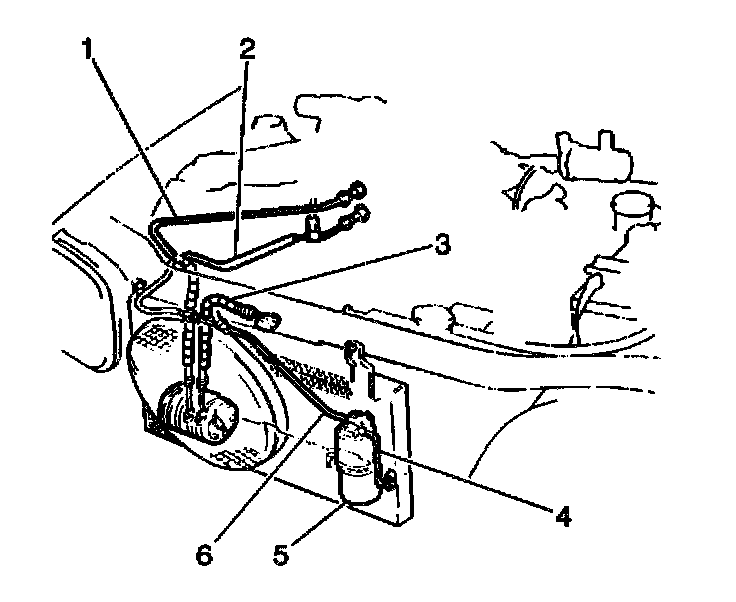
Receiver Dehydrator Replacement
REMOVAL PROCEDURE
1. Discharge and recover the refrigerant. Refer to Refrigerant Recovery and Recharging.
2. Remove the 2 bolts and the receiver/dryer inlet and outlet fittings on top of the receiver/dryer (5).
3. Remove the receiver/dryer bracket retaining screw.
4. Remove the receiver/dryer from the bracket.
INSTALLATION PROCEDURE
IMPORTANT: Add 10 mL (0.3 fl oz) of refrigerant oil to the refrigeration system when installing a new receiver/dryer.
1. Coat new O-rings with mineral base 525 Viscosity refrigerant oil.
2. Install the O-rings to the receiver/dryer inlet and outlet fittings.
3. Install the receiver/dryer (5) to the condenser bracket. Secure the receiver/dryer with 1 screw.
NOTE: Refer to Fastener Notice in Service Precautions.
4. Install the receiver/dryer inlet and outlet fittings to the top of the receiver/dryer. Secure with the 2 bolts.
Tighten
Tighten the bolts to 9.8 N.m (86.74 lb in).
5. Evacuate and recharge the air conditioning (A/C) system. Refer to Refrigerant Recovery and Recharging.
6. Operate the A/C system and inspect for refrigerant leaks. Refer to Leak Testing.