Coolant Heater Replacement
Removal Procedure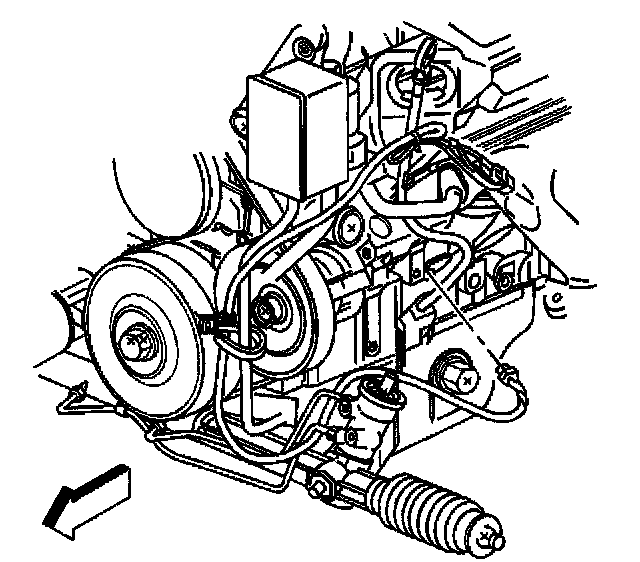
1. Raise and suitably support the vehicle. Refer to Vehicle Lifting.
2. Drain the cooling system.
3. Disconnect the electrical cord from the coolant heater.
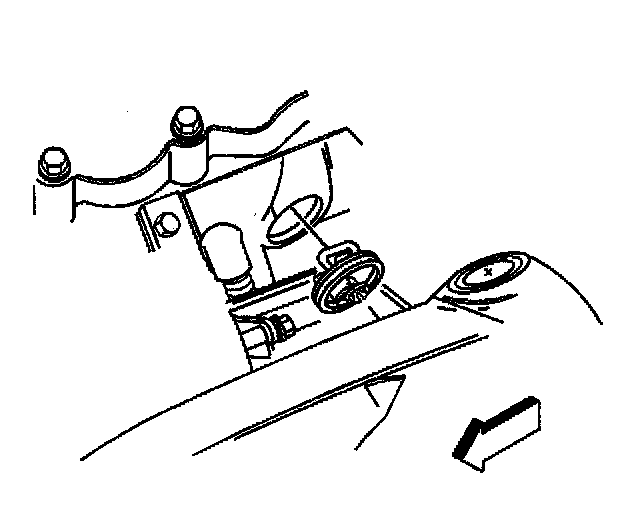
4. Loosen the coolant heater bolt.
Important: When removing the engine coolant heater from the engine block, be careful not to score the machined surface of the plug hole.
5. Remove the coolant heater from the engine block.
6. Clean the engine coolant heater hole. Remove any burrs, sealer, paint or other rough spots.
Installation Procedure
Important: The heater element must not touch the engine block inner wall in the installed position or damage to the engine block and coolant heater could result.
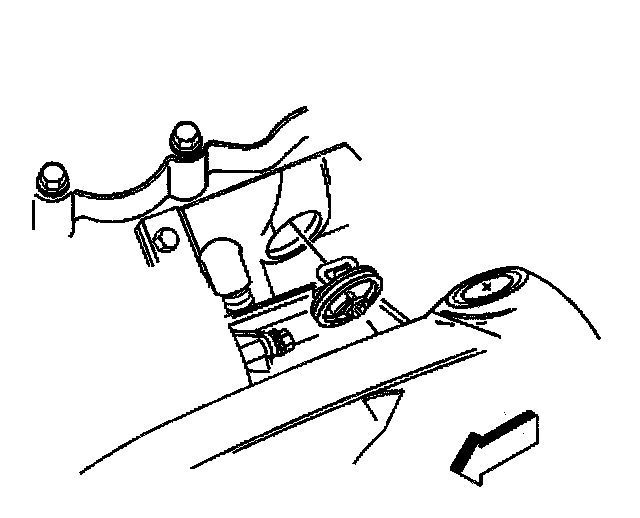
1. Apply a coat of engine coolant heater lubricant, GM P/N 12345996 or equivalent, to the O-ring and walls of the coolant heater hole.
Notice: Refer to Fastener Notice in Service Precautions.
2. Install the coolant heater into the coolant hole using the following steps:
^ Insert the heating element end of the heater into the engine block.
^ Line up the heater with the plug hole and push it straight into place.
^ Rotate the heater so that the center electrical contact and bolt are in line horizontally.
^ Tighten the bolt so that the yoke presses against the engine block inner wall.
^ Tighten the coolant heater bolt to 2 Nm (18 inch lbs.).
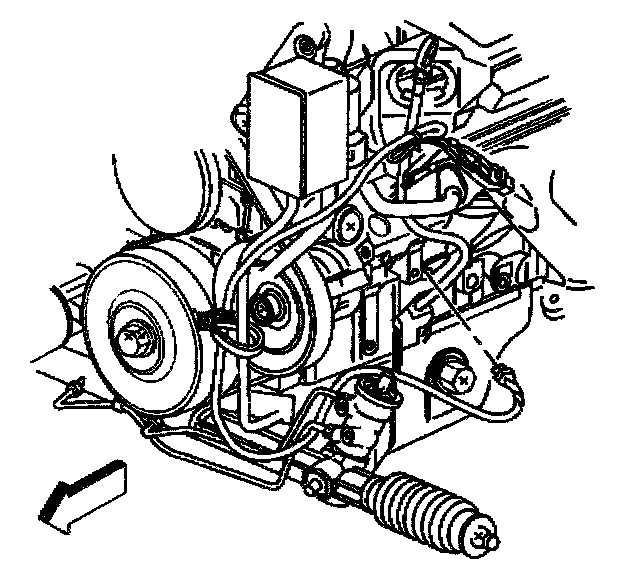
3. Connect the coolant heater electrical cord to the heater.
4. Lower the vehicle.
5. Refill the engine cooling system.