Electronic Leak Detection Method
TOOLS REQUIREDJ 39400-A Halogen Leak Detector
Use the electronic leak detector when inspecting for refrigeration system leaks. This unit operates on a 12 volt DC. The leak detector provides an audible signal which increases in frequency when a refrigerant leak is detected. Properly calibrate the tool. Use the tool at the proper setting for the system that you are testing. The electronic leak detector has the following three settings:
^ R-12
^ R-134a
^ Gross leaks
This setting isolates very large leaks that are found at one of the other settings
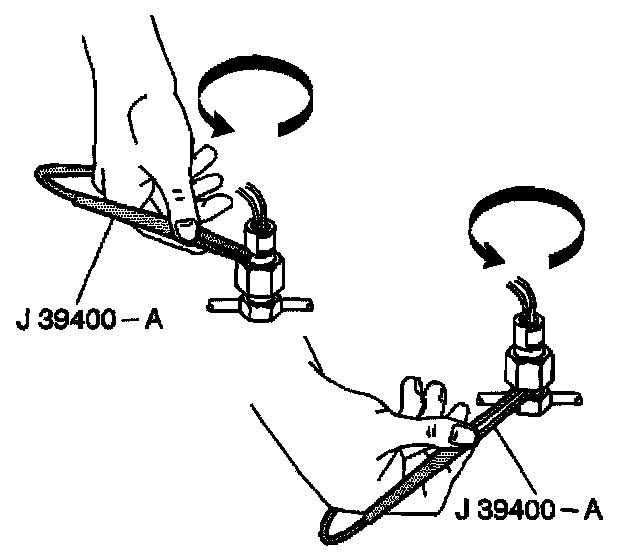
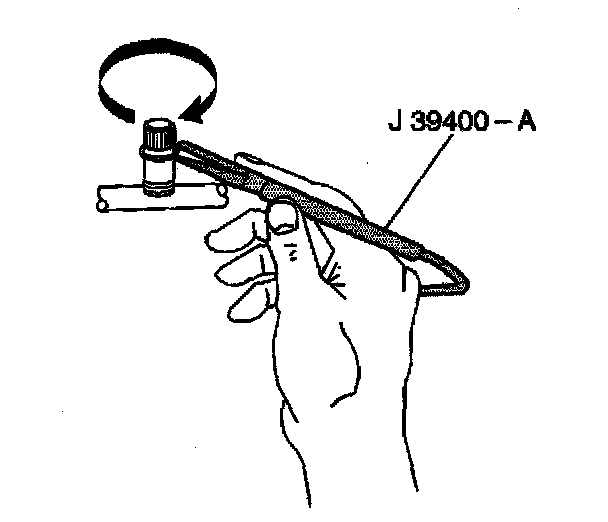
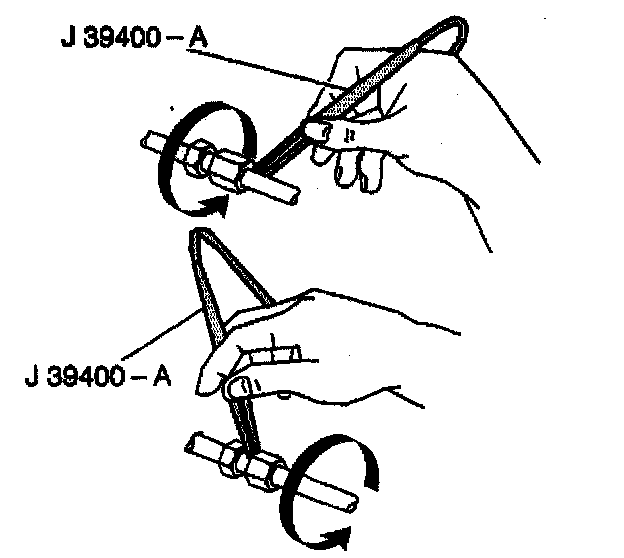
The halogen leak detectors are sensitive to windshield washing solution, many solvents and cleaners, and some adhesives. Work on a clean and dry surface. Complete the following actions when you test the joints:
^ Completely circle each joint.
^ Move the tool 25-50 mm (1-2 inch) per second.
^ Ensure that the tip of the probe is no more than 6 mm (0.25 inch) from the surface.
You may use this detector in order to inspect the following joints:
1. Refrigerant pressure sensor.
2. Service valves.
3. Evaporator inlet/outlet.
4. Accumulator dryer inlet/outlet.
5. Compressor rear head.
6. Compressor housing joints.
7. A leak is indicated when the audible tone goes from a steady 1-2 clicks per second to a solid alarm. Adjust the balance knob frequently in order to maintain the 1-2 clicks per second.
If a leak is not found, proceed to the Refrigerant Leak Diagnosis table.