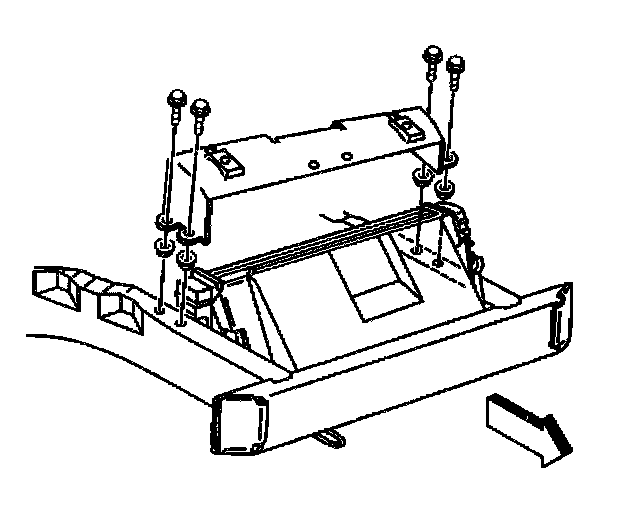
Radiator Replacement
Removal Procedure
- Tools Required
- J 38185 Spring Hose Clamp Pliers
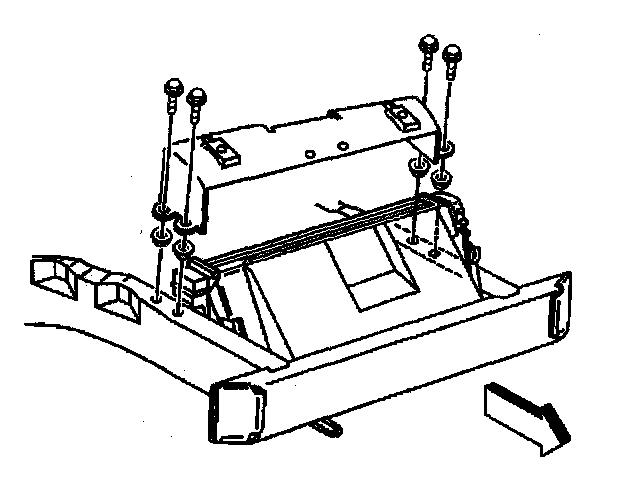
1. Remove the radiator upper support. Refer to Radiator Support Replacement.
2. Raise the vehicle and support. Refer to Vehicle Lifting.
3. Drain the coolant. Refer to Draining and Filling Cooling System.
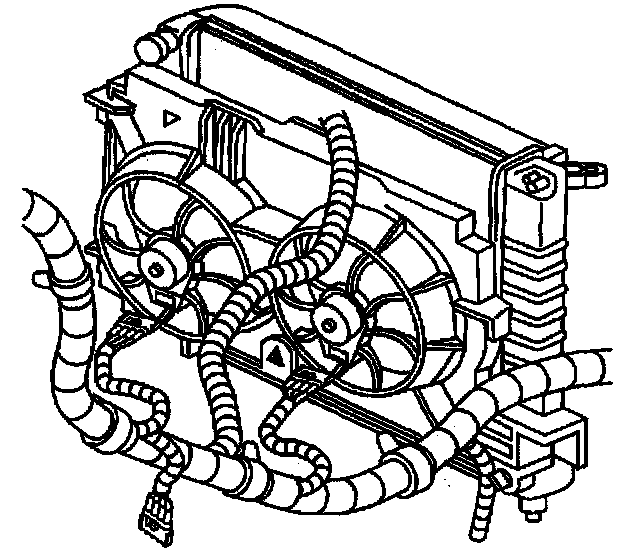
4. Remove the electrical connectors and harness from the fan shroud.
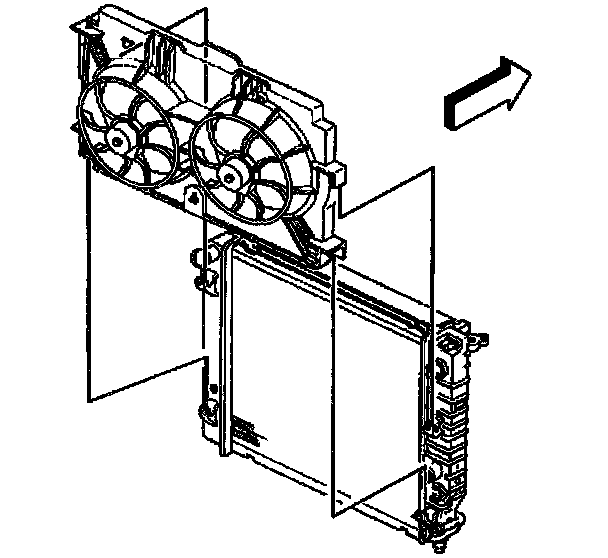
5. Remove the fan shroud from the radiator.
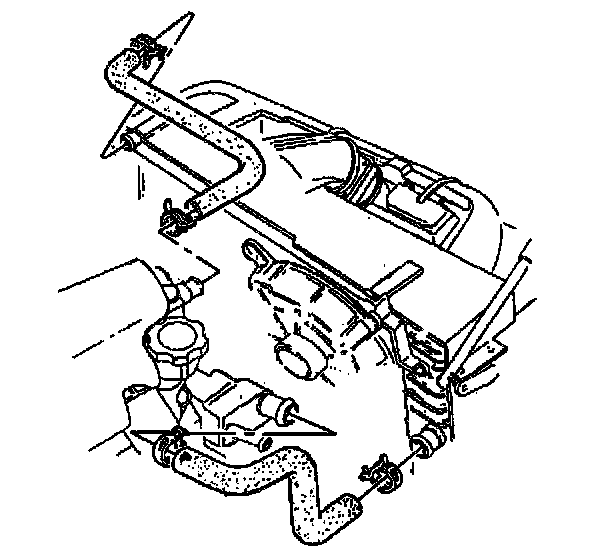
6. Remove the radiator inlet and outlet hoses from the radiator.
7. Remove the automatic transmission cooler lines from the radiator (if equipped).
Important: It is not necessary to disconnect the air conditioning (A/C) lines from the condenser.
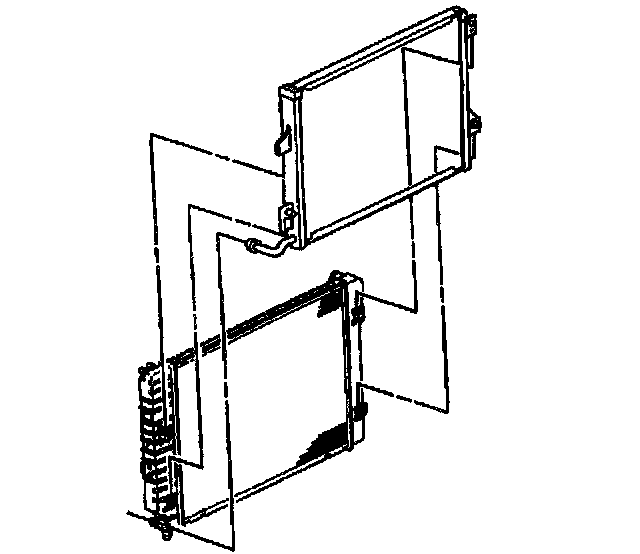
8. Remove the condenser from the radiator and position it forward.
9. Slowly lower the radiator from the vehicle.
Installation Procedure
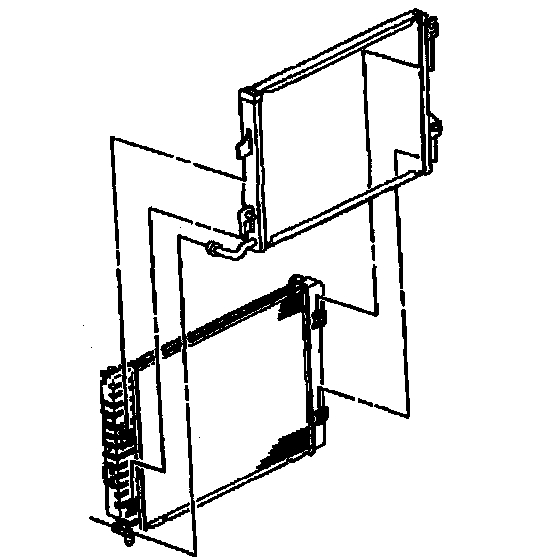
1. Install the radiator.
2. Install the condenser into the four retaining tabs on the radiator.
3. Install the automatic transmission cooler lines to the radiator (if equipped). Refer to Specifications.

4. Install the radiator inlet and outlet hoses to the radiator.
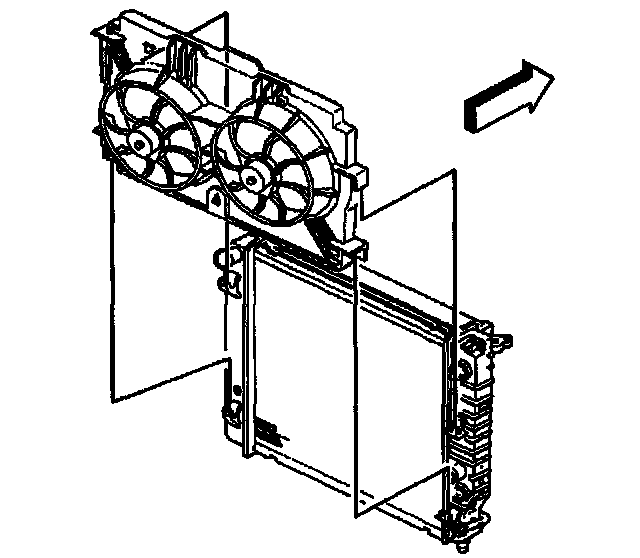
5. Install the fan shroud into the four retaining tabs on the radiator.
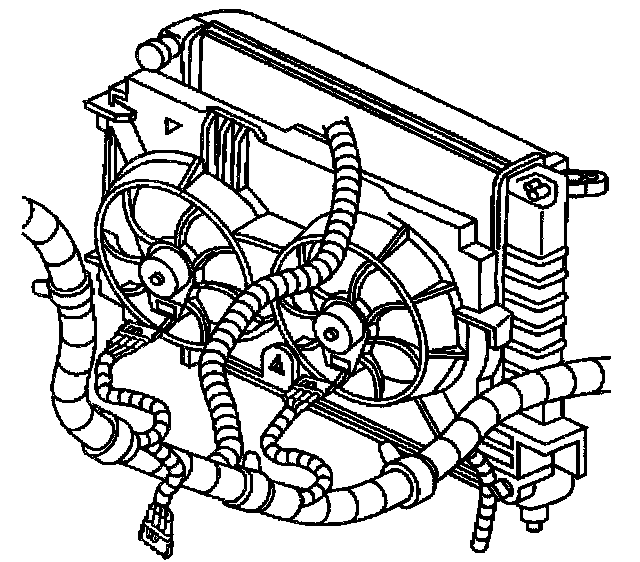
6. Install the fan motor electrical connectors and harness to the fan shrouds.
7. Lower the vehicle.
8. Install the radiator upper support. Refer to Radiator Support Replacement.
9. Refill the cooling system. Refer to Draining and Filling Cooling System.