Tail Lamp: Service and Repair
REMOVAL PROCEDURE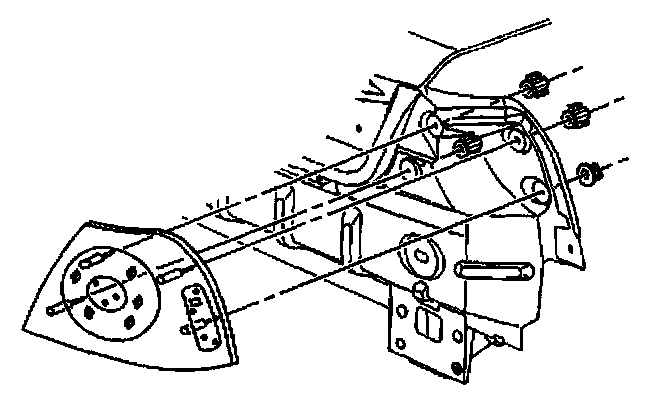
1. Open the rear compartment.
2. Disconnect the rear compartment convenience net.
3. Remove wingnut and pull back the rear compartment trim panel from the taillamp.
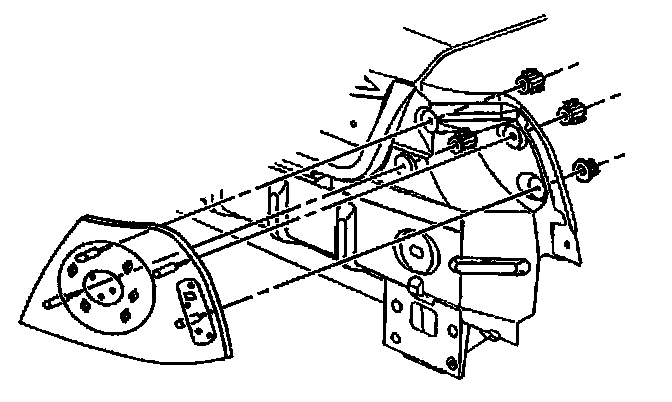
4. Remove the wingnuts from the taillamp.
5. Remove the taillamp from the rear body panel.
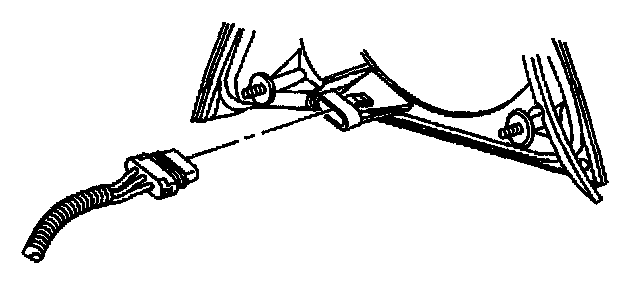
6. Disconnect the electrical connector from the taillamp.
7. Remove the taillamp socket, turning counterclockwise.
8. Remove the bulb from the taillamp socket.
9. Remove the sidemarker lamp socket, turning counterclockwise.
10. Remove the bulb from the sidemarker lamp socket.
INSTALLATION PROCEDURE

1. Install the bulb to the taillamp socket.
2. Install the bulb to the sidemarker lamp socket.
3. Install the sidemarker lamp socket, turning clockwise.
4. Install the taillamp socket, turning clockwise.
5. Connect the electrical connector to the taillamp.
6. Install the taillamp to the rear body panel
7. Install the wingnuts.to the taillamp.
8. Pull back the rear compartment trim panel to the taillamp and install the wingnut.
9. Connect the rear compartment convenience net.
10. Close the rear compartment.