Accumulator HVAC: Service and Repair
ACCUMULATOR REPLACEMENTREMOVAL PROCEDURE
1. Remove the air cleaner and duct assembly.
2. Recover the refrigerant. Refer to Refrigerant Recovery and Recharging.
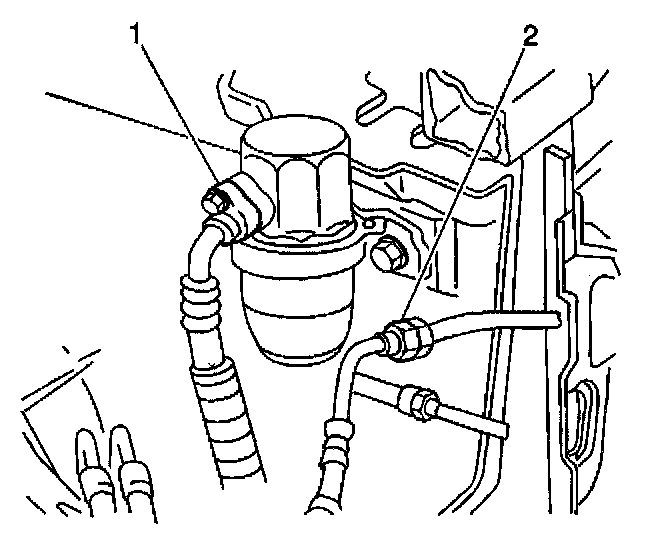
3. Remove the compressor hose nut (1) from the accumulator and position the line aside.
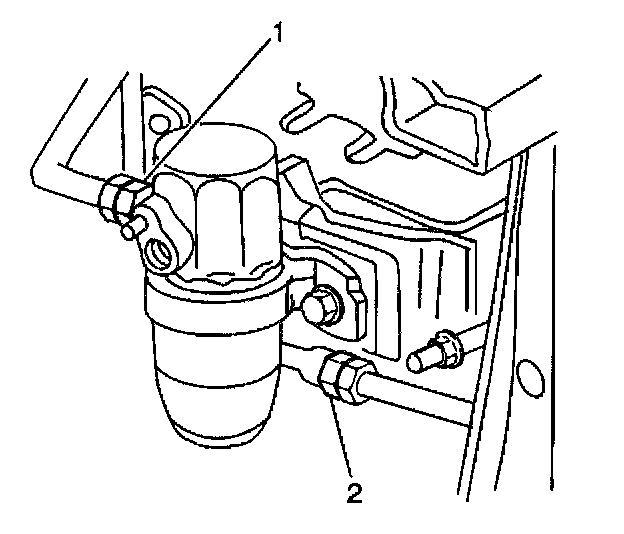
4. Remove the suction line nut (1) from the accumulator and position the line aside.
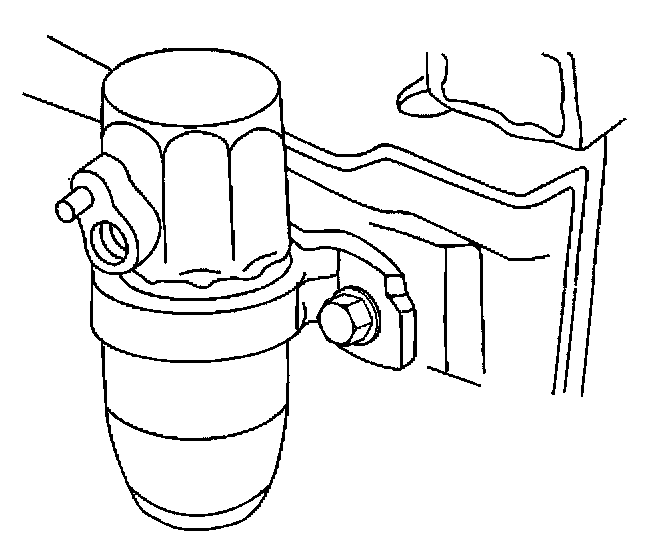
5. Remove the accumulator bracket bolt and the accumulator.
6. Remove and discard the O-ring seals on the compressor hose and the suction line.
INSTALLATION PROCEDURE
NOTE: Refer to Fastener Notice in Service Precautions.
1. Install the accumulator and the bracket bolt.
Tighten
Tighten the accumulator bracket bolt to 4 N.m (36 lb in).
IMPORTANT: Lubricate the new O-ring seals and seal washers with a mineral base 525 viscosity refrigerant oil.
2. Install the new O-ring seals onto the compressor hose and the suction line.
3. Install the suction line and nut (1) onto the accumulator
Tighten
Tighten the suction line nut to 47 N.m (35 lb ft).
4. Install the compressor hose and nut (1) onto the accumulator.
Tighten
Tighten the compressor hose nut to 16 N.m (12 lb ft).
5. Evacuate and charge the system. Refer to Refrigerant Recovery and Recharging.
6. Inspect the system for leaks. Refer to Leak Testing.
7. Install the air cleaner and duct assembly.