Assembly Procedure
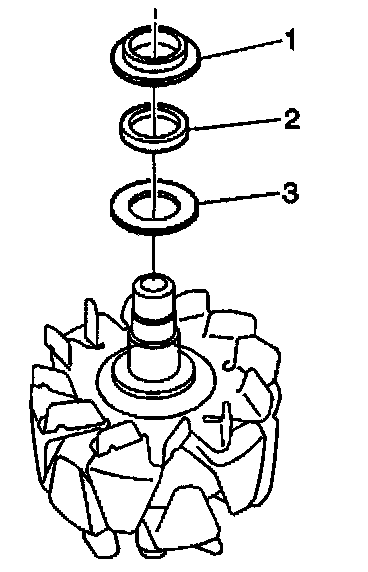
1. Install the rear bearing inner cover (3).
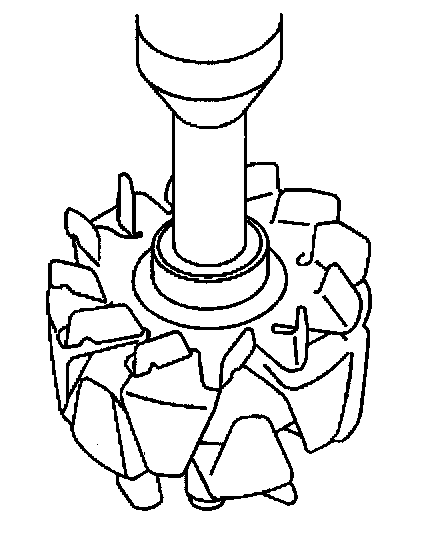
2. Install the rear bearing to the rotor shaft using the J 35419 and a press.
3. Install the rear bearing outer cover.
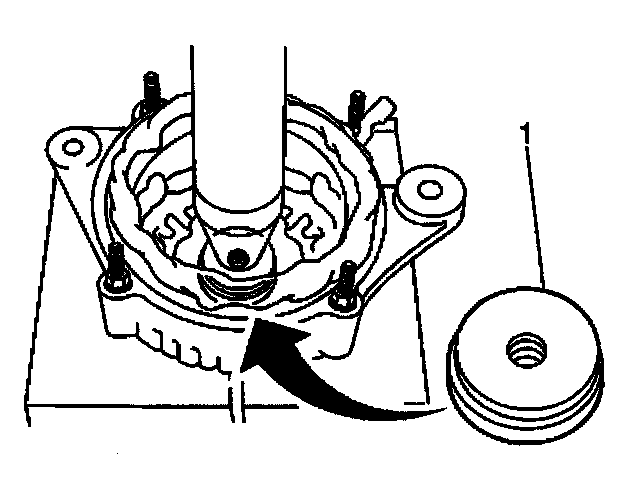
4. Install the front bearing using a suitable adaptor and a press.
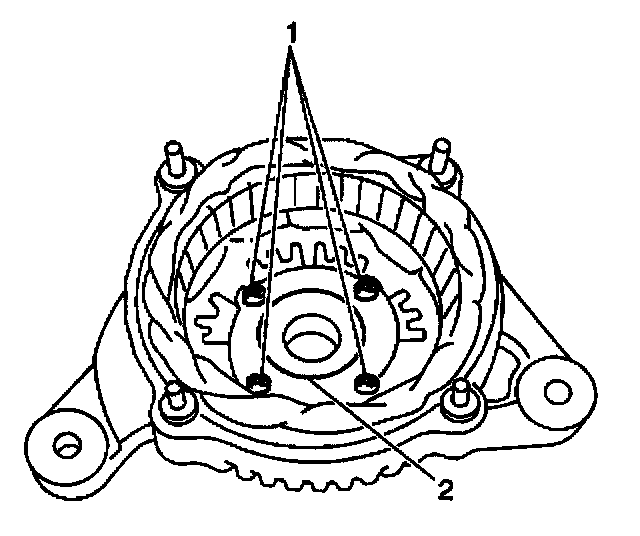
5. Install the bearing retainer.
NOTE: Refer to Fastener Notice in Service Precautions.
6. Install the four screws (1).
Tighten
Tighten the 4 screws to 3.0 N.m (27 lb in).
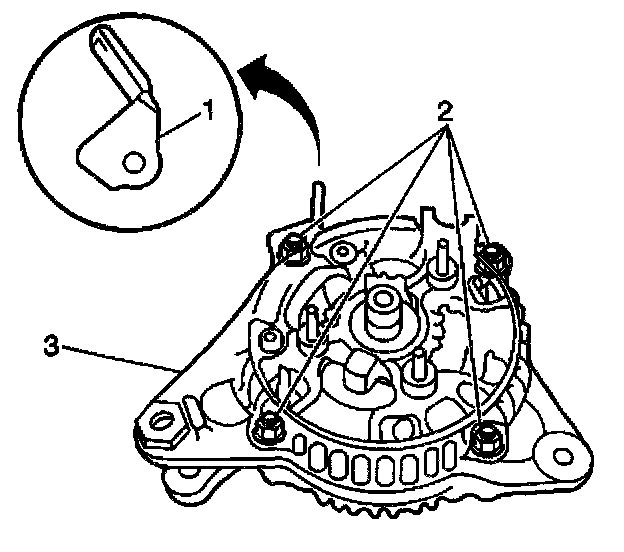
7. Install the rotor to the drive end frame.
8. Install the washer to the rotor.
9. Install the rectifier end frame by using a 29 mm socket or other suitable adaptor and a press.
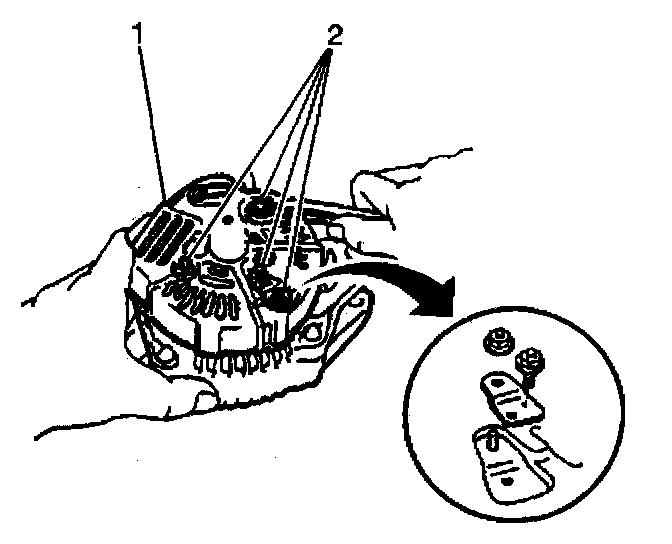
10. Install the wire clip (1) and 4 nuts (2).
Tighten
^ Tighten the nut with the clip to 5.5 N.m (48 lb in).
^ Tighten the 3 nuts to 4.5 N.m (40 lb in).
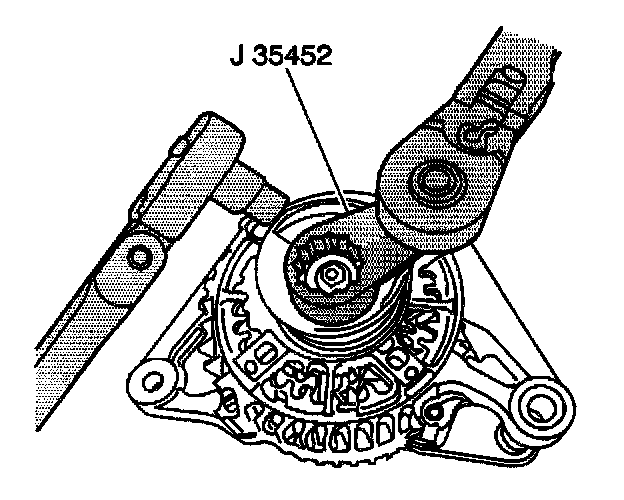
11. Install the pulley and the nut using the J 35452 or the J 39194-B. Tighten the 7/8 in nut while holding the rotor shaft stationary with the 10 mm socket.
Tighten
Tighten the pulley nut to 111 N.m (81 lb ft).
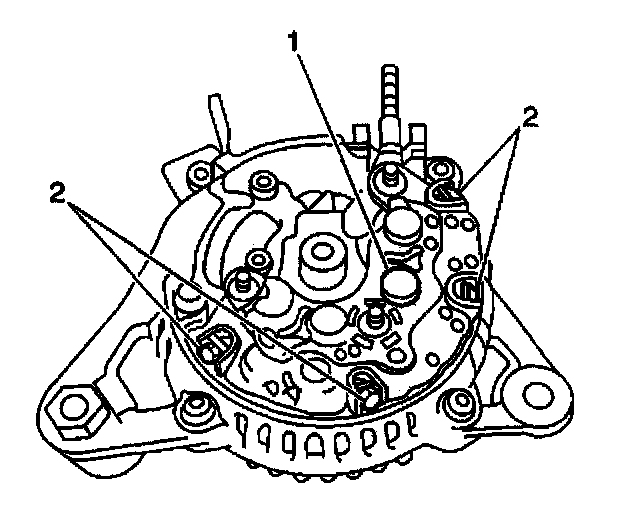
12. Install the 4 rubber insulators.
13. Install the rectifier and the 4 screws (2).
Tighten
Tighten the 4 screws to 3 N.m (26 lb in).
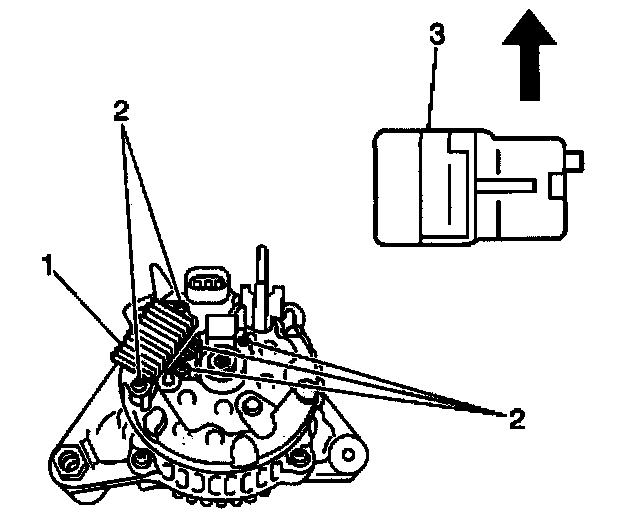
14. Install the seal on the rectifier end frame.
15. Install the voltage regulator (1).
IMPORTANT: Note the correct orientation of the brush holder.
16. Install the brush holder (3).
17. Install the 5 screws (2).
Tighten
Tighten the 5 screws to 2.0 N.m (18 lb in).
18. Install the brush holder cover.
19. Install the end cover.
20. Install the plate terminal
21. Install the 3 nuts (2) and 1 bolt.
Tighten
^ Tighten the 3 nuts to 4.5 N.m (39 lb in)
^ Tighten the 1 bolt to 4 N.m (35 lb in)
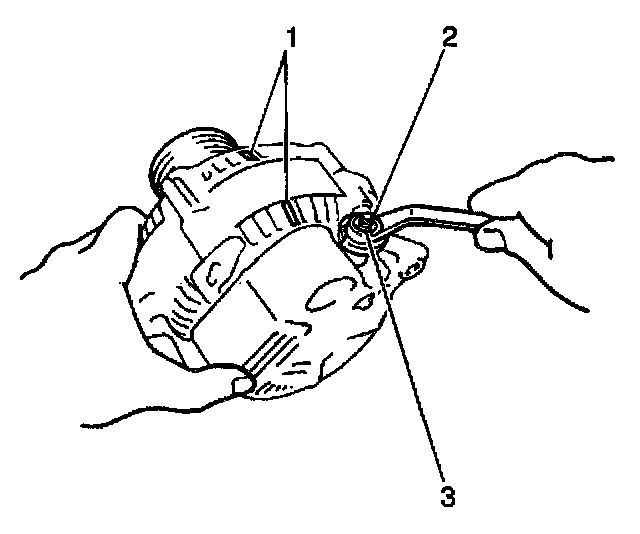
22. Install the terminal insulator (2) and the nut (3).
Tighten
Tighten the nut to 4 N.m (36 lb in).
23. Inspect that the rotor turns smoothly.
24. Install the generator to the vehicle.