Canister Purge Control Valve: Service and Repair
EVAPORATIVE EMISSION (EVAP) CANISTER PURGE VALVE REPLACEMENTREMOVAL PROCEDURE
1. Remove the air cleaner outlet resonator.
2. Disconnect the EVAP canister purge valve harness connector.
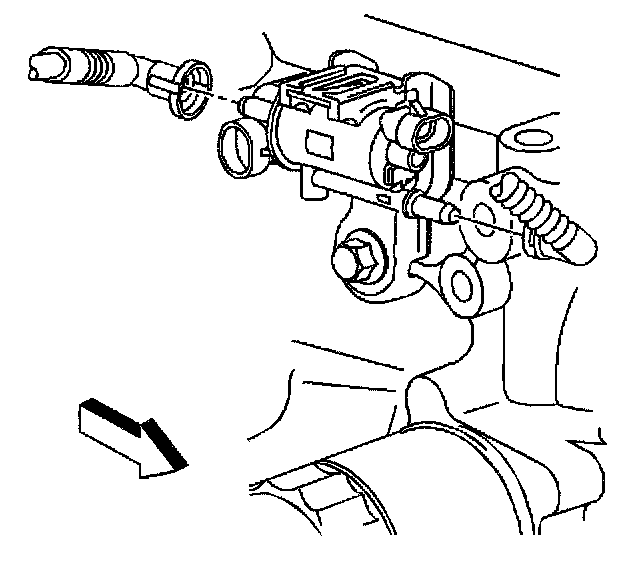
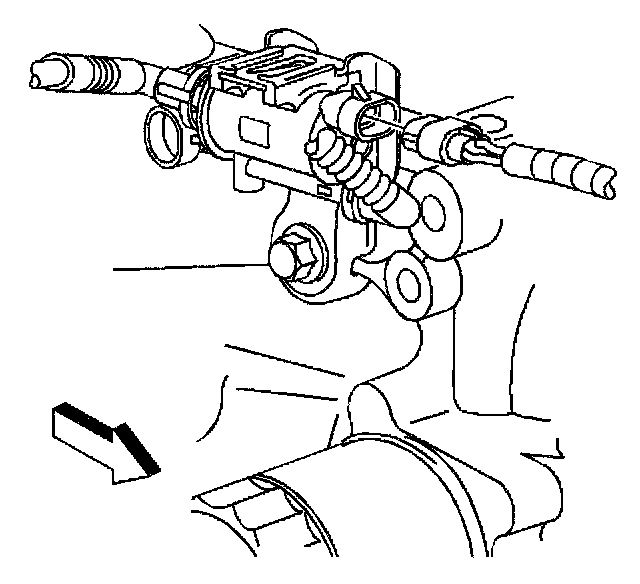
3. Disconnect the engine purge pipe from the EVAP canister purge valve.
4. Disconnect the engine vacuum pipe from the EVAP canister purge valve.
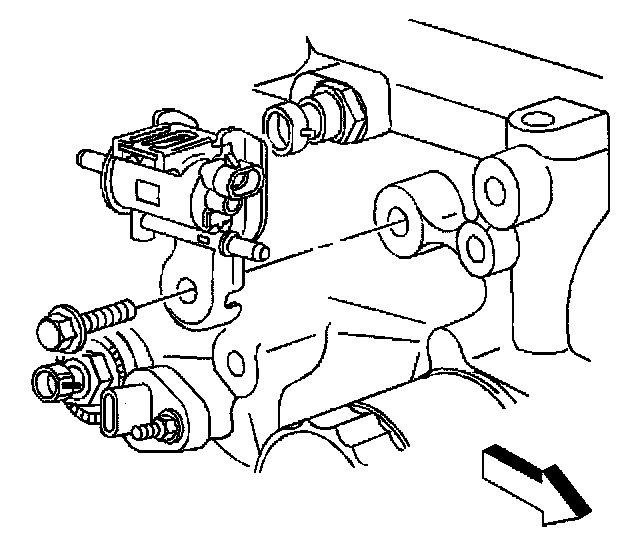
5. Remove the EVAP canister purge valve mounting bracket attaching bolt.
6. Remove the EVAP canister purge valve along with the mounting bracket.
INSTALLATION PROCEDURE
NOTE: Refer to Fastener Notice in Service Precautions.
1. Install the EVAP canister purge valve and the attaching bolt
Tighten
Tighten the EVAP canister purge valve mounting bracket attaching bolt to 8 N.m (71 lb in).
2. Connect the engine vacuum pipe to the EVAP canister purge valve.
3. Connect the engine purge pipe to the EVAP canister purge valve.
4. Connect the EVAP canister purge valve harness connector.
5. Install the air cleaner outlet resonator.