Fill Line Union (Check Valve) Replacement
TOOLS REQUIREDJ 41416 Ultrasonic Leak Detector
REMOVAL PROCEDURE
1. Relieve the CNG fuel system pressure. Refer to Fuel Pressure Relief Procedure.
CAUTION: Refer to Battery Disconnect Caution in Service Precautions
2. Disconnect the negative battery cable.
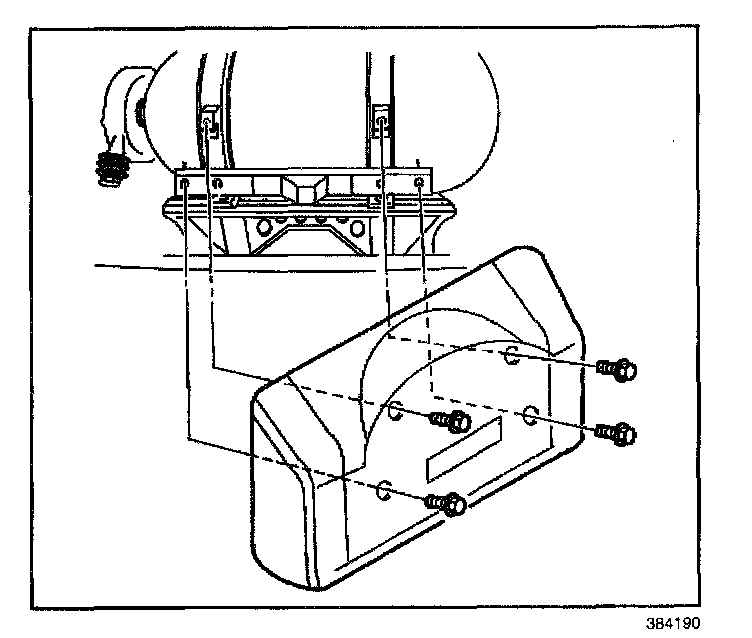
3. Remove the tank cover.
4. Remove the tank vent boot cover nuts and the cover.
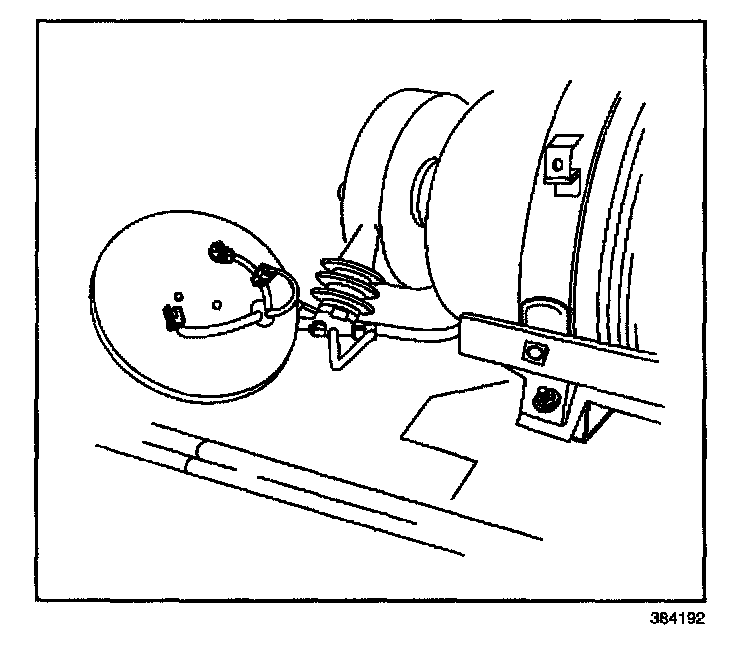
5. Disconnect the three electrical connectors.
6. Loosen the clamp at the tank vent boot and peel back the boot to expose the union.
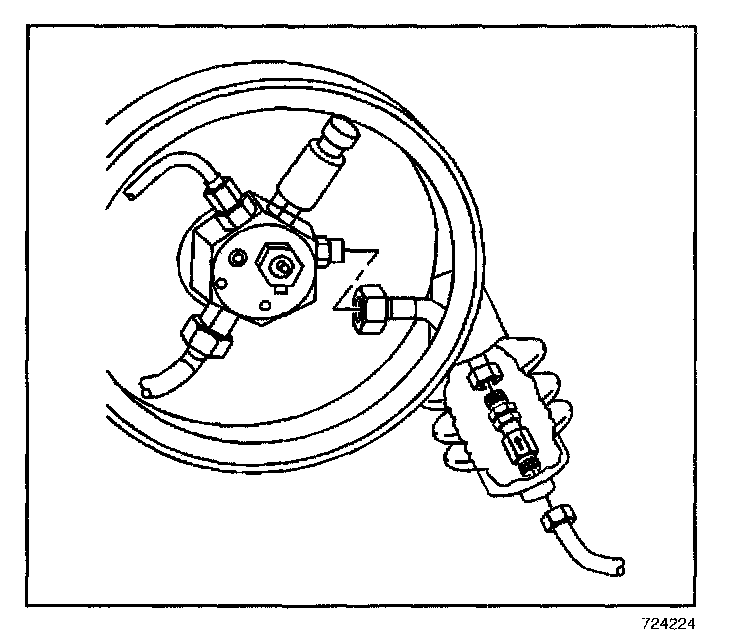
7. Disconnect the fill lines at the union (check valve).
8. Remove the fill line union (check valve).
INSTALLATION PROCEDURE
NOTE: Refer to Fastener Notice in Service Precautions.
IMPORTANT: Ensure the fill line union (check valve) is installed with the flow arrow pointed towards the high pressure lock-off (HPL).
1. Install the fill line union (check valve) using new O-ring face seals. Lubricate the O-rings with petroleum jelly or the equivalent.
Tighten
Tighten the fill line union (check valve) fittings to 37 N.m (27 lb ft).
2. Connect the negative battery cable.
Tighten
Tighten the bolt to 15 N.m (11 lb ft).
3. Connect the three electrical connectors and the HPL power connector.
4. Start the engine. Inspect for CNG fuel leaks at each serviced fitting using the J 41416.
5. Slip the tank vent boot over the union.
Tighten
Tighten the boot clamp to 2 N.m (18 lb in).
6. install the tank vent boot cover.
Tighten
Tighten the tank vent boot cover nuts to 6 N.m (54 lb in).
7. Install the tank cover.