Overhead Console - VES Replacement
REMOVAL PROCEDURE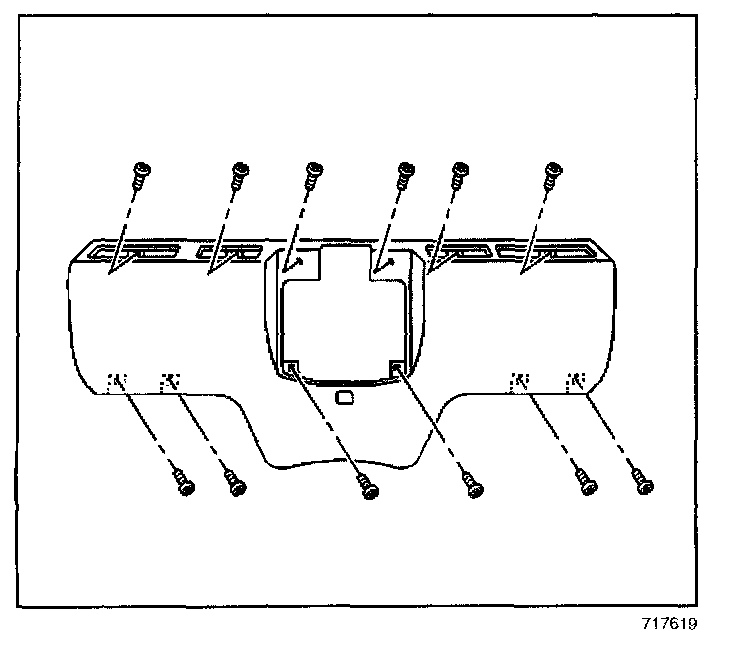
1. Remove the rear climate control. Refer to HVAC Control Module Replacement - Auxiliary in HVAC Systems-Manual.
2. Remove the rear seat audio (RSA). Refer to Audio/Video Rear Seat Audio Tee Module Replacement
3. Remove the overhead speakers.
4. Position the video screen in the downward position.
5. Remove the overhead console screws from the video entertainment system.
6. Remove the overhead console from the headliner.
INSTALLATION PROCEDURE
1. Install the overhead console to the headliner.
2. Install the overhead console screws to the video entertainment system.
3. Align the video entertainment system overhead console with the video screen.
NOTE: Refer to Fastener Notice in Service Precautions.
4. Tighten the overhead console screws to 2 N.m (18 lb in).
5. Return the video screen to the up position.
6. Install the overhead speakers.
7. Install the rear seat audio (RSA). Refer to Audio/Video Rear Seat Audio Tee Module Replacement.
8. Install the rear climate control. Refer to HVAC Control Module Replacement - Auxiliary in HVAC Systems-Manual.