Intake Manifold Replacement - Lower
Intake Manifold Replacement- LowerRemoval Procedure
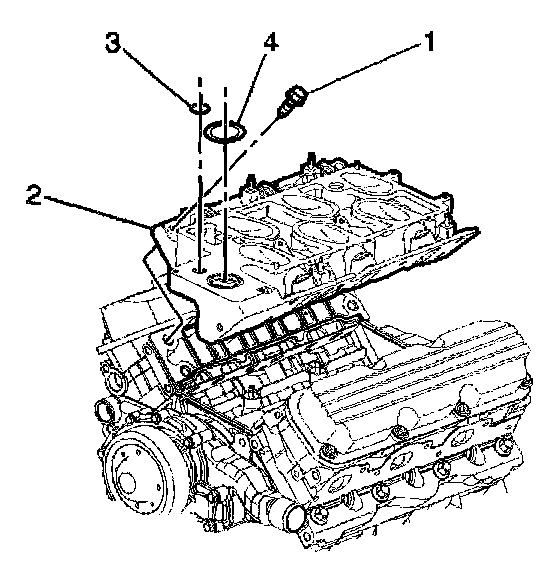
1. Remove the upper intake manifold.
2. Remove the O-ring seals (3, 4), if necessary.
3. Remove the lower intake manifold bolts (1).
4. Remove the lower intake manifold (2).
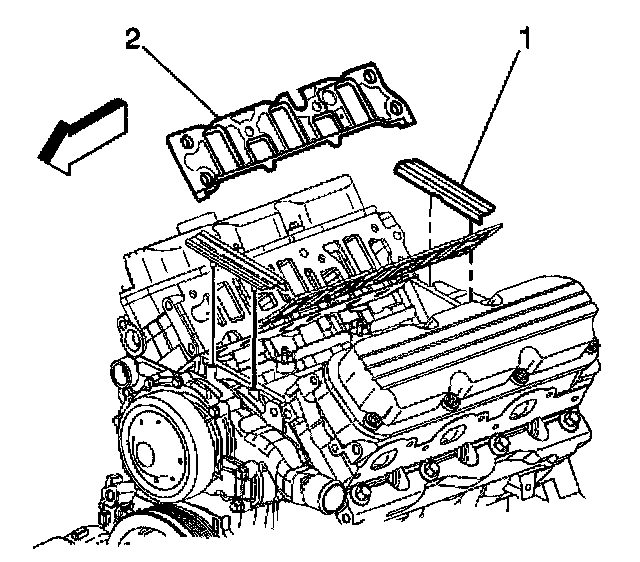
5. Remove the lower intake manifold seals (1).
6. Remove the lower intake manifold gaskets (2).
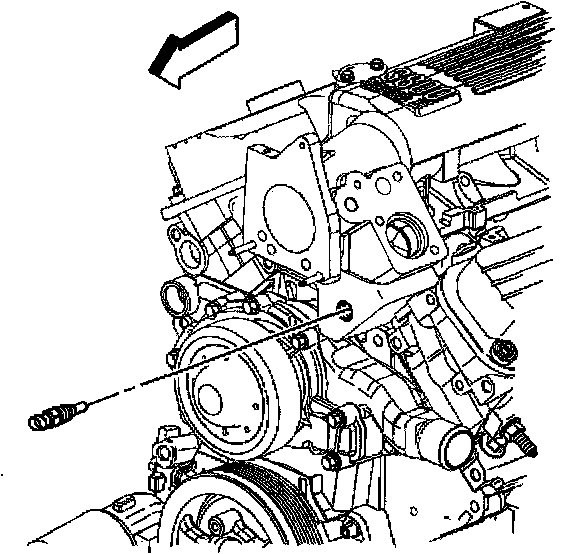
7. If replacing the manifold remove the coolant temperature sensor.
Installation Procedure
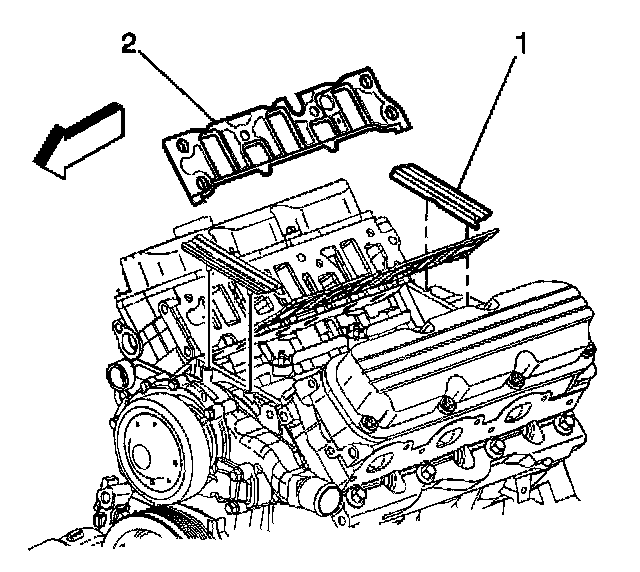
1. Install the lower intake manifold gaskets (2).
2. Install the lower intake manifold seals (1). Apply sealant GM P/N 12346286, Canada P/N 10953472, or equivalent to the ends for the manifold seals (2).
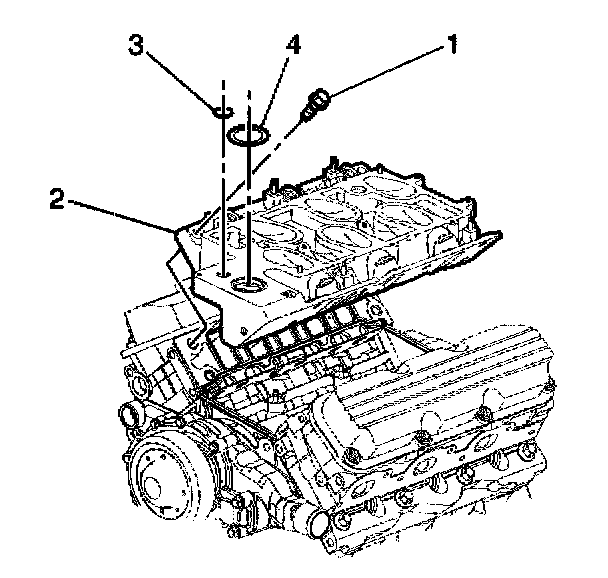
3. Install the lower intake manifold (2).
4. Apply threadlock GM P/N 12345382, Canada P/N 10953488, or equivalent to the bolt threads before installing.
Notice: Refer to Fastener Notice in Service Precautions.
5. Install the lower intake manifold bolts (1).
^ Tighten the lower manifold bolts (1) to 15 Nm (11 ft. lbs.).
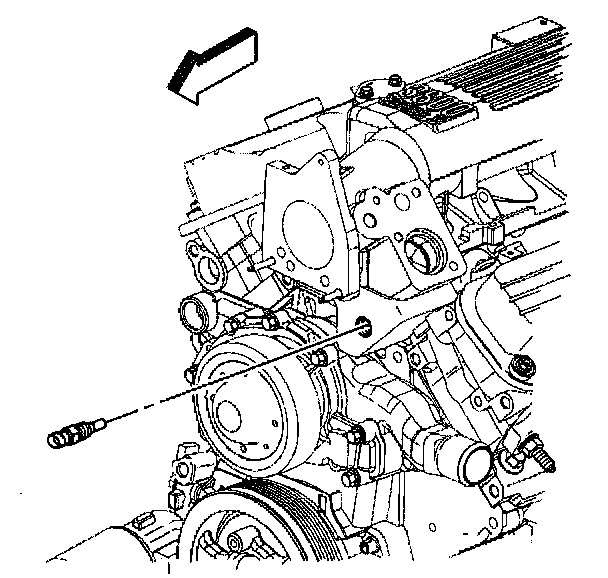
6. Install the coolant temperature sensor.
^ Tighten the coolant temperature sensor to 25 Nm (18 ft. lbs.).
7. Install the upper intake manifold.