Blower Motor Resistor Assembly Replacement
REMOVAL PROCEDURE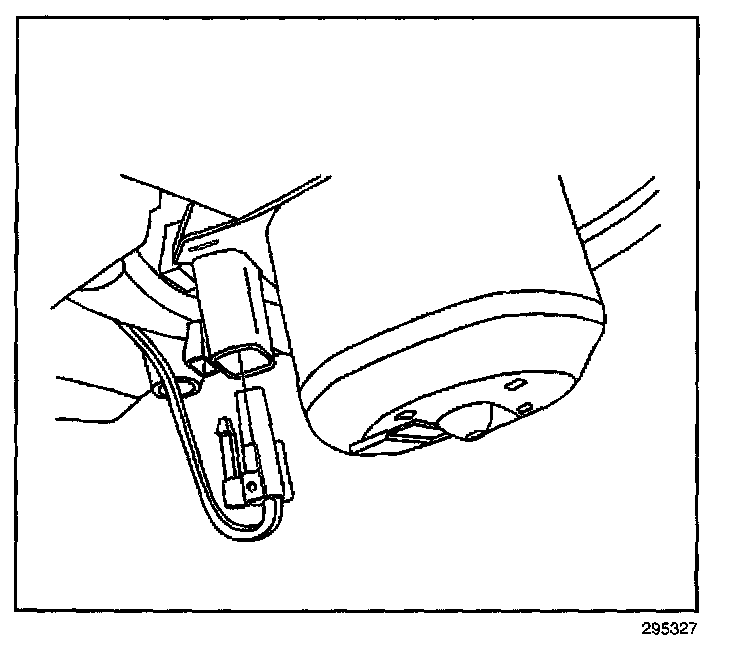
1. Remove the right side IP insulator.
2. Disconnect the electrical connector from the blower motor.
3. Remove the blower motor mounting screws.
4. Remove the blower motor from the HVAC module assembly.

5. Disconnect the electrical connector from the blower motor resistor.
IMPORTANT: Only loosen both of the forward blower motor resistor mounting screws. The blower motor resistor mounting holes are slotted.
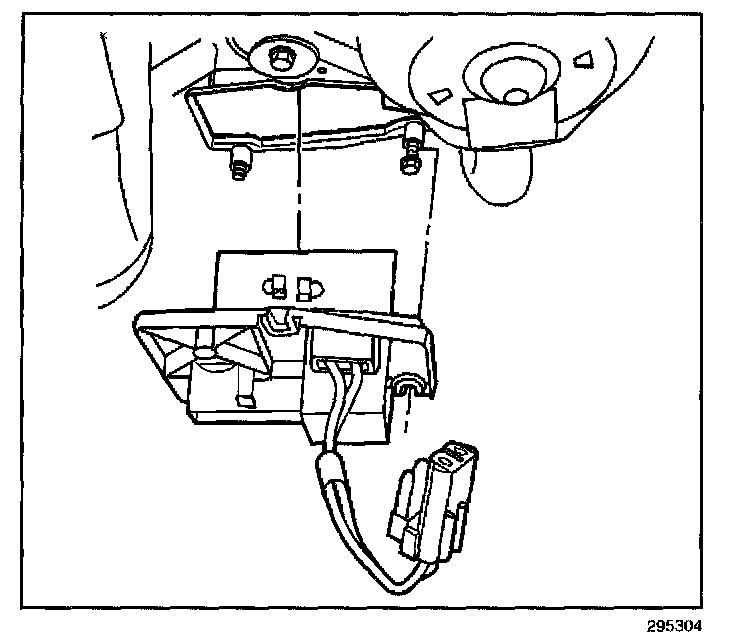
6. Loosen the forward blower motor resistor mounting screws.
7. Remove the rearward blower motor resistor mounting screw.
8. Remove the blower motor resistor from the HVAC module assembly.
INSTALLATION PROCEDURE

1. Install the blower motor resistor to the HVAC module assembly.
NOTE: Refer to Fastener Notice in Service Precautions.
2. Install the rearward blower motor resistor mounting screw.
Tighten
Tighten all the screws to 1.8 N.m (16 lb in).
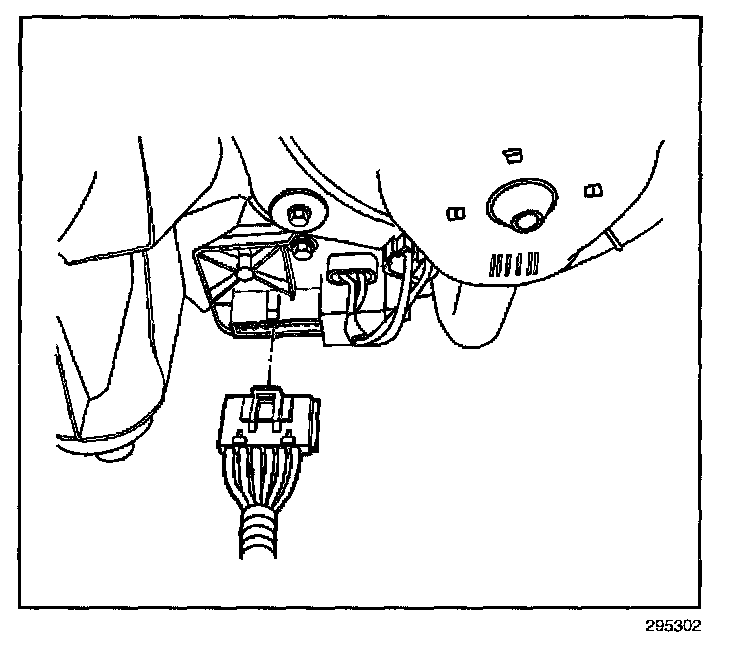
3. Connect the electrical connector to the blower motor resistor.
4. Install the blower motor to the HVAC module assembly.
5. Install the blower motor mounting screws.
Tighten
Tighten the screws to 1.8 N.m (16 lb ft).
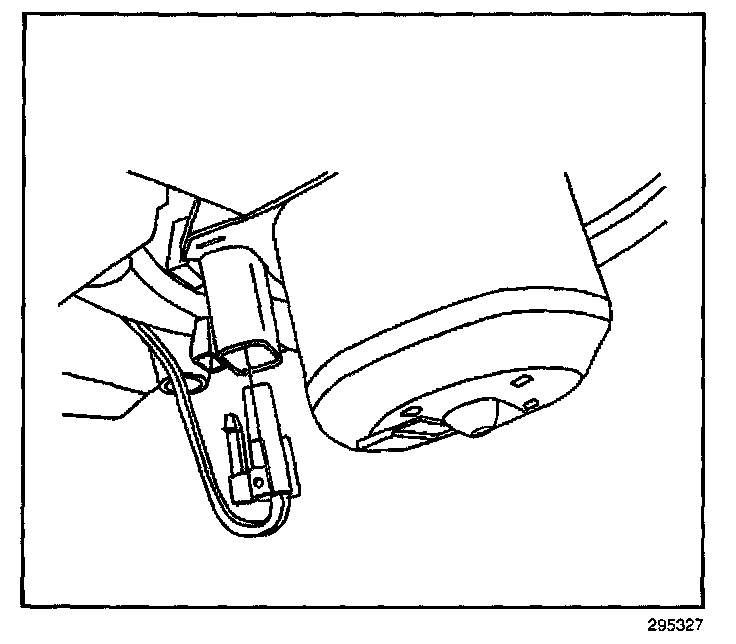
6. Connect the electrical connector to the blower motor.
7. Install the right side IP insulator.