Tail Lamp: Service and Repair
TAIL LAMP REPLACEMENTREMOVAL PROCEDURE
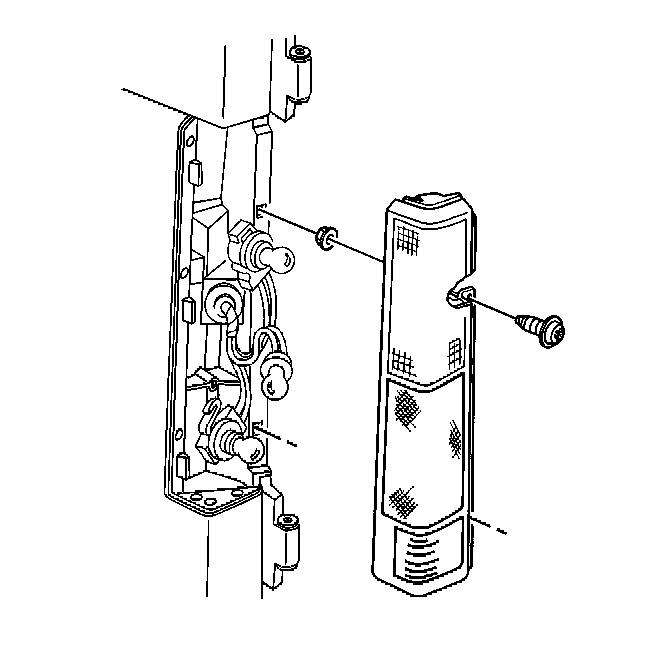
1. Turn OFF the headlamp switch.
2. Open the rear doors.
3. Remove the screws that retain the tail lamp to the body.
4. Remove the lamp sockets from the back of the tail lamp by using the following procedure:
4.1. Squeeze the tang at the electrical connector.
4.2. Turn the bulb and the base.
5. Remove the bulbs from the sockets.
IMPORTANT: Do not remove the grease from the socket.
INSTALLATION PROCEDURE
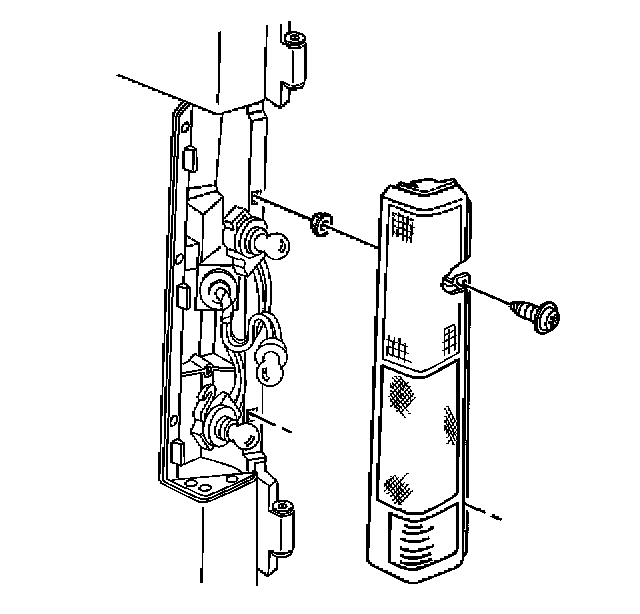
1. Apply a light coating of lithium grease to the sockets if there is no grease in the sockets.
2. Install the bulbs into the sockets.
3. Install the lamp sockets to the back of the tail lamp.
4. Install the tail lamp to the body.
5. Install the screws to retain the tail lamp to the body.
NOTE: Refer to Fastener Notice in Service Precautions.
Tighten
Tighten the tail lamp screws to 3 N.m (27 lb in).