Oil Pan: Service and Repair
Removal Procedure
1. Raise and support the vehicle. Refer to Vehicle Lifting.
2. Drain the engine oil.
3. Remove the engine mount strut bracket.
4. Remove the lower AC compressor bolt.
5. Loosen the upper AC compressor bolts.
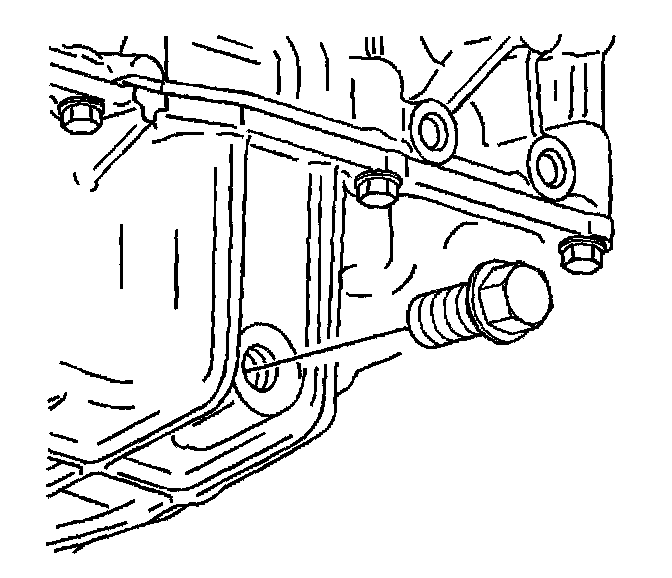
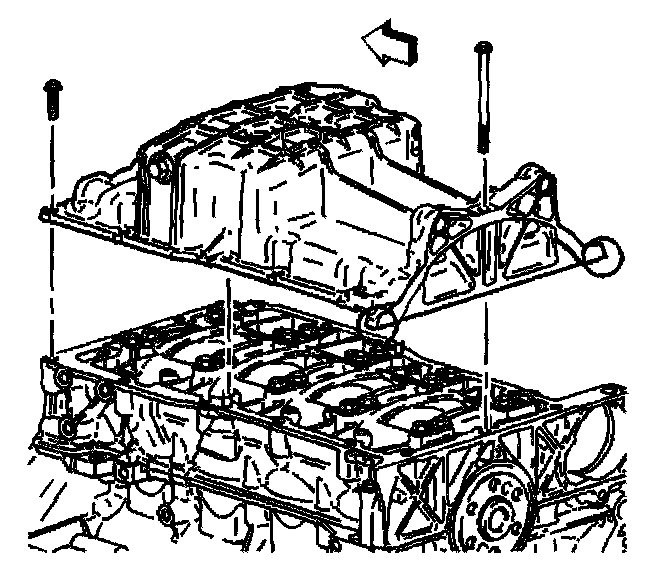
6. Remove the oil pan bolts.
7. Remove the oil pan
Installation Procedure
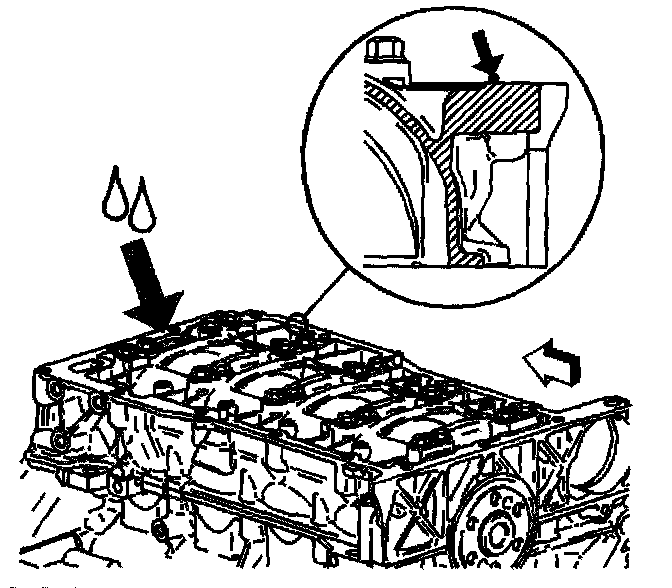
1. Make sure that the oil pan and mounting surface on the lower crankcase are free of all oil and debris.
2. Apply a 2 mm bead of RTV GM P/N United States 12346286, GM P/N Canada 10953472 around the perimeter of the oil pan and the oil suction port opening. Do not over apply the RTV. More than a 2 mm bead is not required.
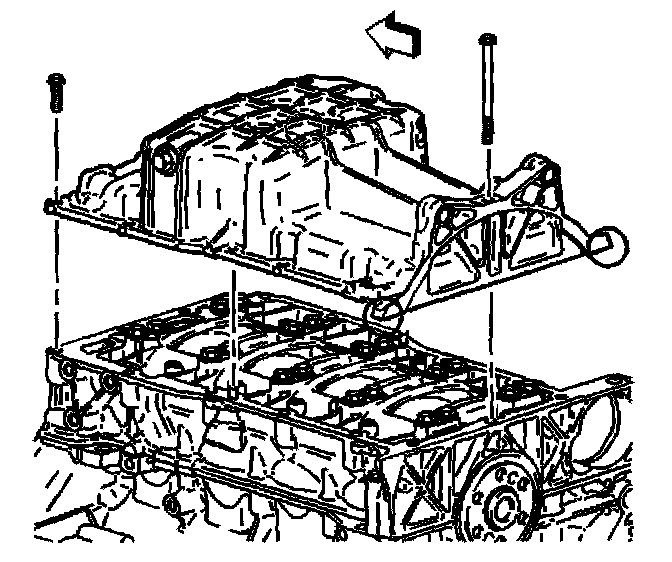
3. Install the oil pan.

Notice: Refer to Fastener Notice in Service Precautions.
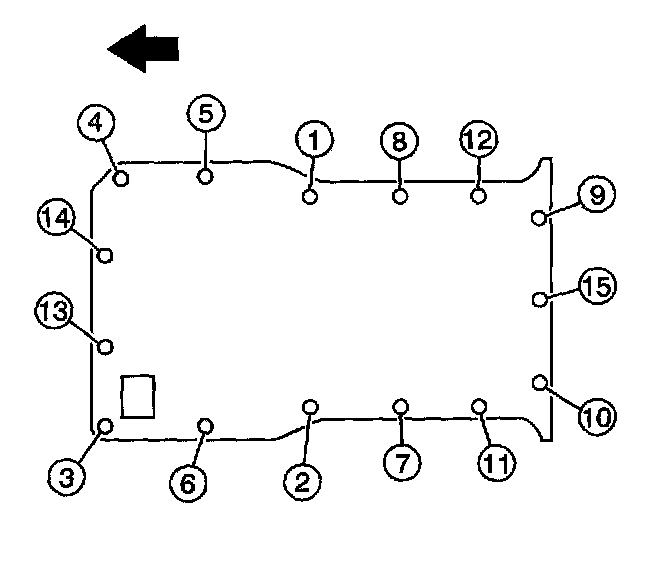
4. Install the oil pan bolts.
^ Tighten the oil pan bolts to 25 Nm (18 ft. lbs.).
5. Install the AC compressor bolts.
6. Install the engine mount strut bracket.
7. Lower the vehicle.
8. Fill the engine oil to the proper level.