Rocker Arm Assembly: Service and Repair
Valve Rocker Arm and Push Rod Replacement^ Tools Required
- J 36660-A Torque Angle Meter
Removal Procedure
1. Remove the valve rocker arm covers.
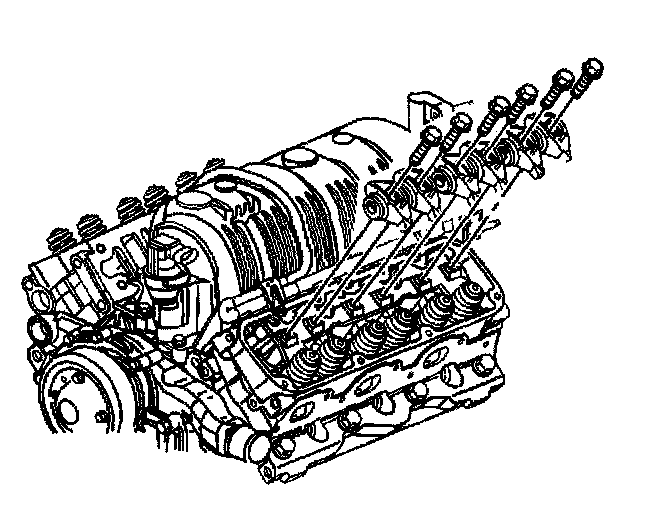
2. Remove the valve rocker arm bolts.
Important: Place the parts on a clean surface. Store the components in order so they can be reassembled in the same location and with the same mating surfaces as when removed.
3. Remove the valve rocker arms.
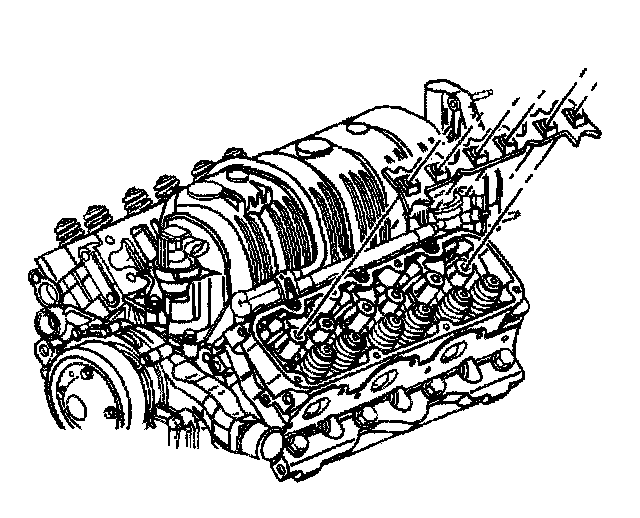
4. Remove the valve rocker arm guide plate if all of the rocker arms are removed.
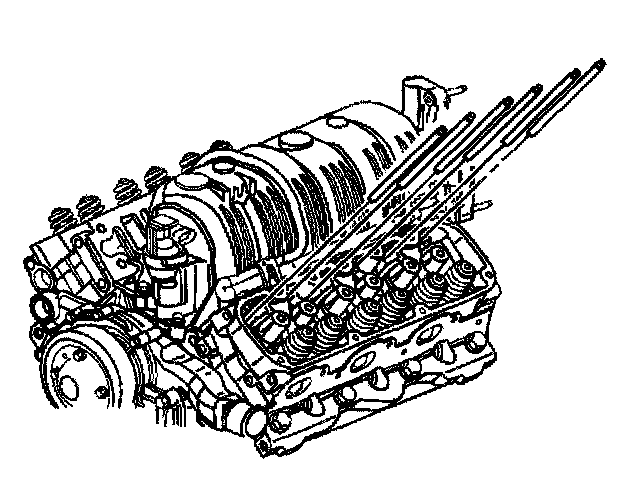
5. Remove the push rods.
6. Clean the push rods, the valve rocker arms, the bolts, and the guide plates in a suitable solution.
7. Clean the valve rocker arm bolts of all thread adhesive.
Installation Procedure
1. Use compressed air in order to blow oil out of the tapped holes in the cylinder head.
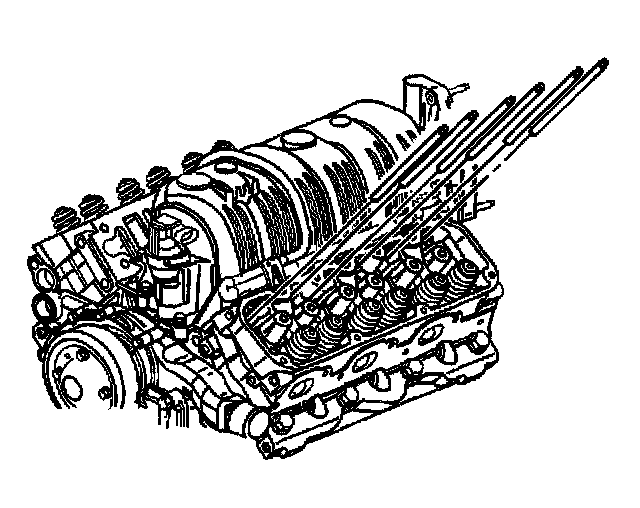
2. Lubricate the ends of the push rods with new engine oil. Install the push rods to the same position the push rods was removed from.
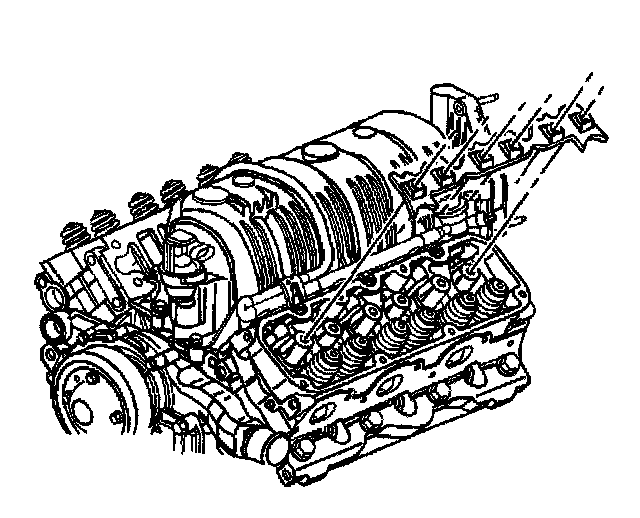
3. Install the valve rocker arm guide plates.
4. Install the valve rocker arms.
Notice: Refer to Special Fastener Notice in Service Precautions.
5. Apply GM P/N12345493, (Canadian P/N 10953488) threadlocker or equivalent to the rocker arm bolt threads
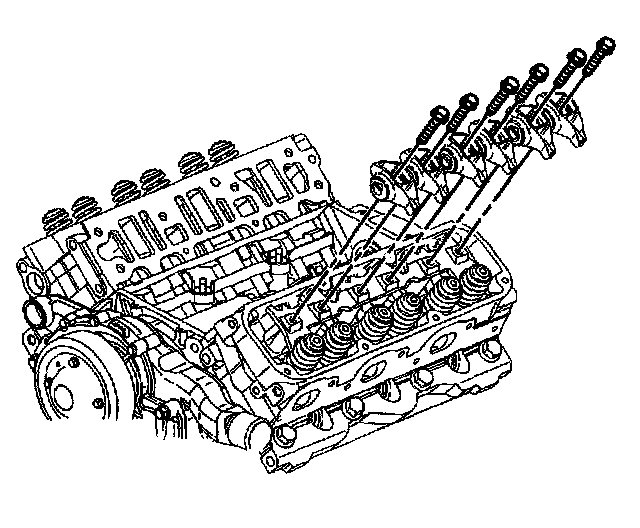
Notice: Refer to Fastener Notice in Service Precautions.
6. Install the rocker arm bolts. Tighten
6.1. Tighten the bolts to 15 Nm (11 ft. lbs.).
6.2. Use the J 36660-A to rotate the bolts an additional 90°.
7. Install the valve rocker arm covers.
8. Inspect the valve train for noise.