Weatherstrip Replacement - Rear Compartment Lid
Weatherstrip Replacement - Rear Compartment Lid
Tools Required
J 25070 Heat Gun
Removal Procedure
1. Open the rear compartment lid.
2. Lower the endgate.
3. Heat the rear compartment lid weatherstrip using a J 25070 . Hold the heat gun approximately 152 mm (6 in) from the surface. Apply the heat using a circular motion.
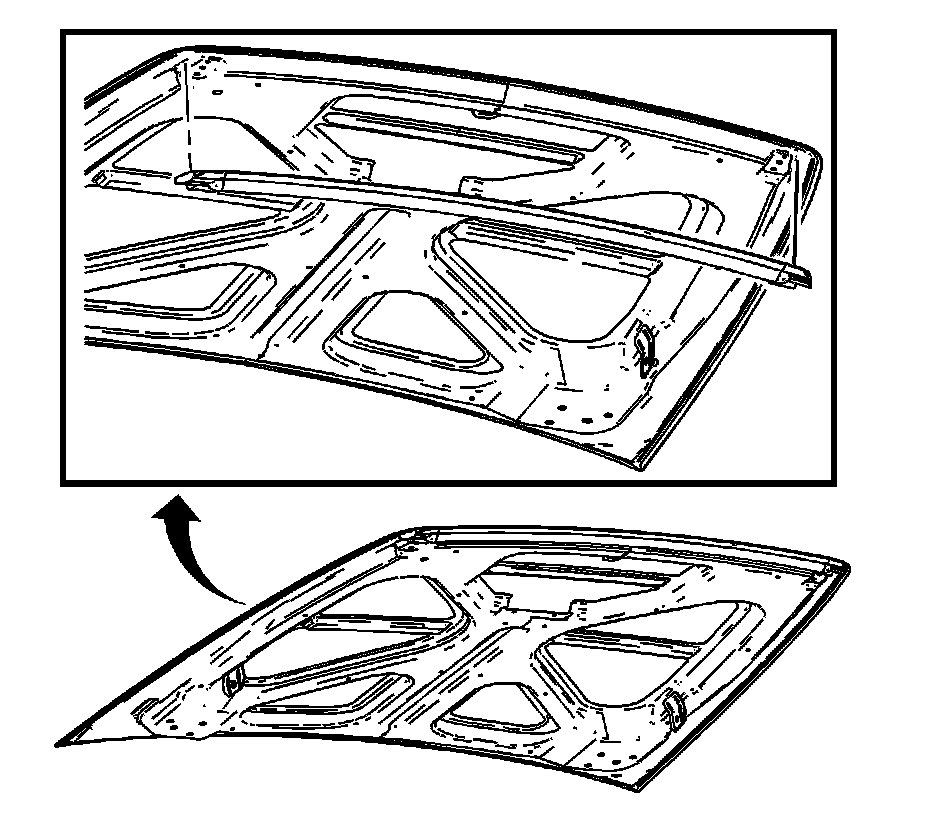
4. Pull downward to remove the rear compartment lid weatherstrip from the vehicle.
5. Use varnish makers and painters (VMP) naptha in order to remove all traces of adhesive residue from the painted surfaces.
Installation Procedure
1. Ensure that the painted surface in the tape contact area is clean and dry.
2. Warm the rear compartment lid with a heat lamp or heat gun, if necessary, to 18.8-41.1°C (66-100°F).
Important: DO NOT touch the adhesive surface.
3. Remove the tape liner from the adhesive tape.
4. Starting at one end, carefully apply the rear compartment lid weatherstrip to the rear compartment lid.
5. Hand-roll the rear compartment lid weatherstrip to the rear compartment lid to ensure proper adhesion.
6. Close the rear compartment lid.
7. Close the endgate.