Weatherstrip Replacement - Rear Compartment Opening
Weatherstrip Replacement - Rear Compartment Opening
Removal Procedure
1. Open the rear compartment lid.
2. Lower the endgate.
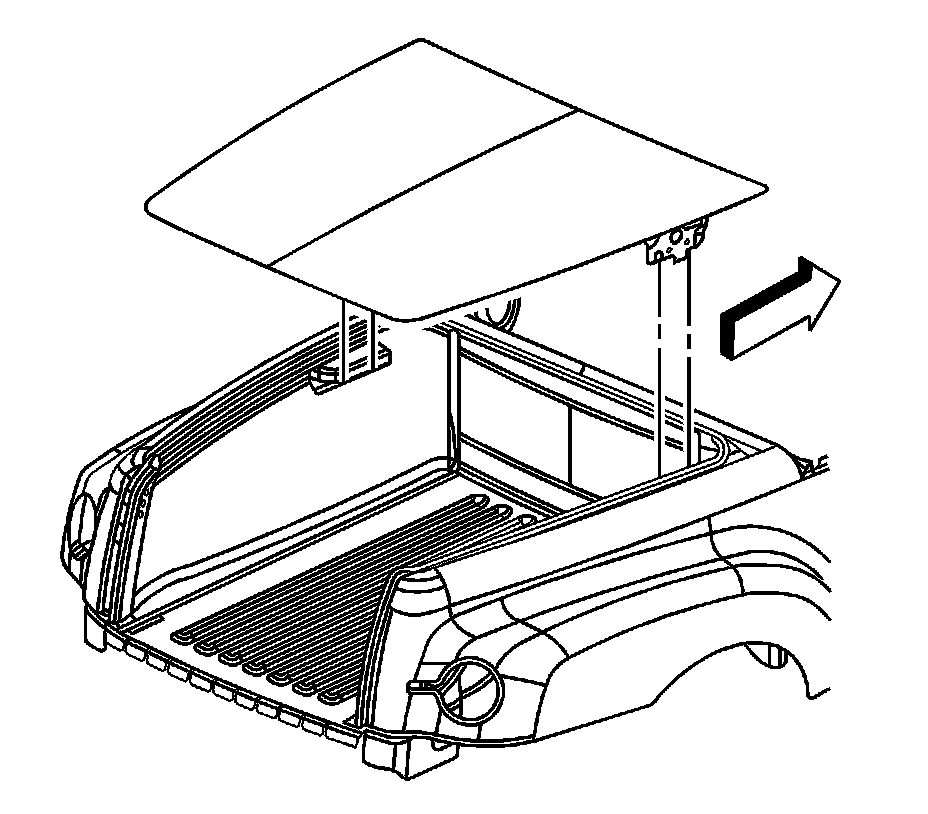
3. Remove the rear compartment lid. Refer to Compartment Lid Replacement - Rear (Service and Repair) .
4. Pull upward to remove the rear compartment opening weatherstrip from the vehicle.
5. Use Varnish Makers and Painters (VMP) naptha in order to remove all traces of adhesive residue from the painted surfaces.
Installation Procedure
1. Heat the weatherstrip to 27-38°C (80-100°F) for 5 minutes prior to installation.
2. Align the end of the rear compartment opening weatherstrip with the endgate side weatherstrip and install the rear compartment opening weatherstrip onto the flange.
3. Ensure to fully seat the rear compartment opening weatherstrip onto the flange to keep out water.
4. Install the rear compartment lid. Refer to Compartment Lid Replacement - Rear (Service and Repair) .
5. Close the rear compartment lid.
6. Close the endgate.