Tailgate Release Handle: Service and Repair
Handle Replacement - Rear Compartment Lid Interior Release
Removal Procedure
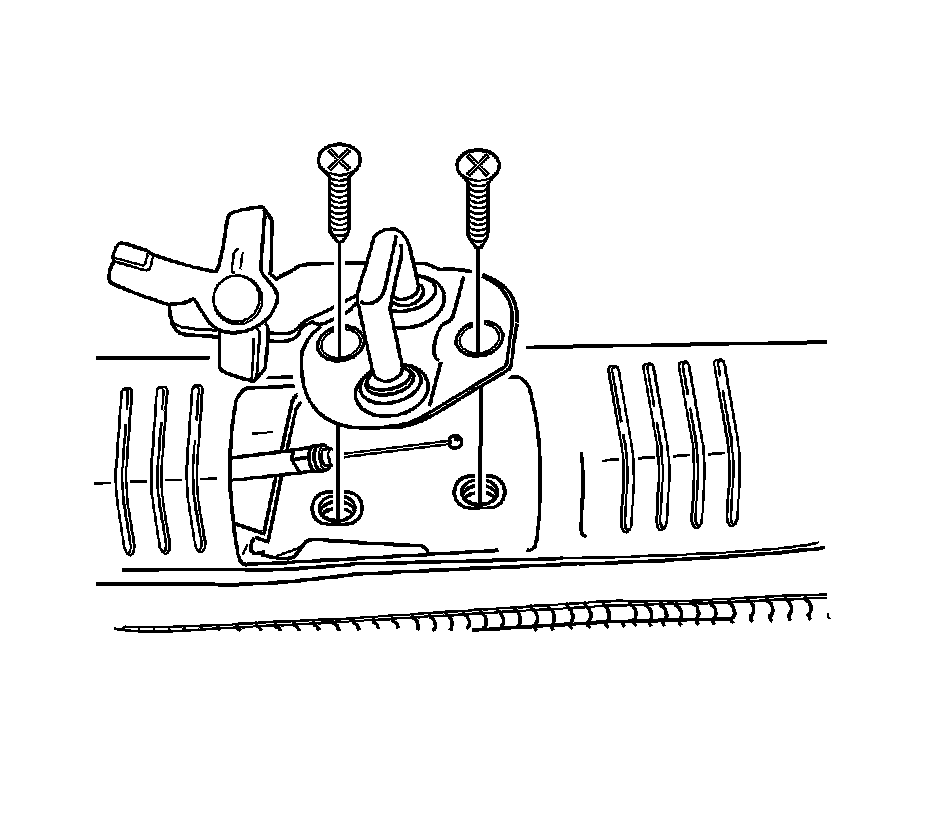
1. Open the luggage compartment.
2. Remove the luggage compartment left side wheelhouse, the rear quarter, and the rear trim panels. Refer to Trim Panel Replacement - Cargo Area Rear (Notchback) (Trim Panel Replacement - Cargo Area Rear (Notchback))Trim Panel Replacement - Cargo Area Rear (Hatchback) (Trim Panel Replacement - Cargo Area Rear (Hatchback)) , Trim Panel Replacement - Rear Quarter (Service and Repair) , and Compartment Trim Panel Replacement - Rear (Service and Repair) in Interior Trim.
3. Remove the lock striker. Refer to Lock Striker Replacement - Rear Compartment Lid (Lock Striker Replacement - Rear Compartment Lid) .
4. Disconnect the cable from the lock striker.
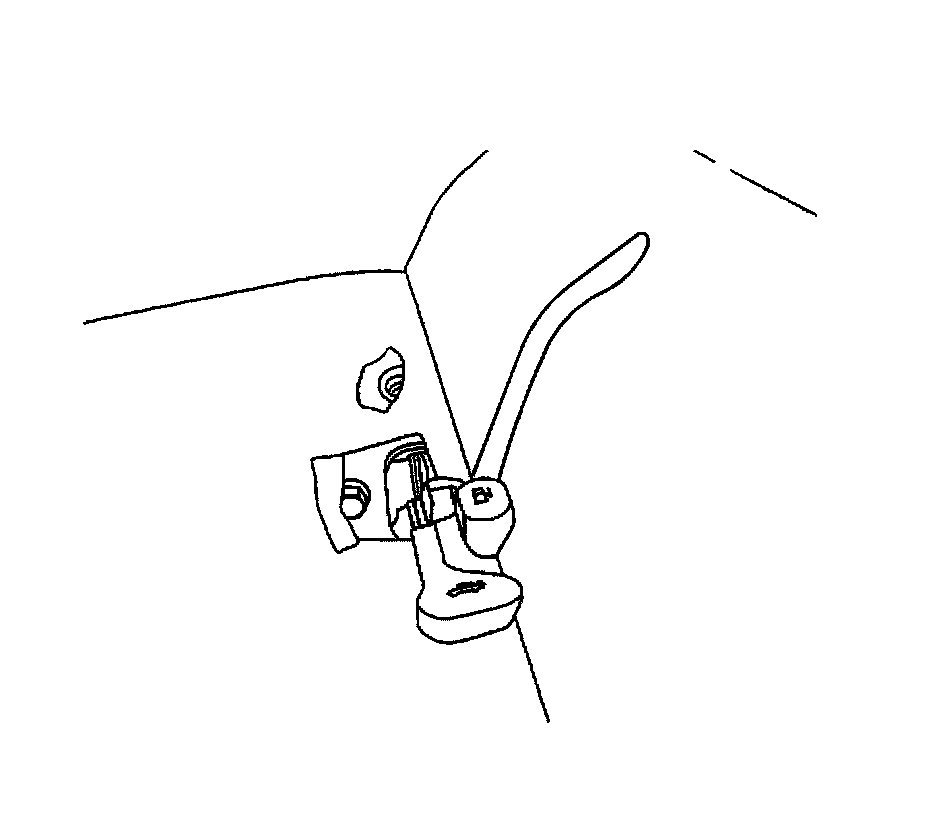
5. Remove the driver front and the rear seats. Refer to Seat Replacement - Front Bucket (Seat Replacement - Front Bucket) and Seat Back Replacement - Rear (Seat Back Replacement - Rear) in Seats.
6. Reposition the floor carpet on the left side of the vehicle.
7. Remove the bolt and the handle.
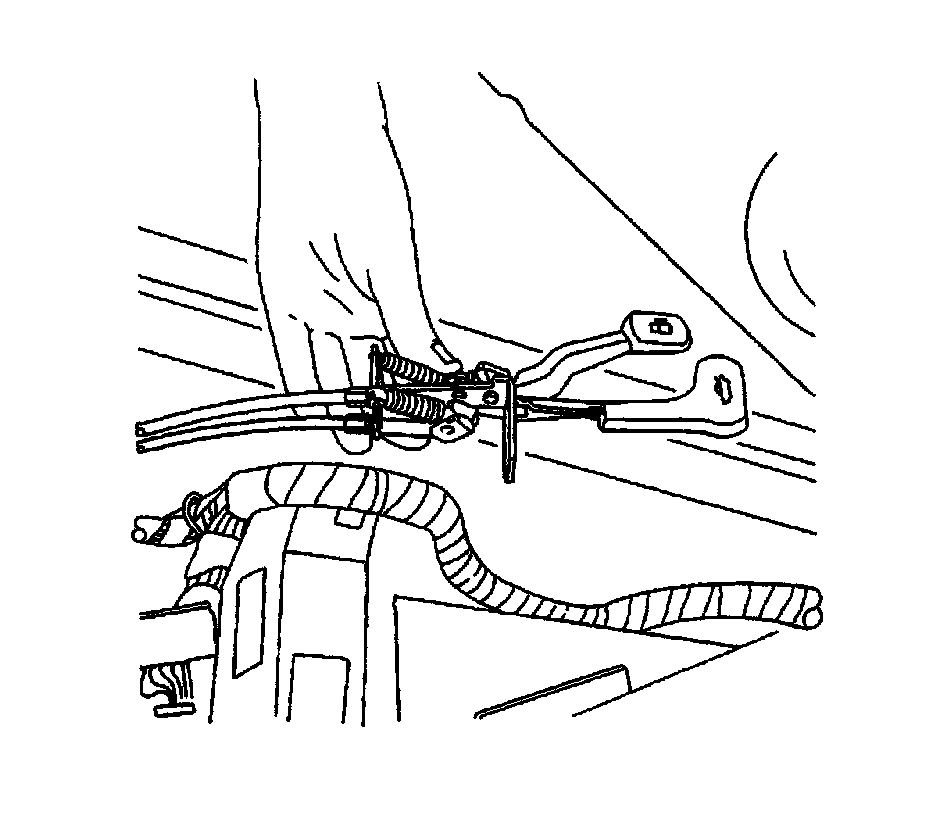
8. Disconnect the cable from the handle.
9. Remove the cable.
Installation Procedure
1. Feed the cable from the luggage compartment to the passenger compartment.
2. Connect the cable to the handle.
Notice: Refer to Fastener Notice in Cautions and Notices.
3. Install the handle with the bolt.
Tighten the remote cable handle bolt to 8 N.m (71 lb in).
4. Install the floor carpet to its original position.
5. Install the front and the rear seats. Refer to Seat Replacement - Front Bucket (Seat Replacement - Front Bucket) and Seat Back Replacement - Rear (Seat Back Replacement - Rear) in Seats.
6. Connect the cable to the lock striker.
7. Install the lock striker. Refer to Lock Striker Replacement - Rear Compartment Lid (Lock Striker Replacement - Rear Compartment Lid) .
8. Install the luggage compartment left side wheelhouse, the rear quarter, and the rear trim panels. Refer to Trim Panel Replacement - Cargo Area Rear (Notchback) (Trim Panel Replacement - Cargo Area Rear (Notchback))Trim Panel Replacement - Cargo Area Rear (Hatchback) (Trim Panel Replacement - Cargo Area Rear (Hatchback)) , Trim Panel Replacement - Rear Quarter (Service and Repair) , and Compartment Trim Panel Replacement - Rear (Service and Repair) in Interior Trim.