Seat Temperature Switch: Service and Repair
Front Seat Heater Switch Replacement
Removal Procedure

1. Disconnect the negative battery cable. Refer to Battery Negative Cable Disconnection and Connection Service and Repair in Engine Electrical.
2. Remove the screws from the rear console compartment. Remove the compartment. Refer to Front Floor Console Replacement Front Floor Console Replacement in Instrument Panel, Gauges, and Console.
3. Remove the automatic console cap.
4. Remove the floor console cover.
5. Remove the console lamp and disconnect the electrical connector.
6. Remove the screws and the ashtray trim panel.
7. Disconnect the electrical connectors to the trim panel.
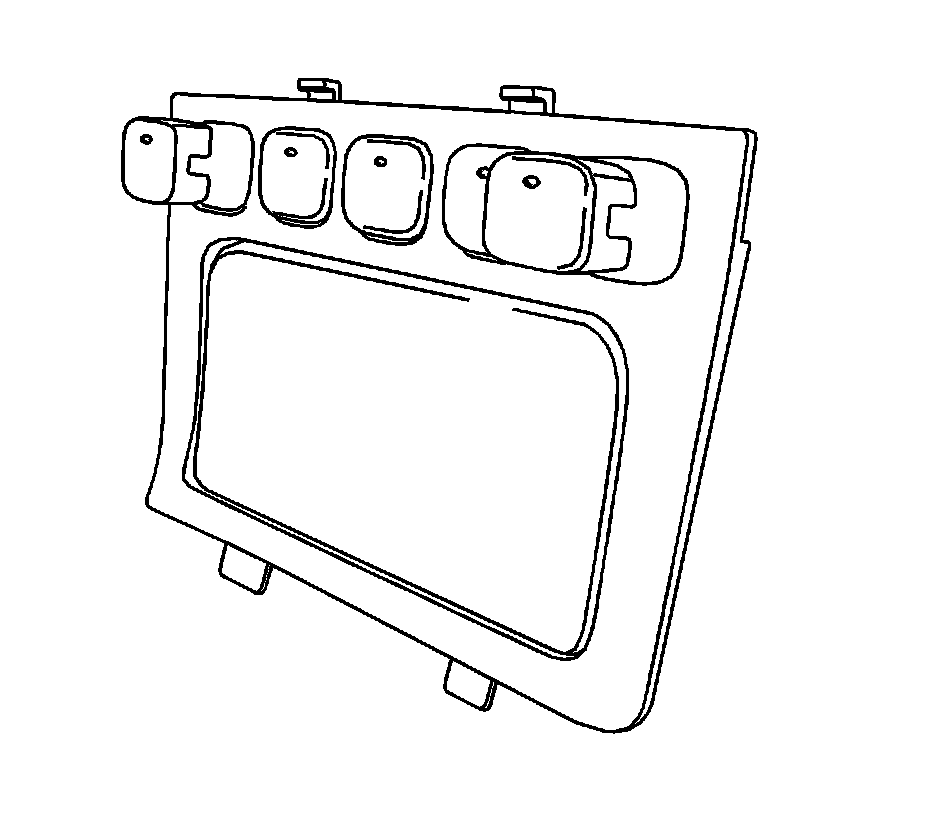
8. Remove the heated seat switch.
Installation Procedure
1. Install the heated seat switch.
2. Connect the electrical connectors to the ashtray trim panel.
Notice:
Refer to Fastener Notice Fastener Notice in Cautions and Notices.
3. Install the trim panel and secure with the screws.
Tighten the screws to 2.5 Nm (22 lb in).
4. Connect the console lamp connector and install the console lamp.
5. Install the floor console cover.
6. Install the automatic console cap.
7. Install the rear console compartment. Install the screws to the compartment. Refer to Front Floor Console Replacement Front Floor Console Replacement in Instrument Panel, Gauges, and Console.
8. Connect the negative battery cable. Refer to Battery Negative Cable Disconnection and Connection Service and Repair in Engine Electrical.