Blower Motor: Service and Repair
Blower Motor Replacement
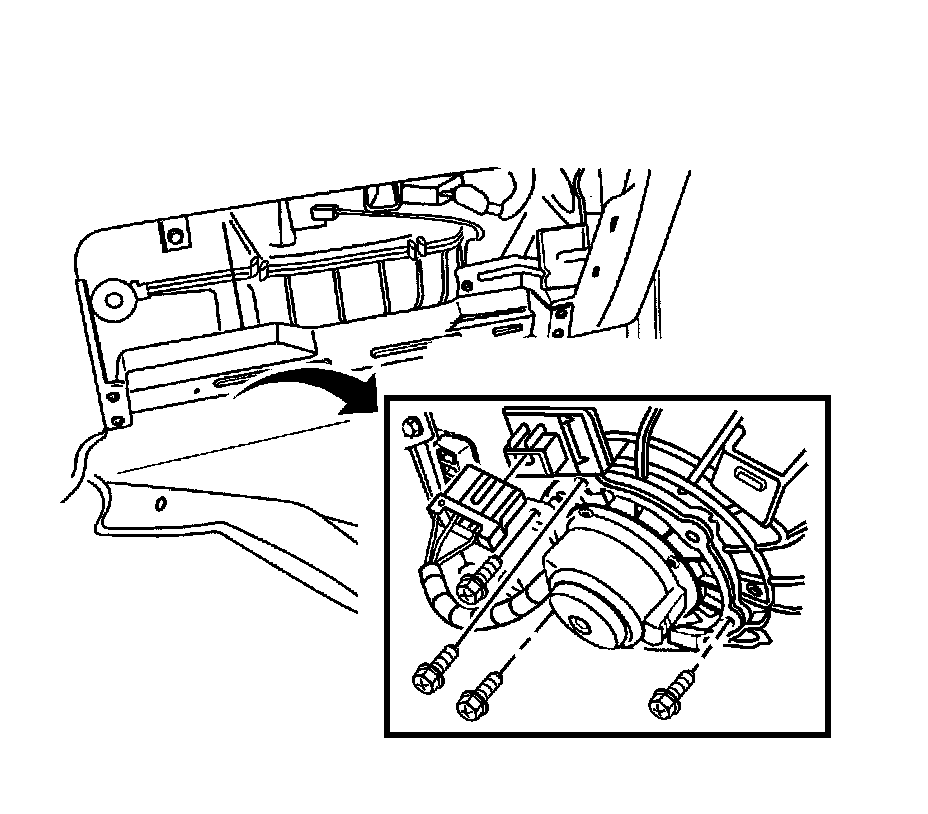
Removal Procedure
Caution:
Refer to Battery Disconnect Caution Battery Disconnect Caution in Cautions and Notices.
1. Disconnect the negative battery cable.
2. Remove the glove box. Refer to Instrument Panel Storage Compartment Replacement Service and Repair in Instrument panel, Gauges and Console.
3. Remove the carpet to prevent stains.
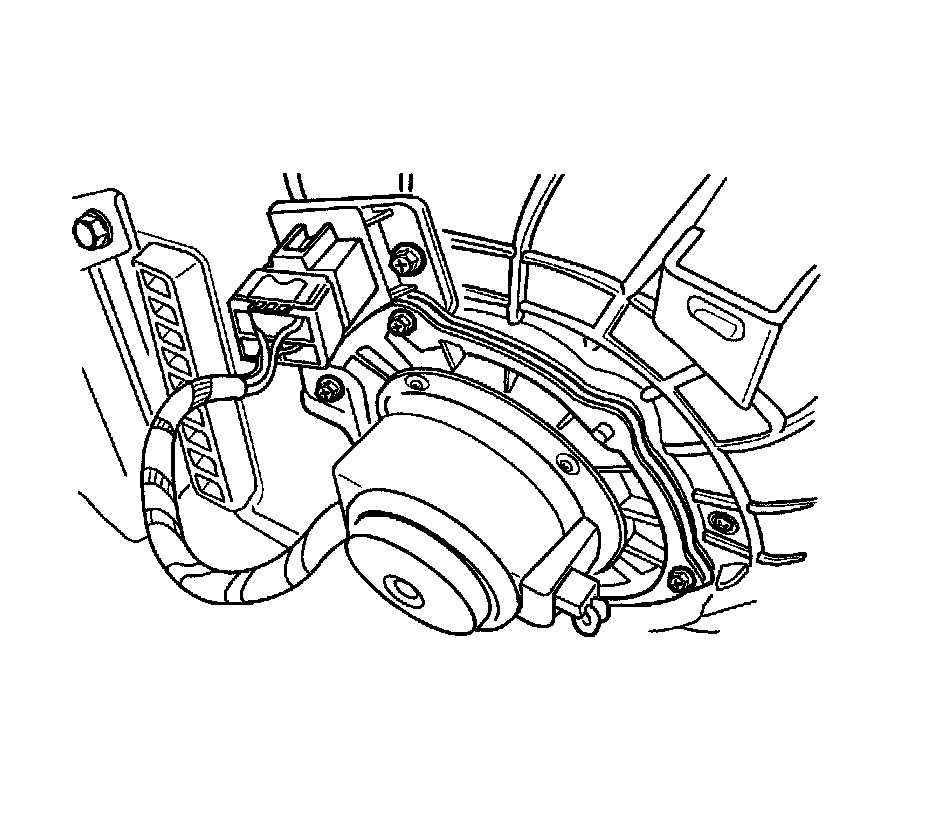
4. Disconnect the blower motor electrical connector and resistor connector.
5. Remove the screws that secure the motor to the heater/air distributor case.
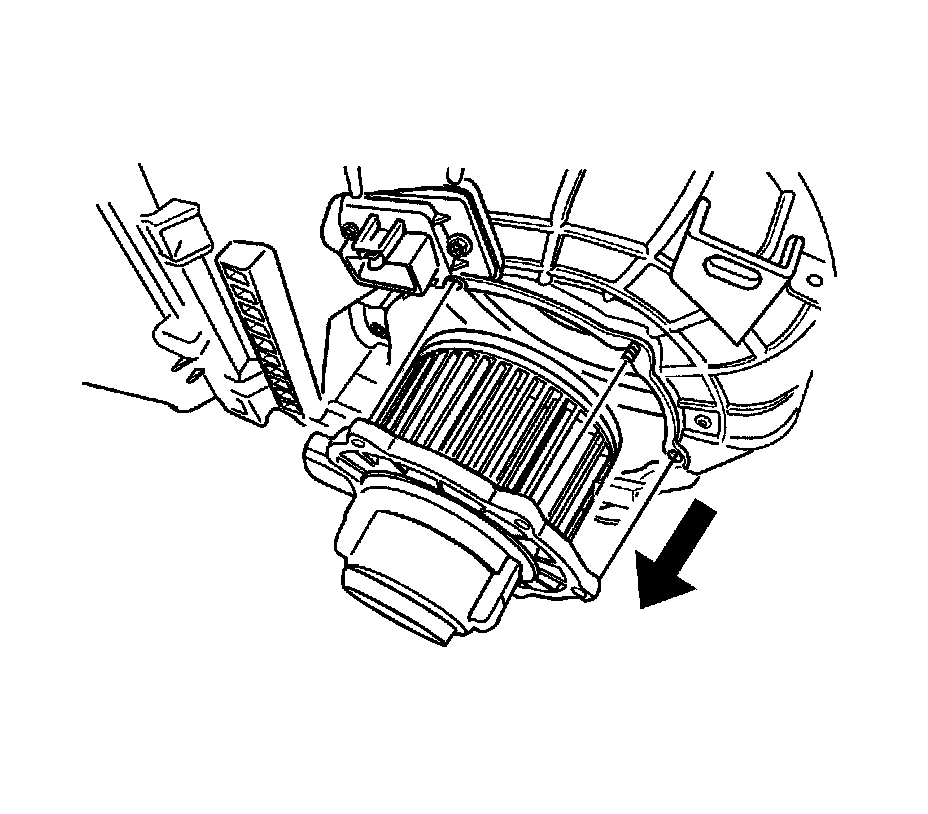
6. Remove the motor, the seal, and the shock mount pads from the heater/air distributor case by gently pulling the motor straight down and out.
Installation Procedure
1. Install the blower motor and the seal with the shock mount pads in the heater/air distributor case. Hold the blower motor in position.
Notice:
Refer to Fastener Notice Fastener Notice in Cautions and Notices.
2. Install the screws to secure the blower motor to the heater/air distributor case.
Tighten the blower motor retaining screws to 1.2 Nm (11 lb in).
3. Connect the blower motor electrical connector and resistor connector.
4. Connect the negative battery cable.
5. Confirm that the blower motor operates properly.
6. Replace the glove box. Refer to Instrument Panel Storage Compartment Replacement Service and Repair in Instrument Panel, Gauges and Console.