Evaporator Core: Service and Repair
Air Conditioning Evaporator Core Replacement
Removal Procedure
Caution:
Refer to Battery Disconnect Caution Battery Disconnect Caution in Cautions and Notices.
1. Disconnect the negative battery cable.
2. Recover the refrigerant. Refer to Refrigerant Recovery and Recharging Refrigerant Recovery and Recharging.
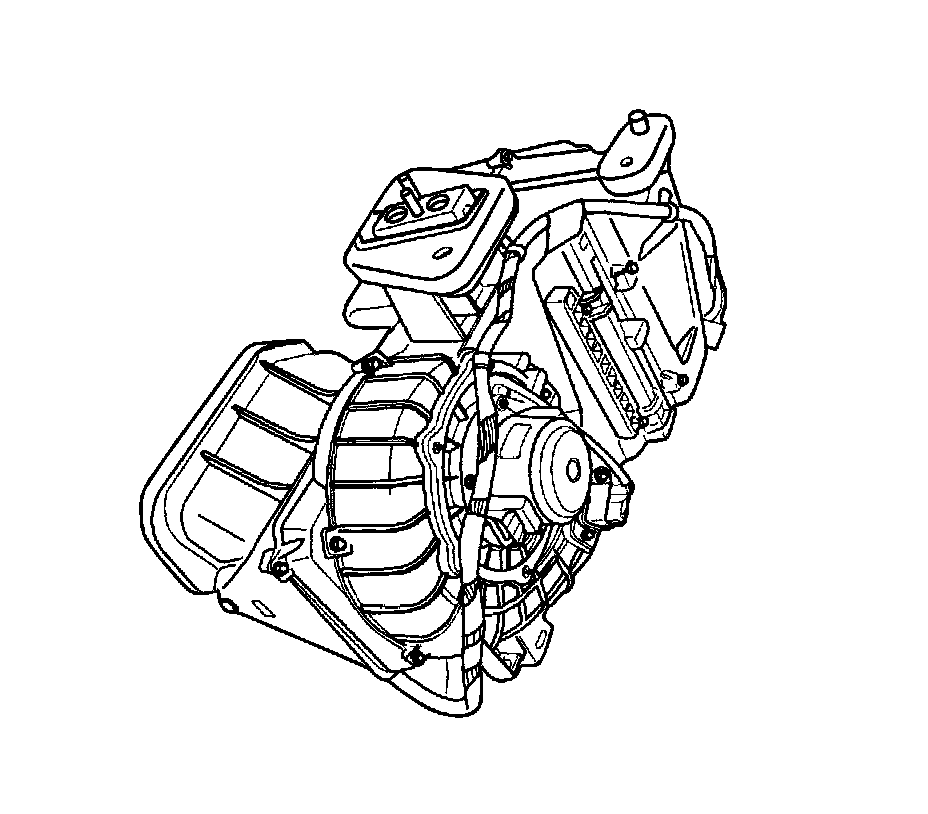
3. Remove the heater/air distributor case assembly. Refer to Air Conditioning and Heater Module Assembly Removal and Installation Service and Repair.
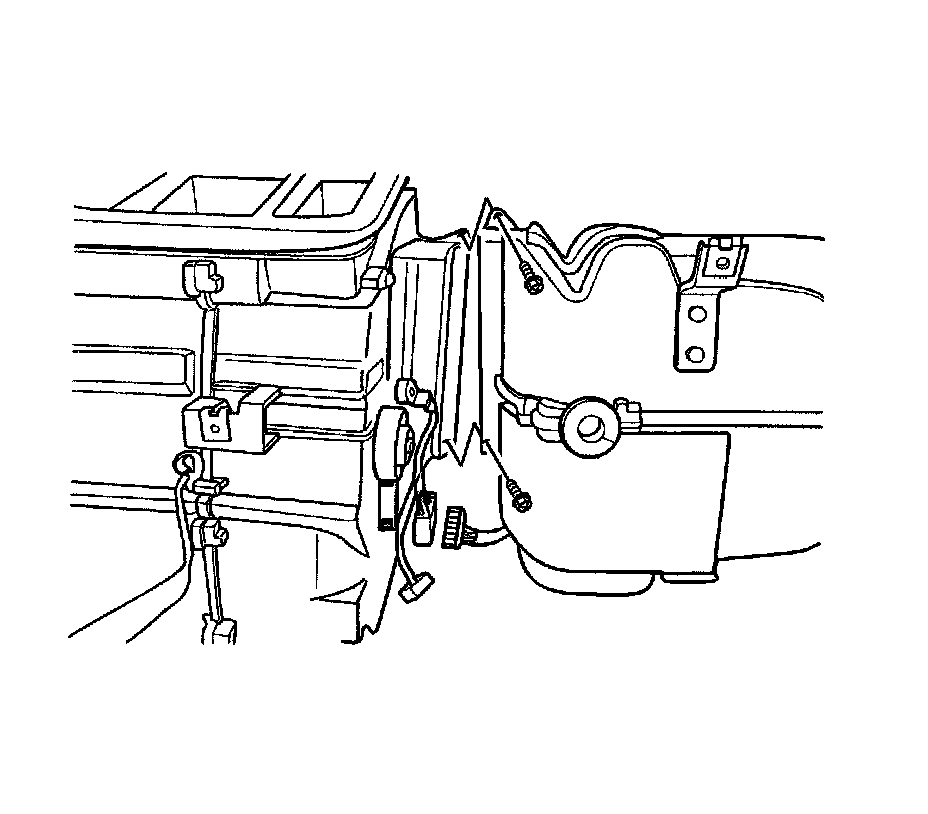
4. Remove the wiring harness and electrical connectors from the heater/air distributor case assembly.
5. Remove the screws that connect the heater core housing and the evaporator housing.
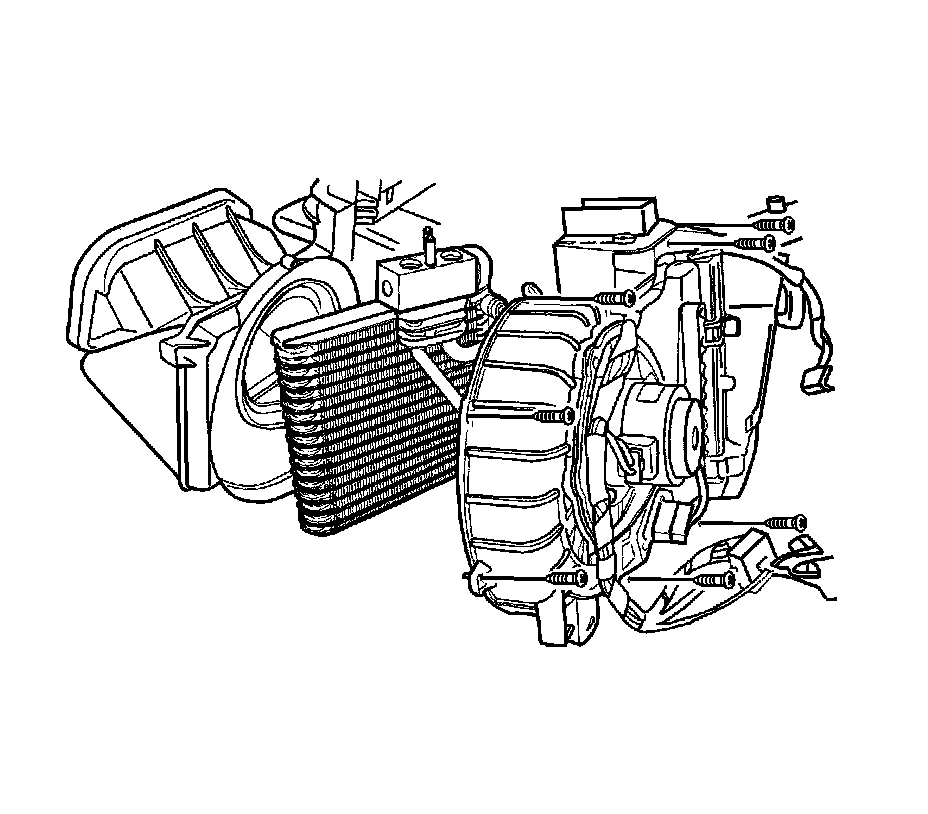
6. Remove the evaporator core cover screws from the evaporator core housing.
7. Remove the evaporator core.
Installation Procedure
Notice:
Refer to Fastener Notice Fastener Notice in Cautions and Notices.
1. Install the evaporator core into the case.
2. Install the screws on the evaporator core housing.
Tighten the evaporator core cover screws to 1.2 Nm (11 lb in).
3. Install the screws that connect the heater core housing and the evaporator housing.
Tighten the screws to 1.2 Nm (11 lb in).
4. Connect the wiring harness and the electrical connectors to the heater/air distributor case assembly.
5. Install the heater/air distributor case assembly. Refer to Air Conditioning and Heater Module Assembly Removal and Installation Service and Repair.
6. Evacuate and recharge the A/C system. Refer to Refrigerant Recovery and Recharging Refrigerant Recovery and Recharging.
7. Connect the negative battery cable.