Brake Pedal Assy: Service and Repair
Brake Pedal Assembly Replacement
Removal Procedure
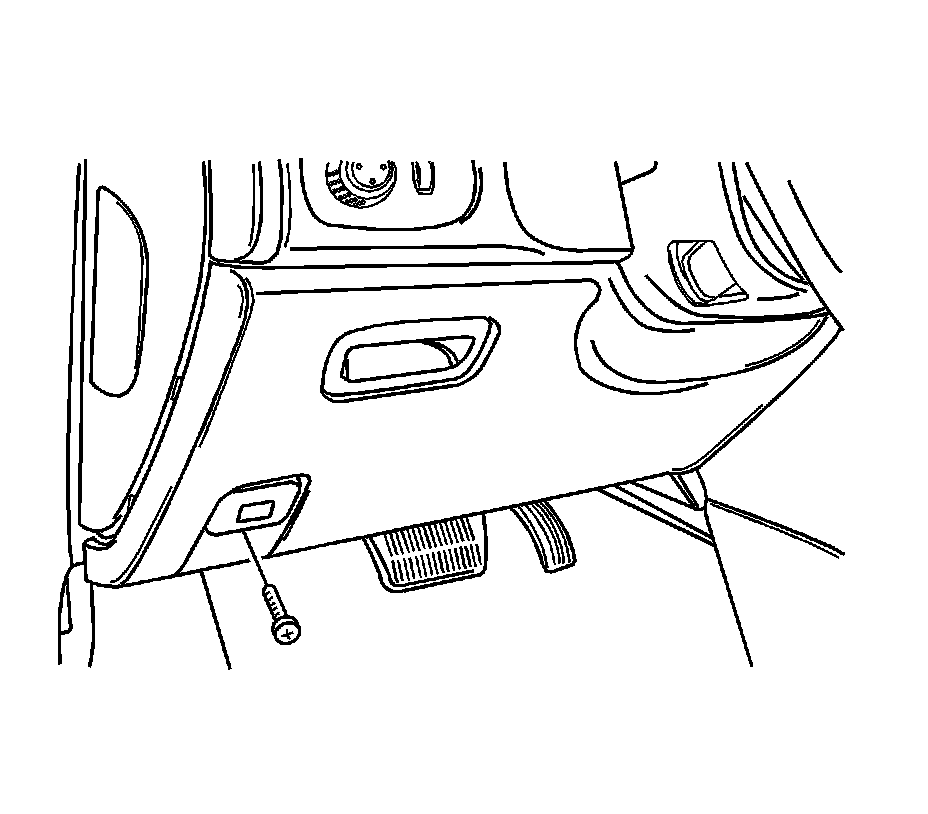
1. Remove the screws that hold the trim panel to the instrument panel.
2. Remove the trim panel.
3. Remove the driver side knee bolster. Refer to Knee Bolster Replacement Knee Bolster Replacement in Instrument Panel, Gages and Console.
4. Remove the stop lamp switch. Refer to Stop Lamp Switch Replacement Service and Repair.
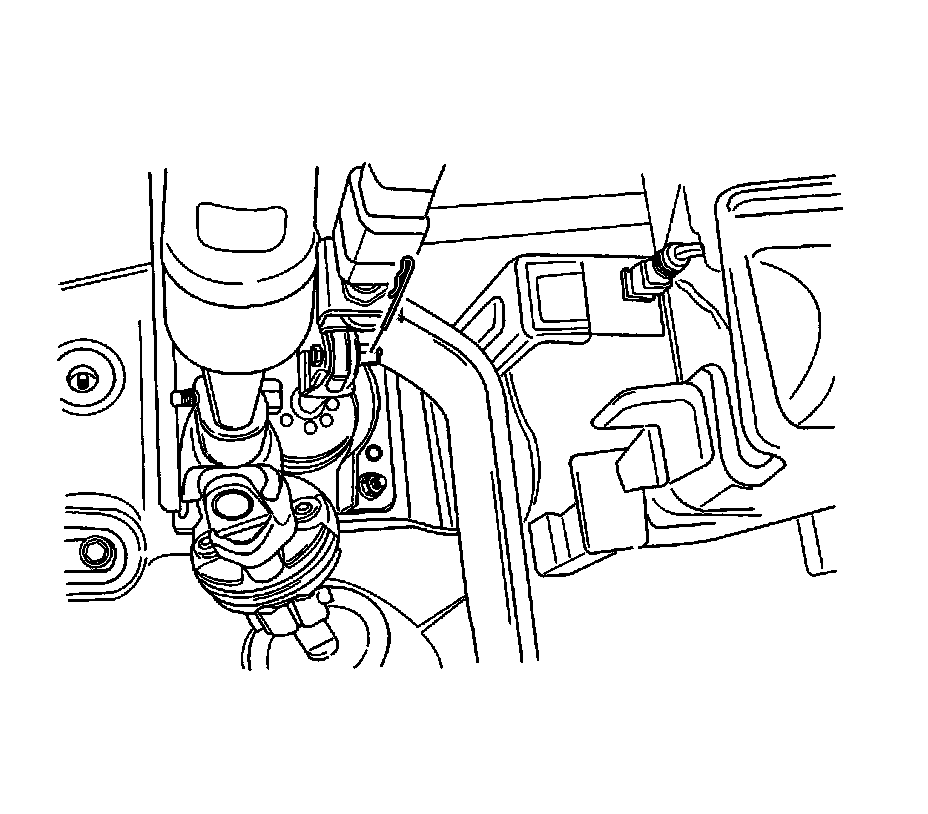
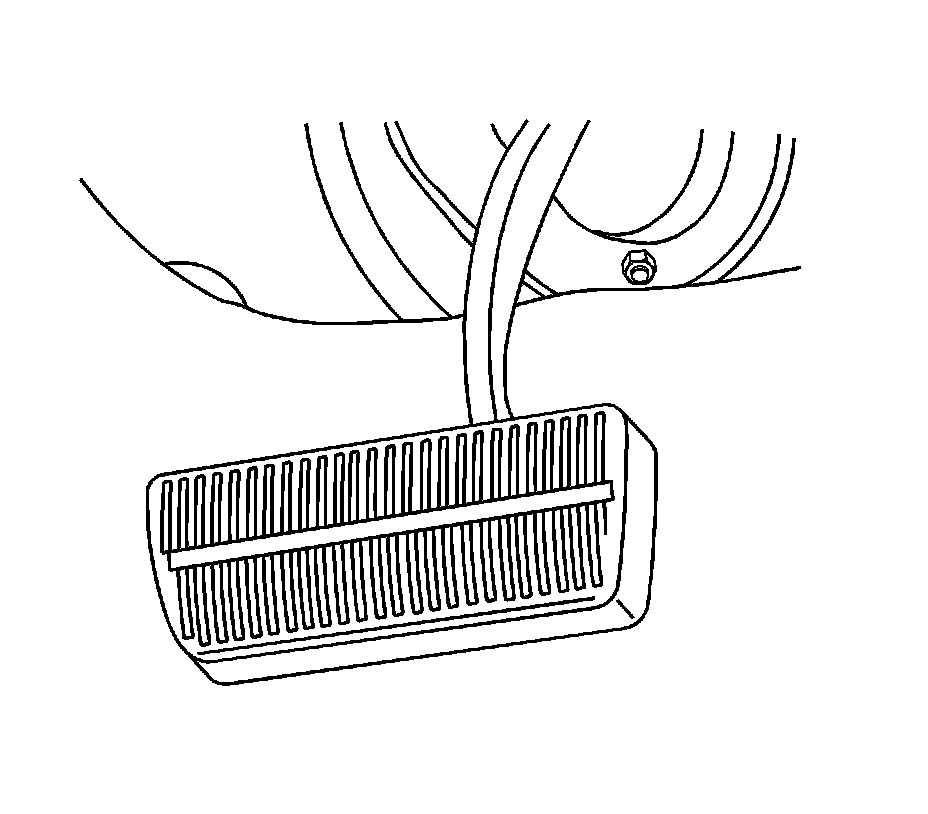
5. Disconnect the spring retaining clip and the bolt from the pushrod clevis.
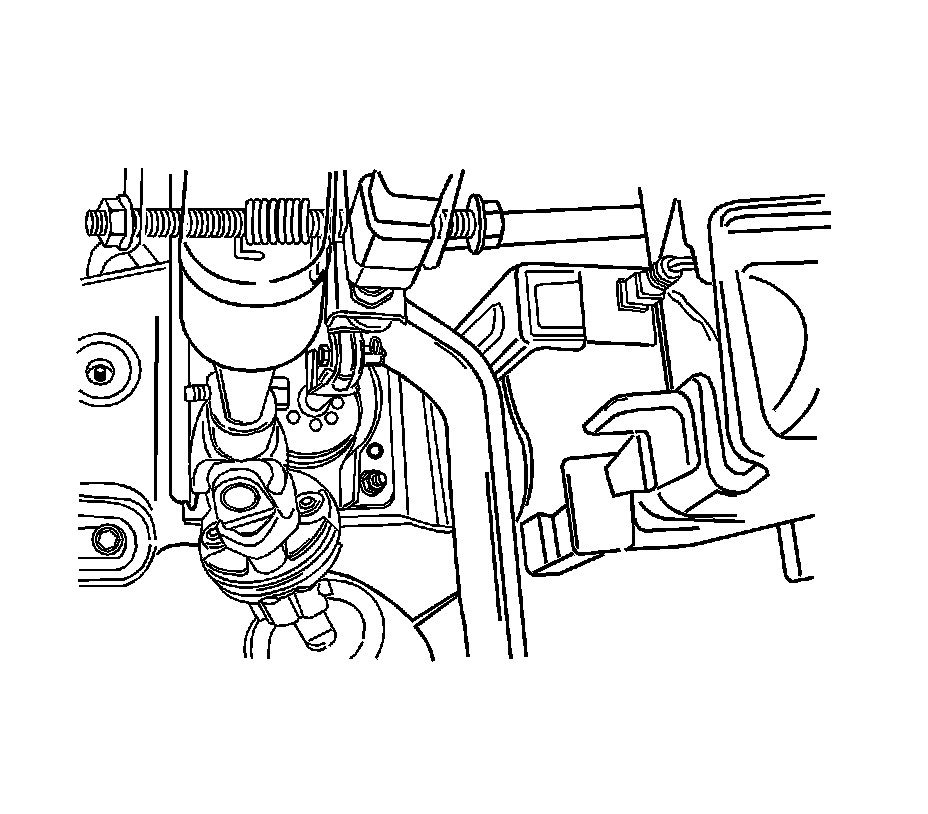
6. Remove the hex nut and the spring.
7. Remove the brake pedal and the bolt.
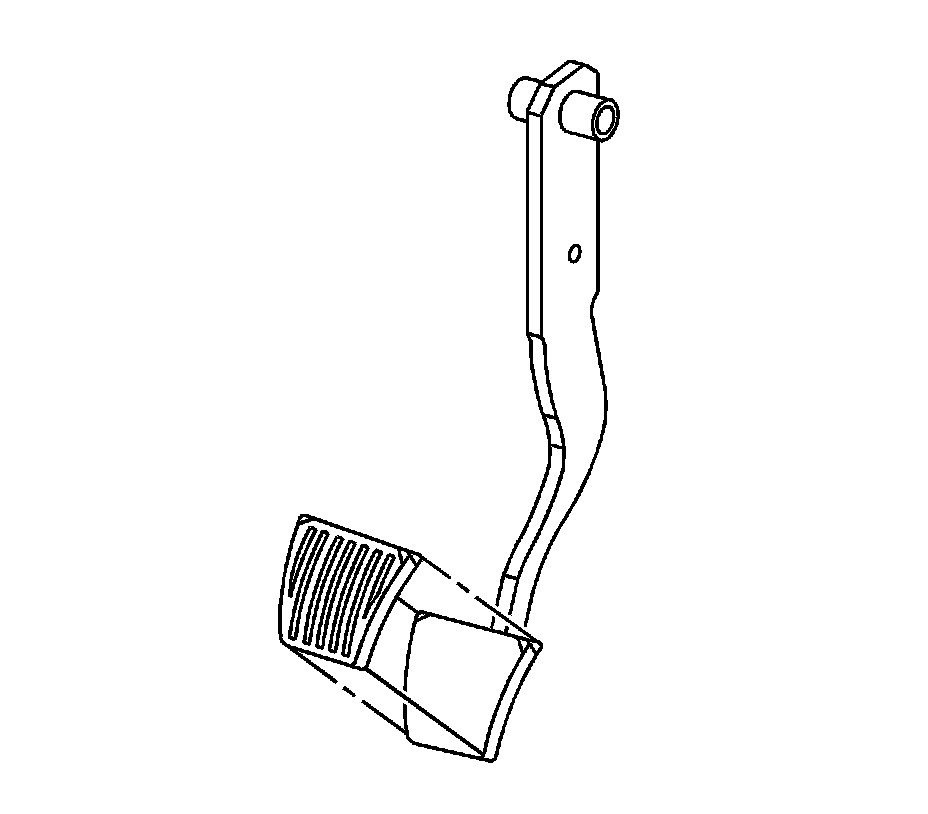
8. Remove the brake pedal cover. Manual transaxle pedal shown
Installation Procedure
1. Install a new pedal cover, if needed. Automatic transaxle pedal shown
2. Coat the pedal shaft with grease.
3. Position the brake pedal on the pedal-to-dash panel bracket and the pedal bolt.
Notice: Refer to Fastener Notice Fastener Notice in Cautions and Notices.
4. Place the hex nut and the spring on the pedal bolt.
Tighten the brake pedal-to-pedal bracket hex nut to 18 Nm (13 lb ft).
5. Install the pushrod clevis to the pedal with the bolt and the spring retaining clip.
6. Connect the stop lamp switch and connector assembly to the pedal bracket. Refer to Stop Lamp Switch Replacement Service and Repair.
7. Install the knee bolster. Refer to Knee Bolster Replacement Knee Bolster Replacement in Interior Trim.
8. Install the trim panel with the screws.
Tighten the trim panel screws to 3 Nm (27 lb in).