Steering Column Replacement
Steering Column Replacement
Removal Procedure

Caution: Refer to Battery Disconnect Caution Battery Disconnect Caution in Cautions and Notices.
1. Disconnect the negative battery cable.
2. Remove the upper and the lower steering column cover panel by removing the screws.

3. Remove the audio system trim plate and audio. Allow enough working space for the removal of instrument cluster trim panel screws. Refer to Radio Replacement Service and Repair in Entertainment.

4. Remove the instrument panel under cover. Refer to Extension Replacement - Floor Console - Side Extension Replacement - Floor Console - Side in Interior Trim.
5. Remove the knee bolster. Refer to Knee Bolster Replacement Knee Bolster Replacement in Interior Trim.
6. Remove the instrument cluster trim panel. Refer to Trim Panel Replacement - Instrument Panel (I/P) Cluster Trim Panel Replacement - Instrument Panel (I/P) Cluster in Instrument Panel, Gages and Console.
7. Remove the steering wheel, turn signal switch lever, and wiper switch lever.

8. Remove the steering column jacket assembly securing bolts and nuts.
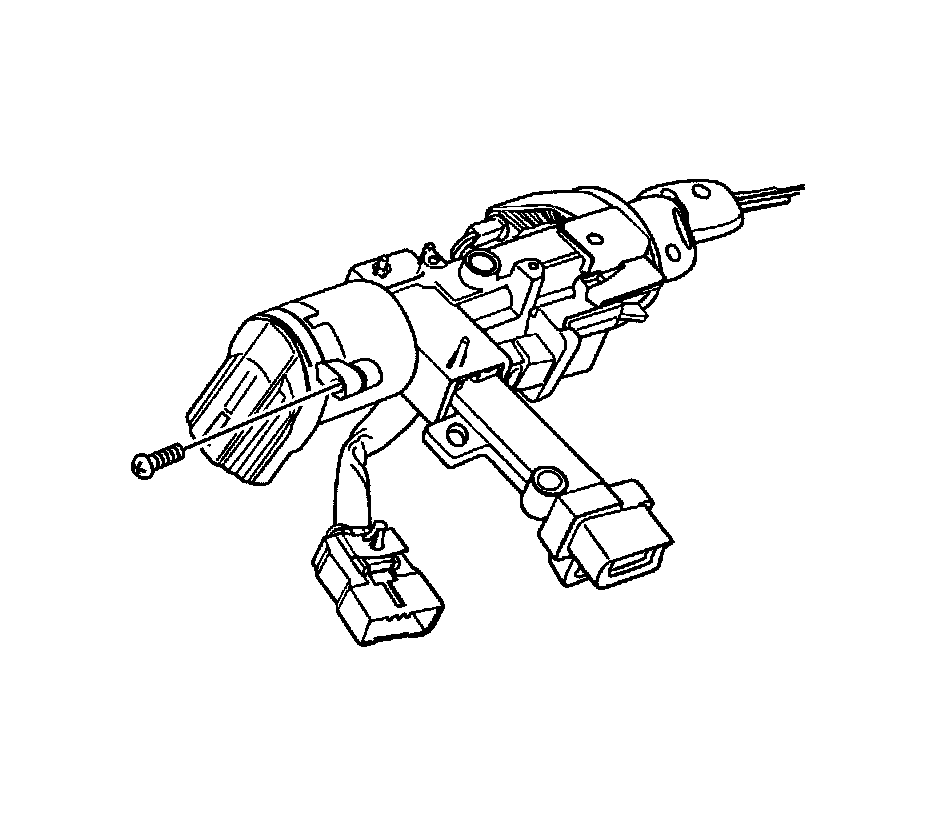
9. Remove the ignition switch retaining screw.
10. Disconnect the wiring and remove the ignition switch.
11. Disconnect the head amplifier connector, air bag connector, and the other connector which are connected to steering wheel.
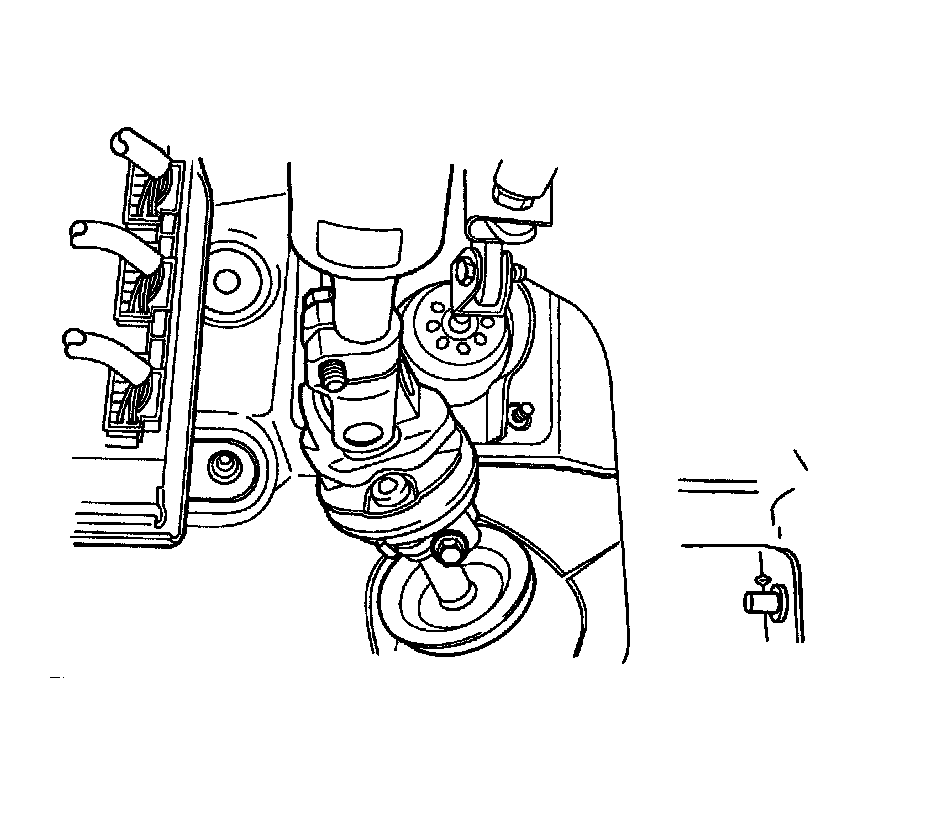
12. Remove the steering column shaft from the universal joint.
Installation Procedure
Notice: Refer to Fastener Notice Fastener Notice in Cautions and Notices.
1. Install the steering column shaft to the universal joint with a bolt.
Tighten the steering column shaft securing bolt to the universal joint pinch to 25 Nm (18 lb ft).
2. Install the ignition switch retaining screw.
Tighten the ignition switch retaining screw to 2.5 Nm (22 lb in).
3. Connect the wiring to the ignition switch.
4. Connect the head amplifier connector, air bag connector, and the other connector which are connected to the steering wheel.
5. Install the steering column jacket assembly securing bolts and nuts.
Tighten the steering column jacket assembly securing bolts and nuts to 22 Nm (16 lb ft).
6. Install the instrument cluster trim panel. Refer to Trim Panel Replacement - Instrument Panel (I/P) Cluster Trim Panel Replacement - Instrument Panel (I/P) Cluster in Instrument Panel, Gages and Console.
7. Install the knee bolster. Refer to Extension Replacement - Floor Console - Side Extension Replacement - Floor Console - Side in Interior Trim.
8. Install the instrument panel under cover. Refer to Knee Bolster Replacement Knee Bolster Replacement in Interior Trim.
9. Install the steering wheel, turn signal lever, and wiper switch lever.
10. Install the upper and the lower steering column cover panel.
Tighten the upper and the lower steering column cover panel screw to 2.5 Nm (22 lb in).
11. Connect the negative battery cable.