Valve Lifter Oil Manifold Replacement
Valve Lifter Oil Manifold Replacement
Removal Procedure
1. Remove the intake manifold.
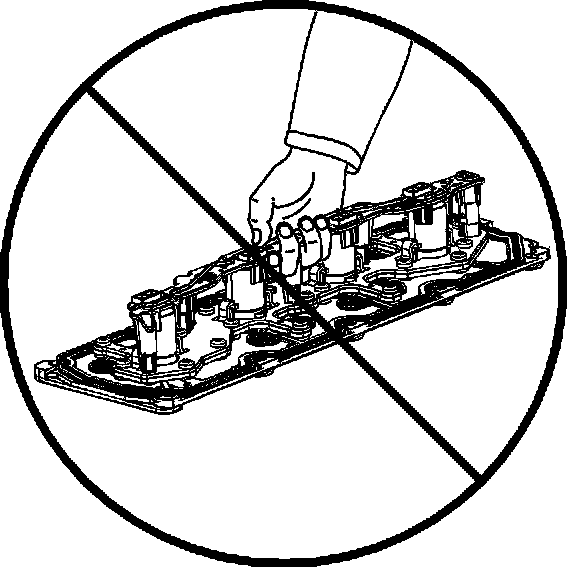
2. Do not lift the manifold assembly by the electrical lead frame.
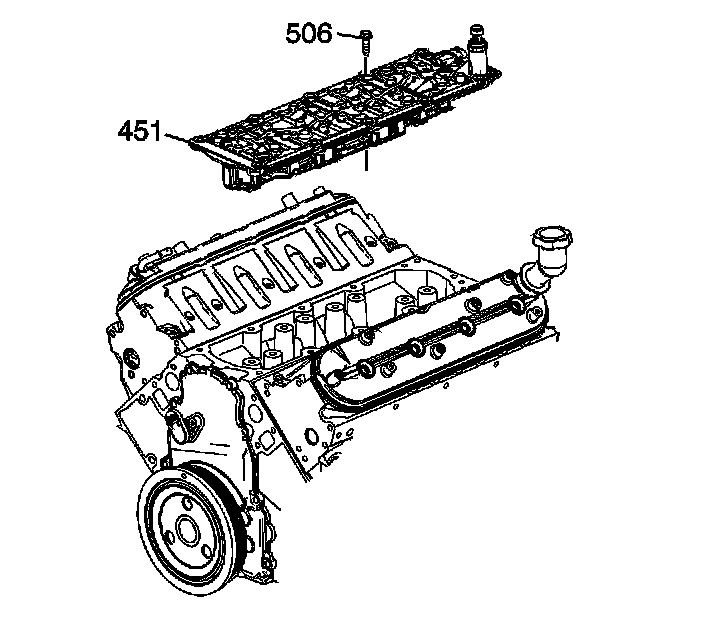
3. Remove the valve lifter oil manifold bolts (506).
4. Important: Do not allow dirt or debris to enter the oil passages of the manifold. Plug as required.
Remove the valve lifter oil manifold (451).
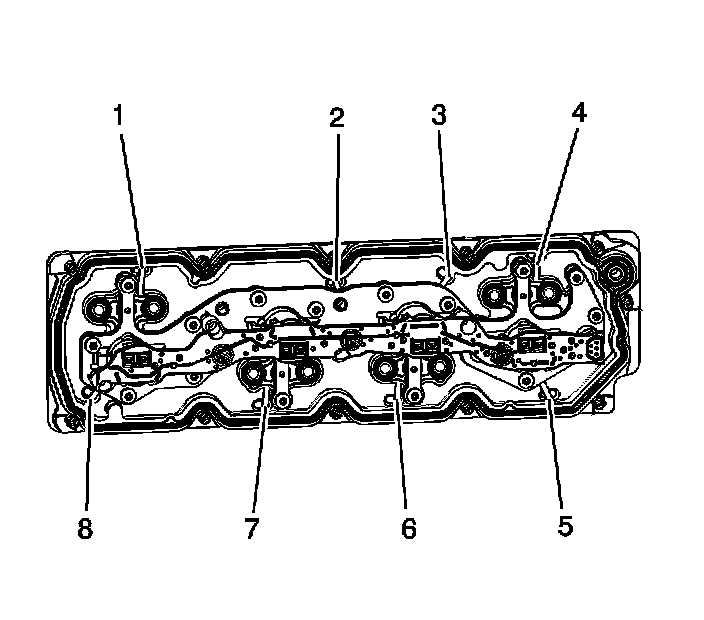
5. Important: Remove only the outer gasket from the manifold. Do not disassemble any of the internal components of the manifold in an attempt to remove the eight inner sealing gaskets. If the inner gaskets are cut or damaged, replace the manifold as an assembly. Only use a wire-cutter type tool in order to minimize the amount of debris. Do not use a rotary-type cutting tool on the retaining straps.
Identify the 8 gasket retaining strap locations (1-8).
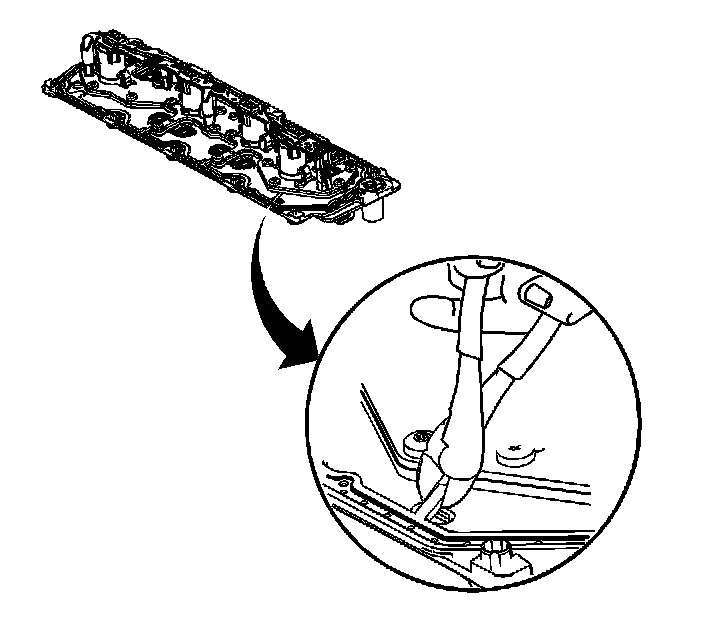
6. Using a wire-cutter type tool, snip the 8 retaining straps of the outer gasket.
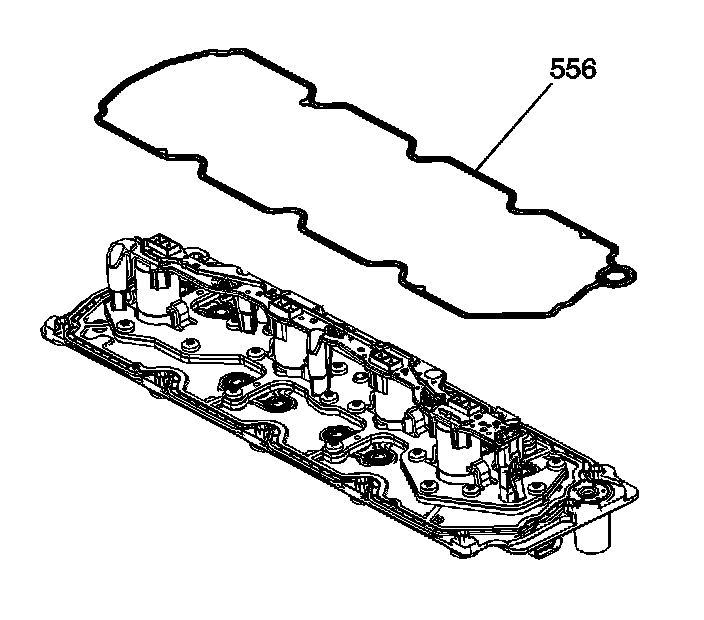
7. Remove the outer gasket (556) from the manifold.
Installation Procedure
Important: All gasket surfaces should be free of oil or other foreign material during assembly.
1. Do not lift the manifold assembly by the electrical lead frame.
2. Install the outer gasket (556) onto the manifold.
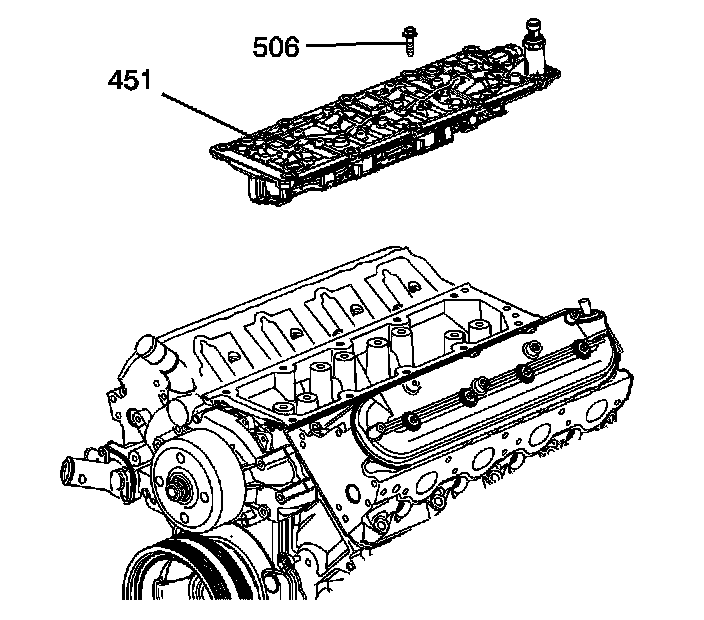
3. Install the valve lifter oil manifold (451).
4. Notice: Refer to Fastener Notice in Service Precautions.
Install the valve lifter oil manifold bolts (506).
Tighten the bolts to 25 Nm (18 ft. lbs.).
5. Install the intake manifold.