Instrument Panel Center Air Outlet Replacement
Instrument Panel Center Air Outlet Replacement
Removal Procedure
1. Remove the left closeout/insulator panel. Refer to Instrument Panel Insulator Panel Replacement - Left Side (Service and Repair).
2. Remove the knee bolster trim panel. Refer to Driver Knee Bolster Panel Replacement (Service and Repair).
3. Remove the instrument panel (I/P) cluster bezel, Chevrolet only. Refer to Instrument Panel Cluster Trim Plate Bezel Replacement (Chevrolet) (Service and Repair)Instrument Panel Cluster Trim Plate Bezel Replacement (GMC) (Service and Repair).
4. Remove the radio. Refer to Radio Replacement (Radio Replacement).
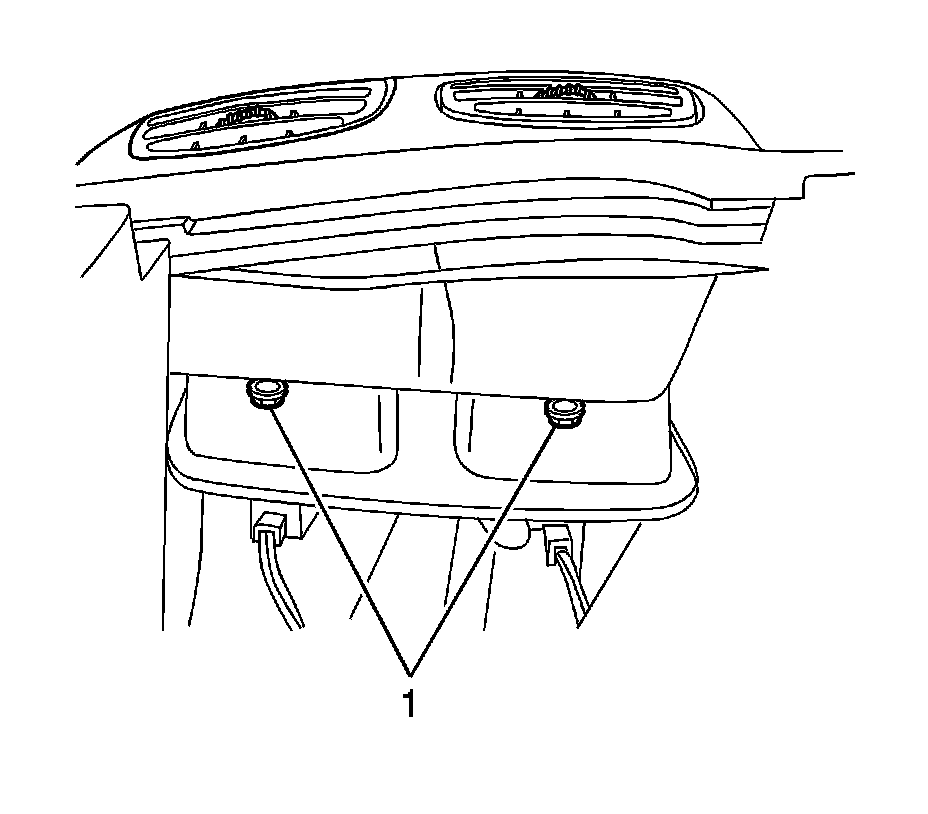
5. Remove the 2 screws (1) from the bottom of the air outlet assembly.
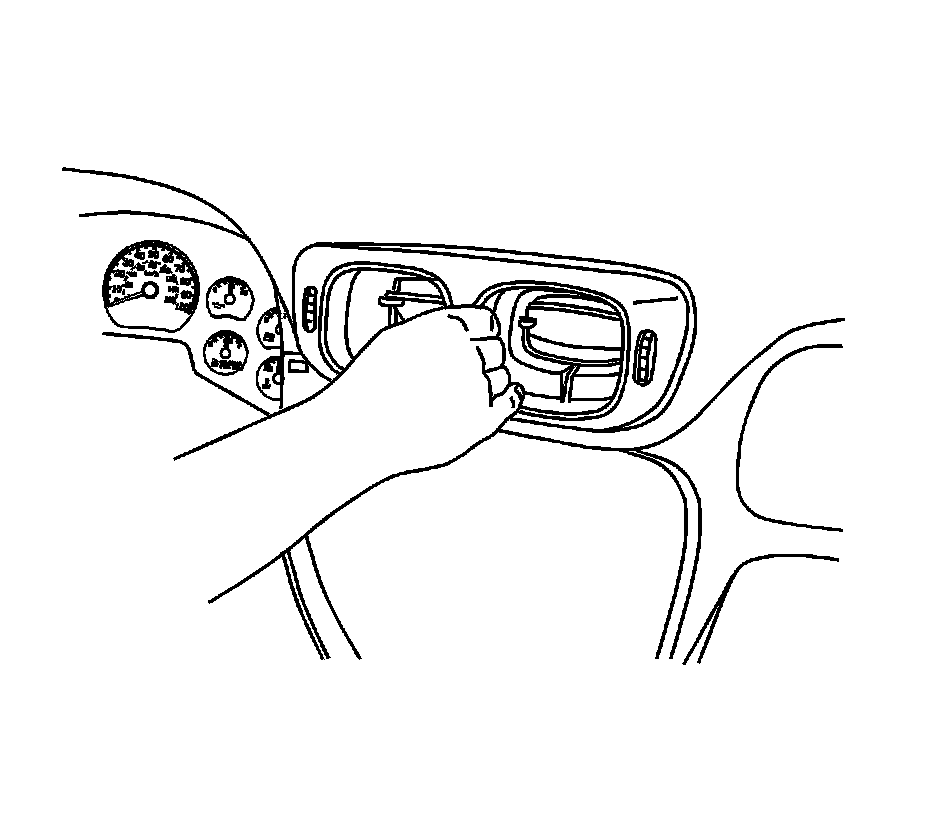
6. Remove the air deflectors from the outlet. Refer to Instrument Panel Air Outlet Replacement (Instrument Panel Air Outlet Replacement).
7. Grasp and pull the outlet rearward from the I/P.
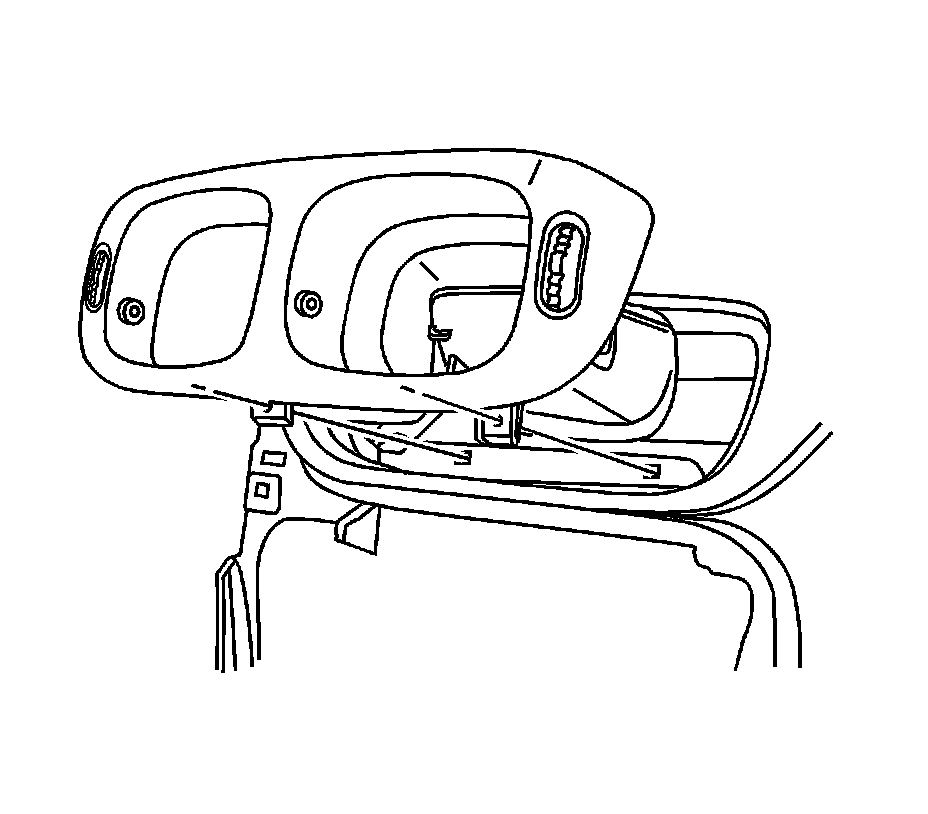
8. Remove the outlet from the vehicle.
Installation Procedure
1. If reinstalling the original outlet, install the air deflectors in the outlet. Refer to Instrument Panel Air Outlet Replacement (Instrument Panel Air Outlet Replacement).
2. Install the outlet assembly to the I/P.
Caution: Refer to Fastener Caution (Fastener Caution).
3. Install the 2 retaining screws (1).
Tighten the screws to 2.5 Nm (22 lb in).
4. Install the radio. Refer to Radio Replacement (Radio Replacement).
5. Install the I/P cluster bezel, Chevrolet only. Refer to Instrument Panel Cluster Trim Plate Bezel Replacement (Chevrolet) (Service and Repair)Instrument Panel Cluster Trim Plate Bezel Replacement (GMC) (Service and Repair).
6. Install the knee bolster trim panel. Refer to Driver Knee Bolster Panel Replacement (Service and Repair).
7. Install the left closeout/insulator panel. Refer to Instrument Panel Insulator Panel Replacement - Left Side (Service and Repair).