83. Oil Pan Installation
Oil Pan Installation
Special Tools
J 45059 - Angle Meter
For equivalent regional tools, refer to Special Tools (Special Tools)

1. Apply sealer to both sides of the crankshaft rear main bearing cap (1). Refer to Adhesives, Fluids, Lubricants, and Sealers (Adhesives, Fluids, Lubricants, and Sealers) for recommended sealant. Press sealer into gap using a putty knife.

2. Apply sealer to both sides of the front cover/block mating area (1). Refer to Adhesives, Fluids, Lubricants, and Sealers (Adhesives, Fluids, Lubricants, and Sealers) for recommended sealant.

3. Install the oil pan gasket.
4. Install the oil pan.
Caution: Refer to Fastener Caution (Fastener Caution).
5. Install the oil pan bolts and tighten to 25 Nm (18 lb ft).
6. Apply sealer to the oil pan side bolt threads. Refer to Adhesives, Fluids, Lubricants, and Sealers (Adhesives, Fluids, Lubricants, and Sealers) for recommended sealant.
7. Install the oil pan side bolts.
8. Tighten the oil pan side bolts a first pass to 50 Nm (37 lb ft).
9. Tighten the oil pan side bolts a second pass to 50 degrees using the J 45059 - meter.
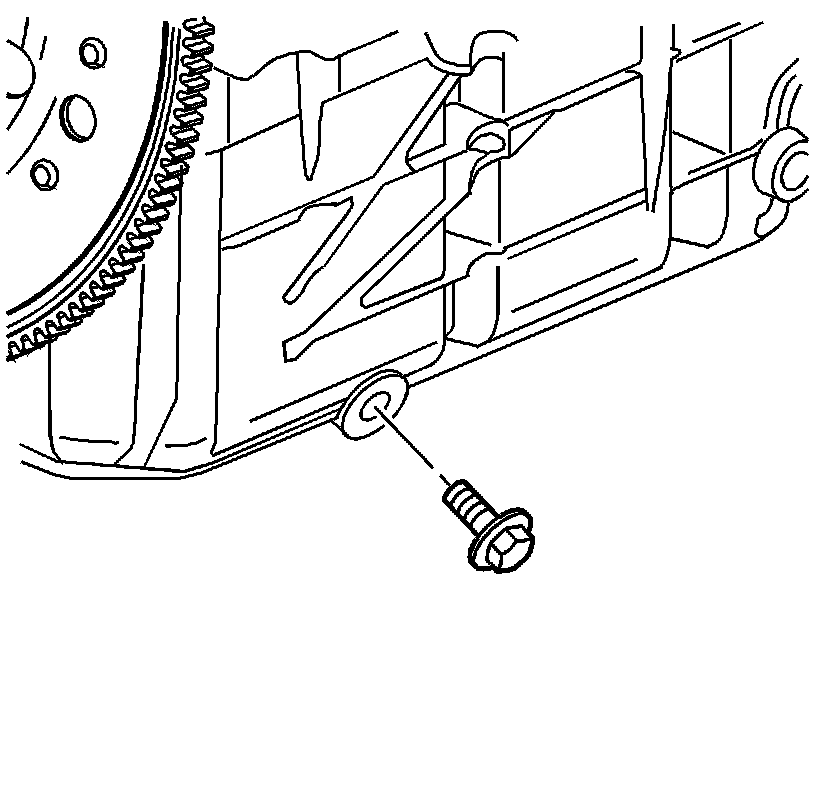
10. Install the oil pan drain plug and tighten to 25 Nm (18 lb ft).