Ignition Coil Replacement
IGNITION COILREMOVAL
1. Disconnect the negative battery cable.
Fig. 17 Throttle Control Shield:
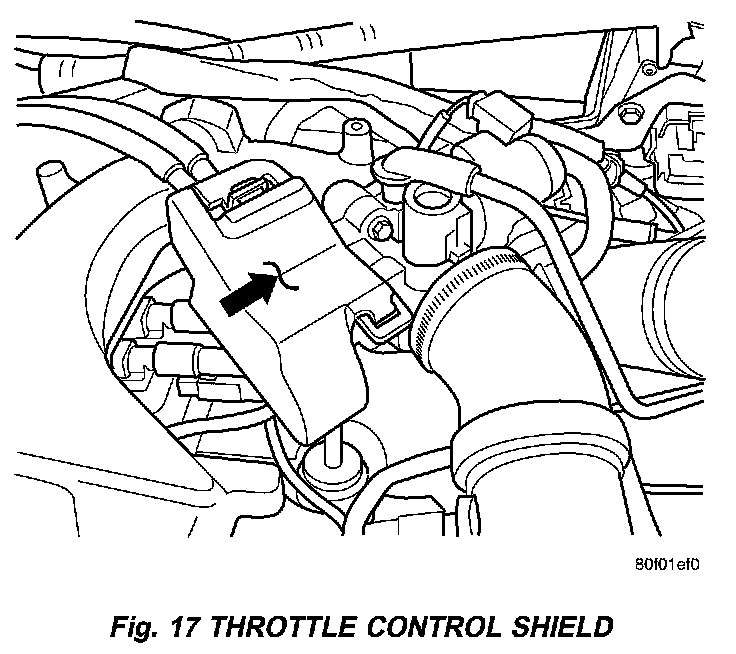
2. Remove the throttle control shield.
Fig. 18 Throttle Cables:
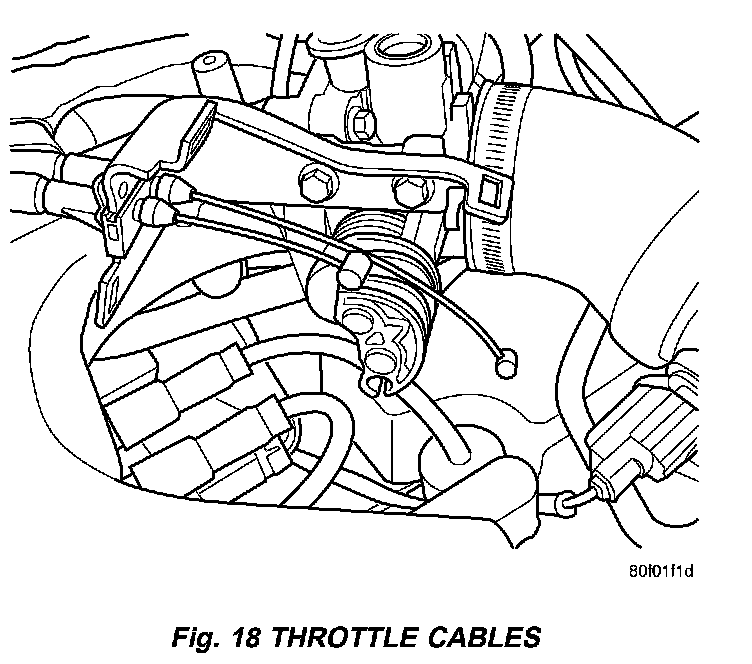
3. Remove the throttle cables from the throttle body lever.
Fig. 19 Throttle Cable Bracket:
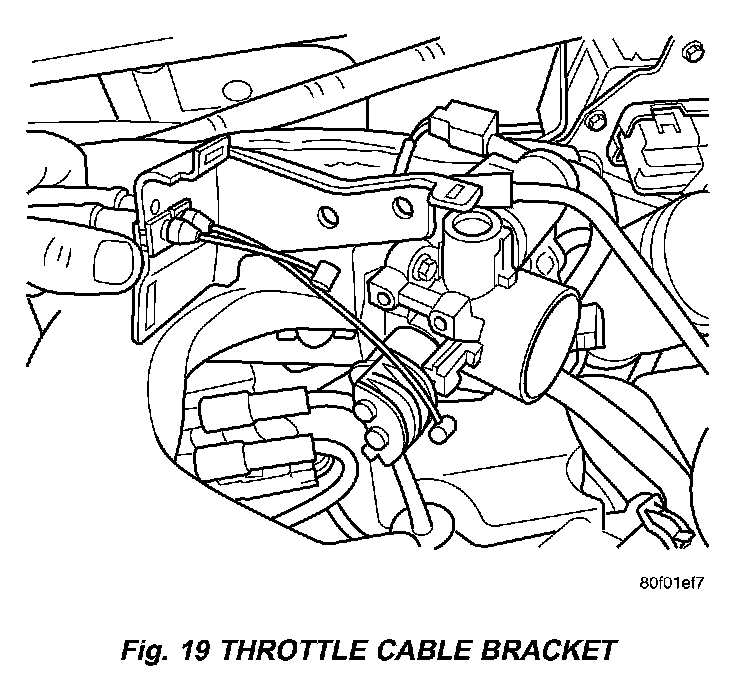
4. Remove the throttle cable bracket and relocate.
5. Remove the spark plug cables from the ignition coil.
6. Unlock and disconnect the electrical connector from the ignition coil.
Fig. 20 Ignition Coil Bolt:
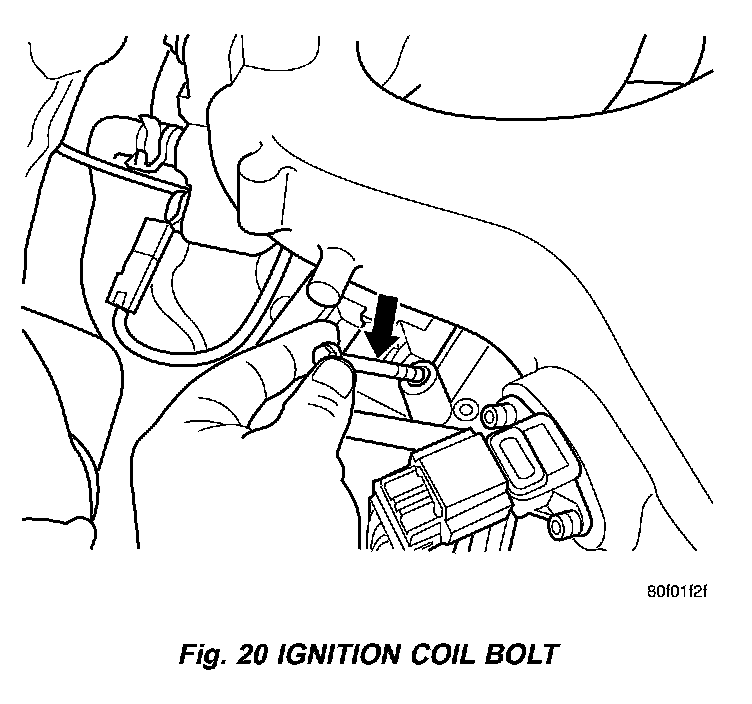
7. Remove bolts from ignition coil. Twist coil to remove 2 of the bolts from the coil before removing it from vehicle.
Fig. 21 Ignition Coil Removal/Installation:
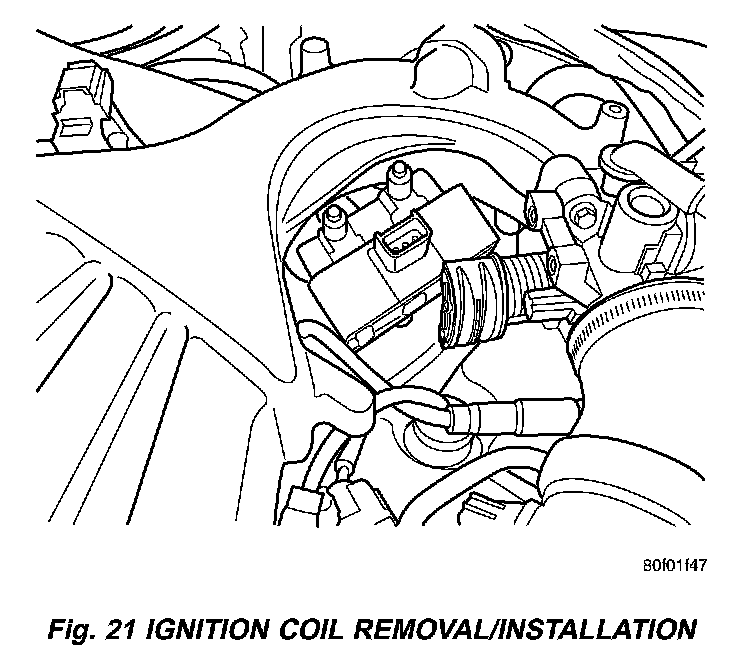
Fig. 22 Ignition Coil Removed:
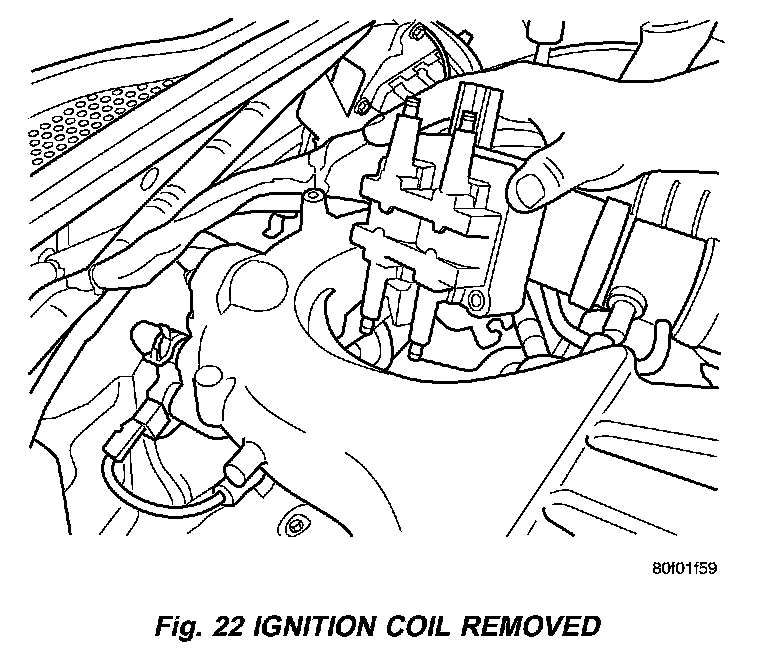
8. Pull coil up and out by the throttle body side of the intake manifold.
INSTALLATION
1. Install the coil on throttle body side of the intake manifold, rotate down past the throttle body to the valve cover.
2. Connect and lock the electrical connector to the ignition coil.
3. Install bolts to ignition coil. Twist coil to install 2 of the bolts to the coil after installing it to vehicle.
4. Install the spark plug cables to the ignition coil.
5. Install the throttle cable bracket.
6. Install the throttle cables to the throttle body lever.
7. Install the throttle control shield.
8. Connect the negative battery cable.
NOTE: Check and make sure that throttle body and attachments will not contact ignition cables.