Shift Cable: Service and Repair
GEAR SHIFT CABLEREMOVAL

1. Loosen set screw and remove knob from shifter handle (Fig. 196).

2. Remove the center console assembly as shown in (Fig. 197).
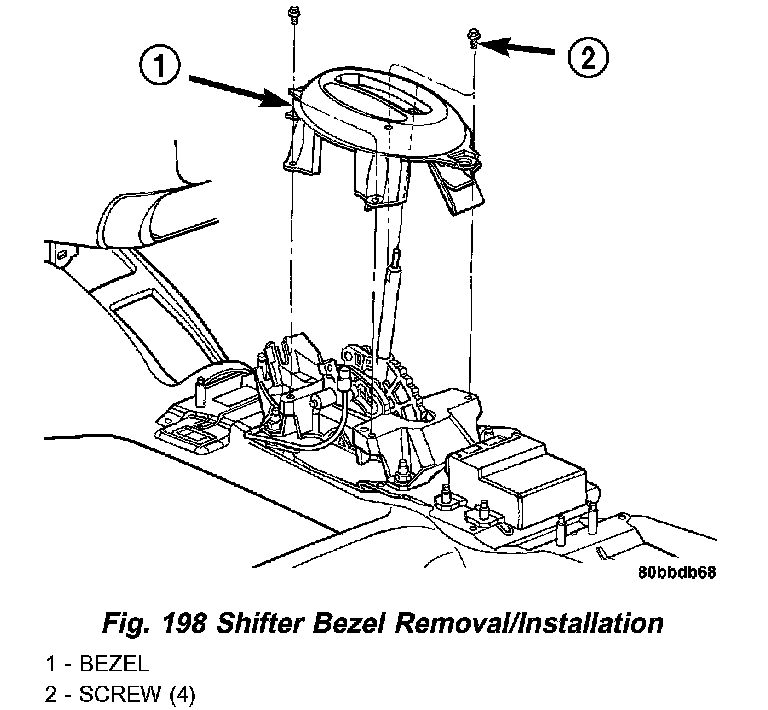
3. Remove shifter bezel (Fig. 198).
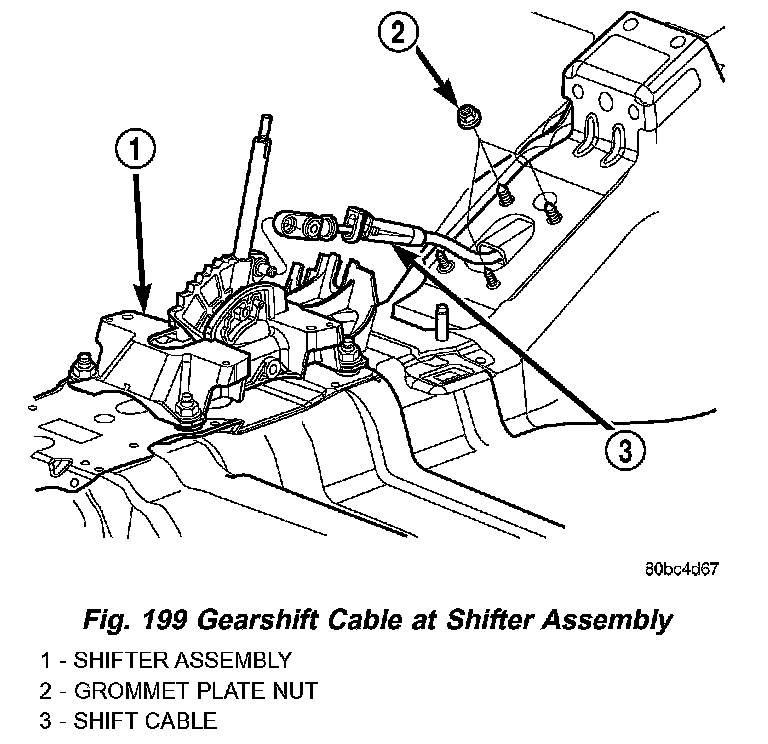
4. Disconnect shift cable from shifter mechanism as shown in (Fig. 199).
5. Remove three grommet plate to floor pan nuts as shown in (Fig. 199).
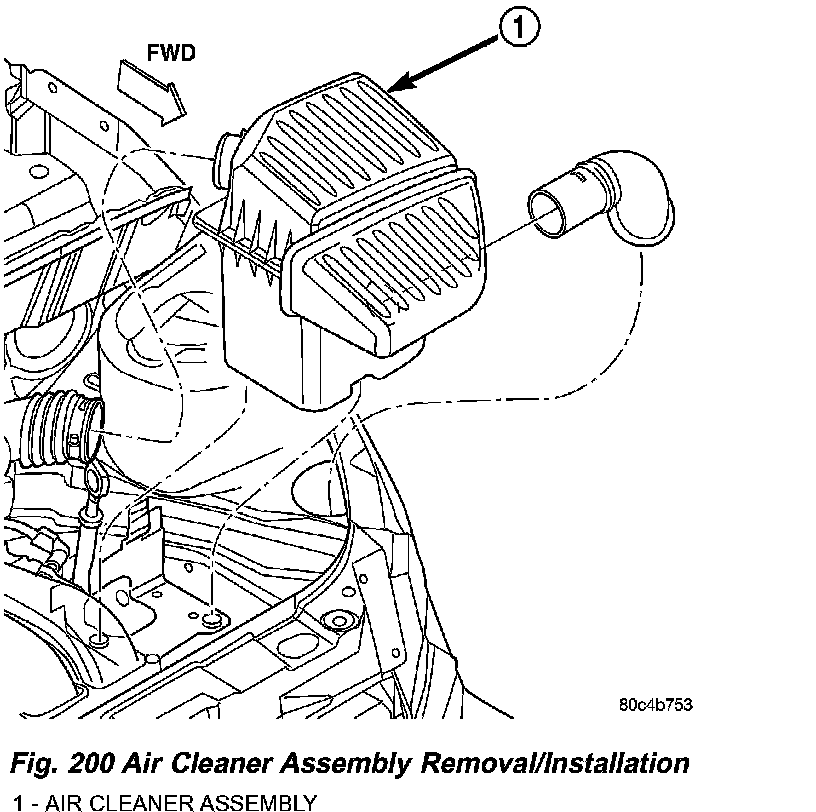
6. Remove air cleaner assembly (Fig. 200).
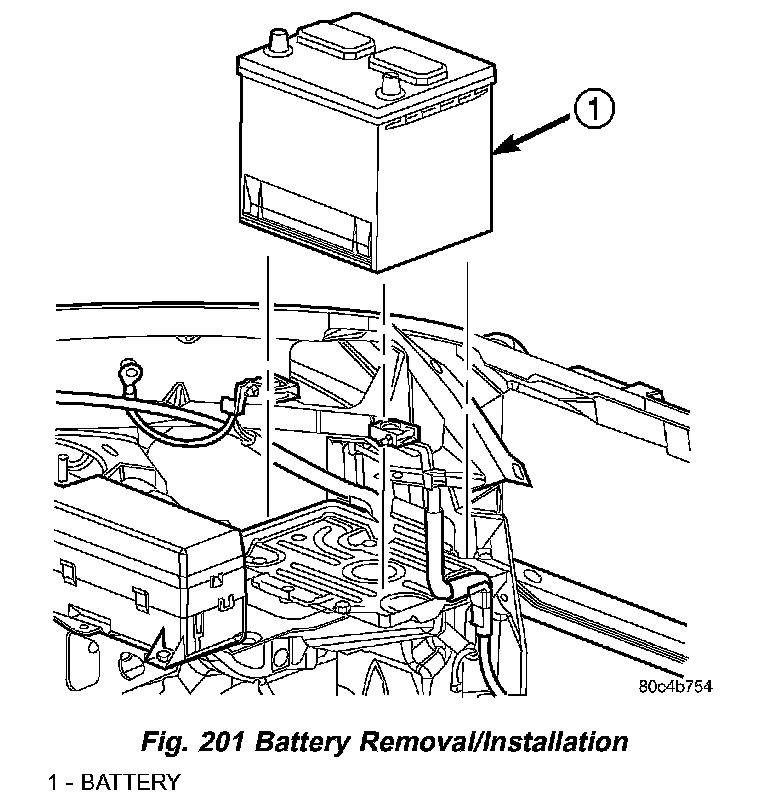
7. Disconnect both battery cables, remove battery hold down clamp and bolt, and remove battery (Fig. 201).
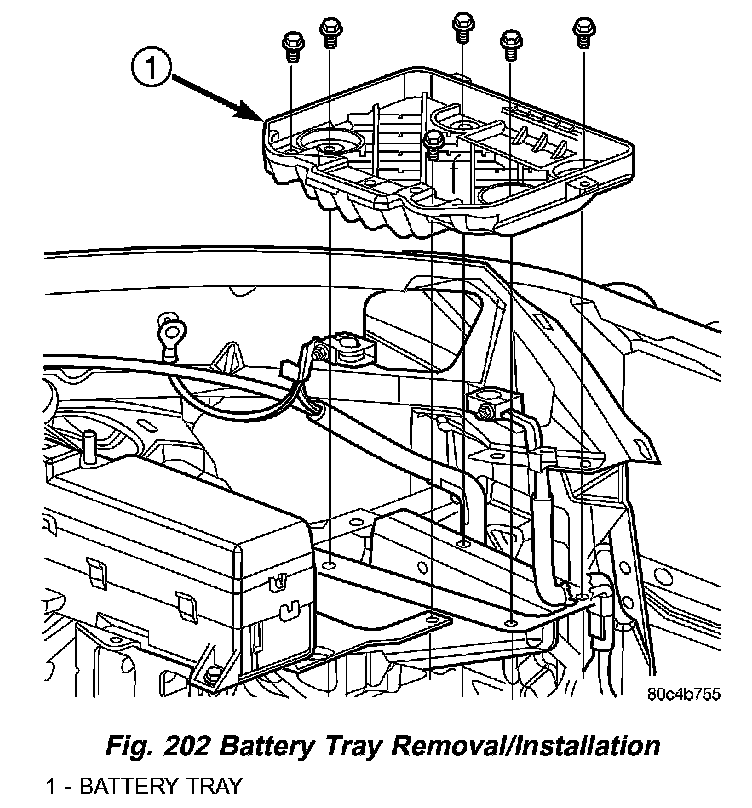
8. Remove battery tray (Fig. 202) from bracket.
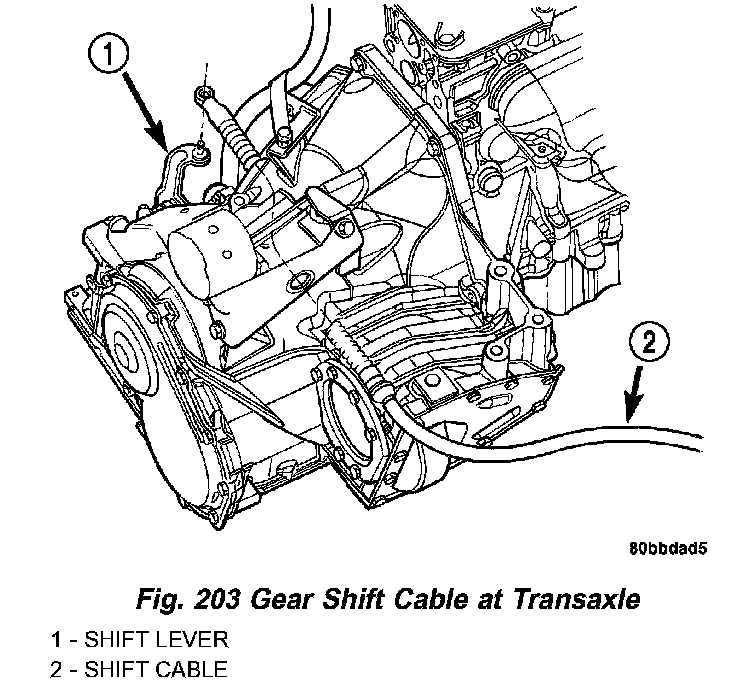
9. Disconnect shifter cable from shift lever and remove from bracket (Fig. 203).
10. Raise vehicle on hoist.
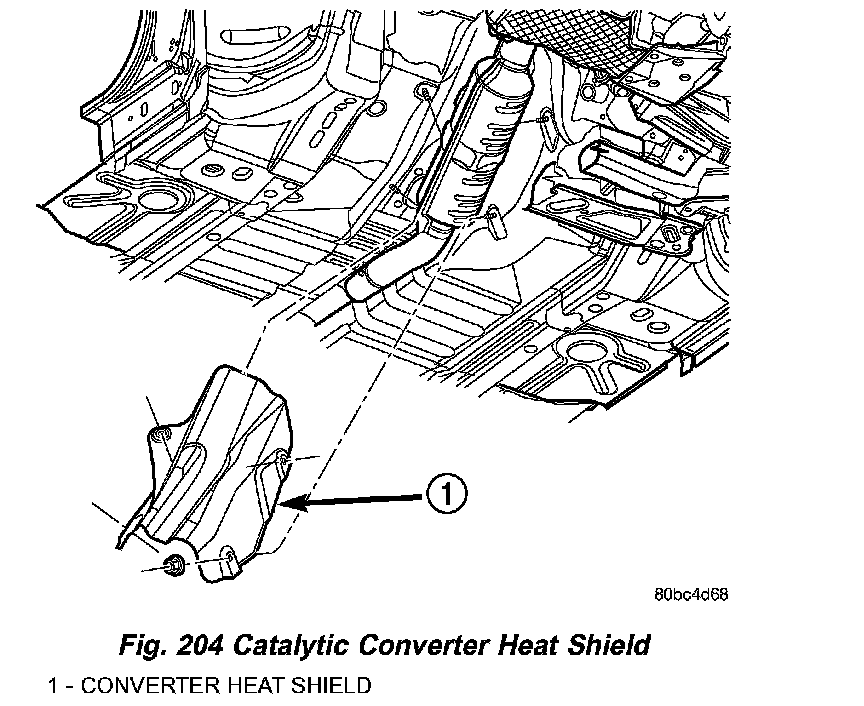
11. Remove catalytic converter heat shield (Fig. 204).
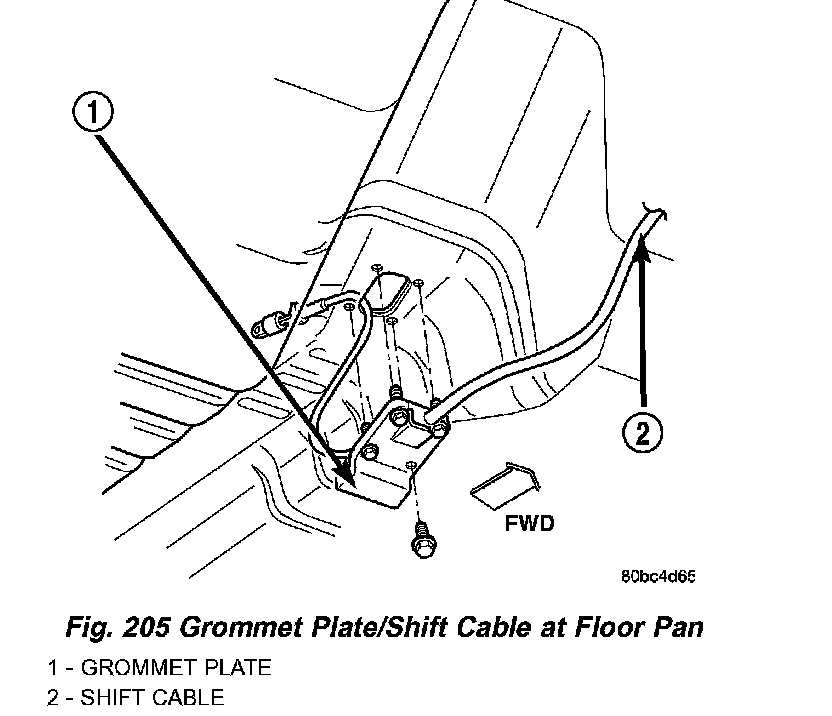
12. Remove remaining grommet plate screw and remove cable assembly from vehicle (Fig. 205).
INSTALLATION
1. Install cable assembly through floor pan opening and secure to floor pan with grommet plate and one screw (Fig. 205). Make sure the three grommet plate studs protrude through cable assembly and floor pan and tighten screw to 7 Nm (60 in. lbs.).
2. Route transaxle end of cable assembly into engine compartment and over transaxle assembly.
3. Install catalytic converter heat shield (Fig. 204).
4. Install gear shift cable to bracket and connect to shift lever (Fig. 203).
5. Lower vehicle.
6. Install and tighten the three grommet plate-to-floor pan nuts. Tighten to 6 Nm (50 in. lbs.) torque.
7. Connect gearshift cable to shifter assembly as shown in (Fig. 199).
8. Install shifter bezel (Fig. 198).
9. Adjust gearshift cable as follows:
a. Place gearshift lever in the PARK (P) position.
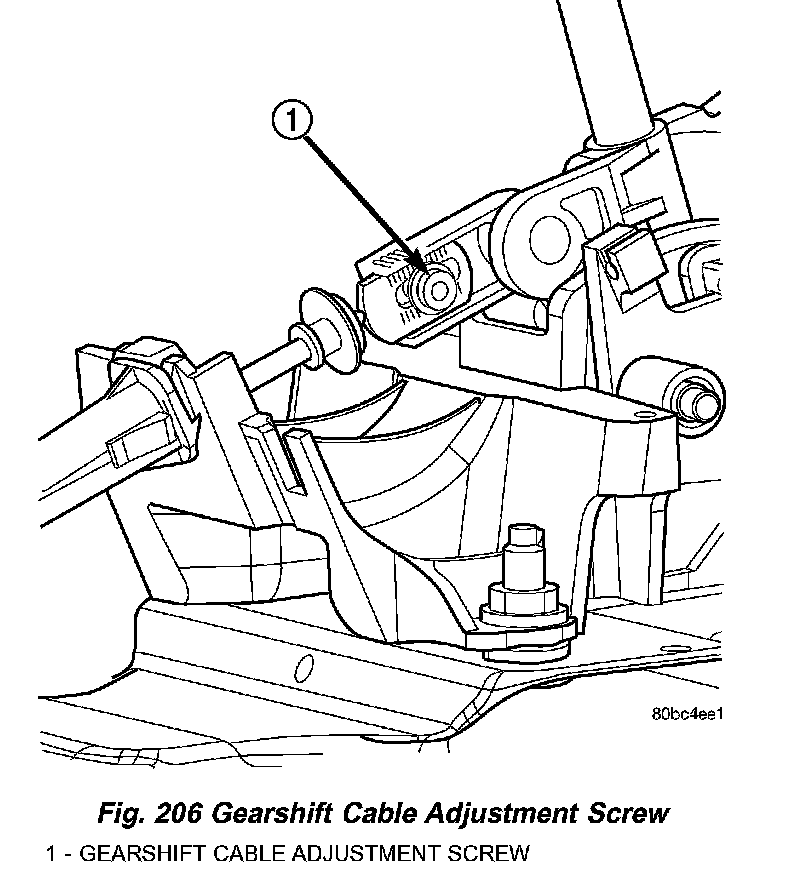
b. Loosen shift cable adjustment screw (Fig. 206).
c. Verify transaxle is in the PARK (P) position and the shifter lever is in Sated PARK.
d. Tighten shift cable adjustment screw to 8 Nm (70 in. lbs.) torque.
10. Install battery tray (Fig. 202).
11. Install battery and hold down clamp (Fig. 201).
12. Install the air cleaner assembly (Fig. 200).
13. Install center console assembly (Fig. 197).
14. Install gearshift knob and tighten set screw to 2 Nm (17 in. lbs.) torque (Fig. 196).
15. Connect battery cables.
16. Verify that engine starter operates in both PARK (P) and NEUTRAL (N). Starter should not operate in any other gear position.