Rear Disc Brake Caliper
REAR DISC BRAKE CALIPERREMOVAL
1. Raise and support the vehicle.
2. Remove the rear tire and wheel assembly.
3. Drain a small amount of fluid from the master cylinder brake reservoir with a clean suction gun.
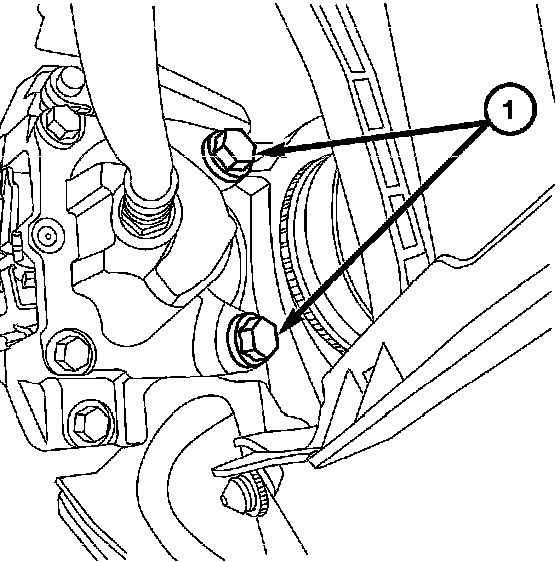
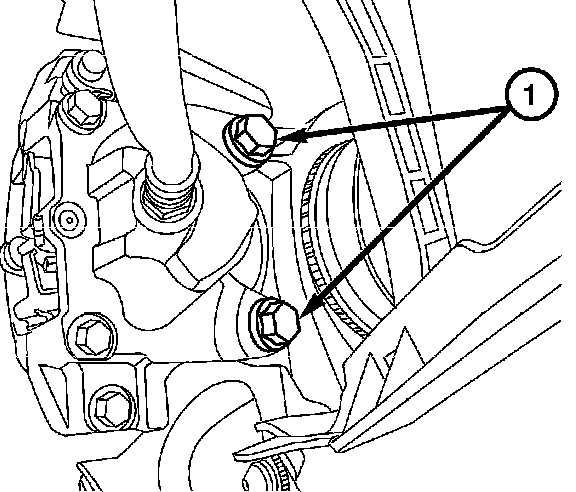
4. Remove caliper mounting bolts (1). Then remove the caliper from the knuckle.
CAUTION: DO NOT get the brake fluid on any painted surfaces. Brake fluid can damage paint.
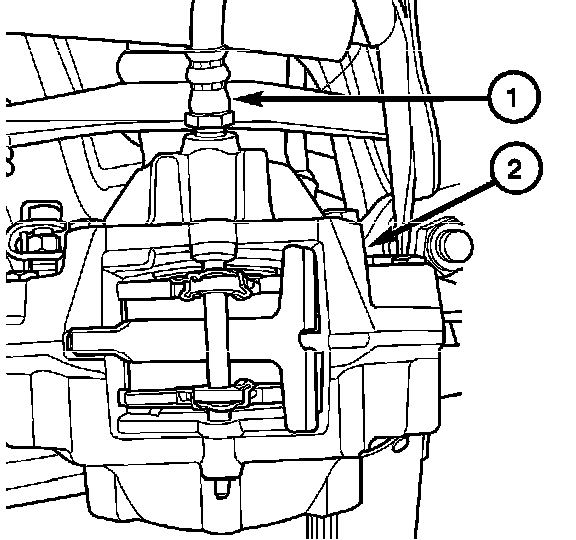
5. Remove the brake hose (1) by rotating the caliper (2) while holding the brake hose (1) with a wrench.
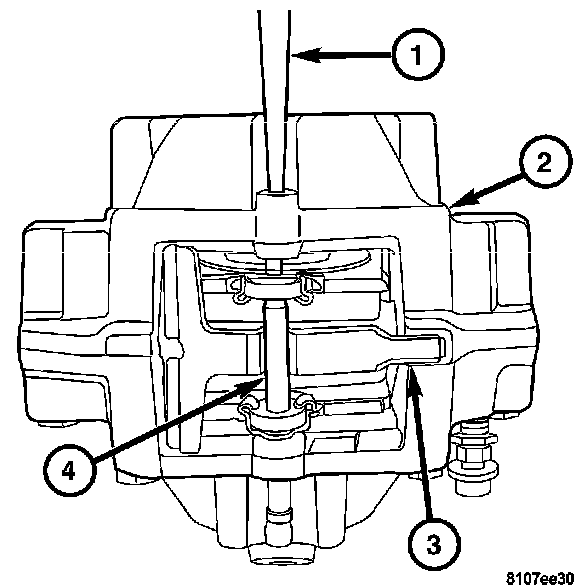
6. Using a suitable punch (1) knock out the retaining pin (4) that holds the pads in place.
7. Remove the anti-rattle clip (3) and remove the brake pads from the caliper (2).
8. Disassemble the caliper to check for wear or damage.
INSTALLATION
1. Install the rear brake pads.
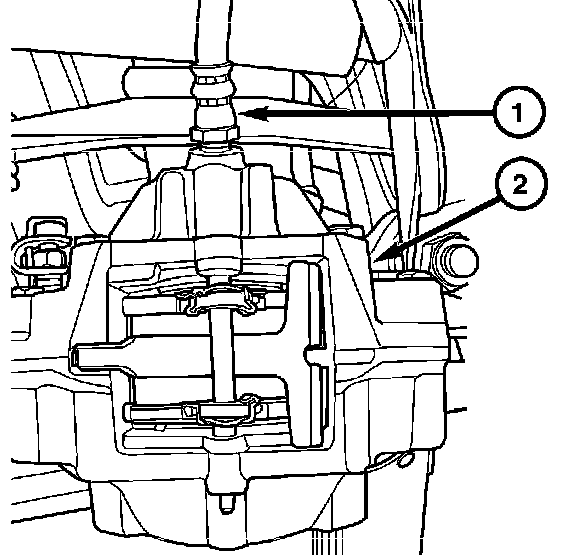
2. Install the brake hose (1) to caliper (2) by holding the brake hose (1) with a wrench and rotating caliper (2) until snug. Fully tighten the brake hose after the caliper is installed.
CAUTION: Verify the brake hose is not twisted or kinked before installing the caliper to the knuckle.
3. Install the caliper to the knuckle. Install the mounting bolts. Tighten to 55 Nm (40 ft. lbs.).
4. Fill and bleed the brake system.
^ Manual. Service and Repair
^ Pressure. Service and Repair
5. Install the wheel and tire assembly.
WARNING: DO NOT MOVE VEHICLE UNTIL FIRM BRAKE PEDAL IS OBTAINED.
6. Pump the brake pedal until a firm pedal is achieved.