Shift Linkage: Service and Repair
SHIFT MECHANISMREMOVAL
Fig. 338 Shifter Trim Bezel:
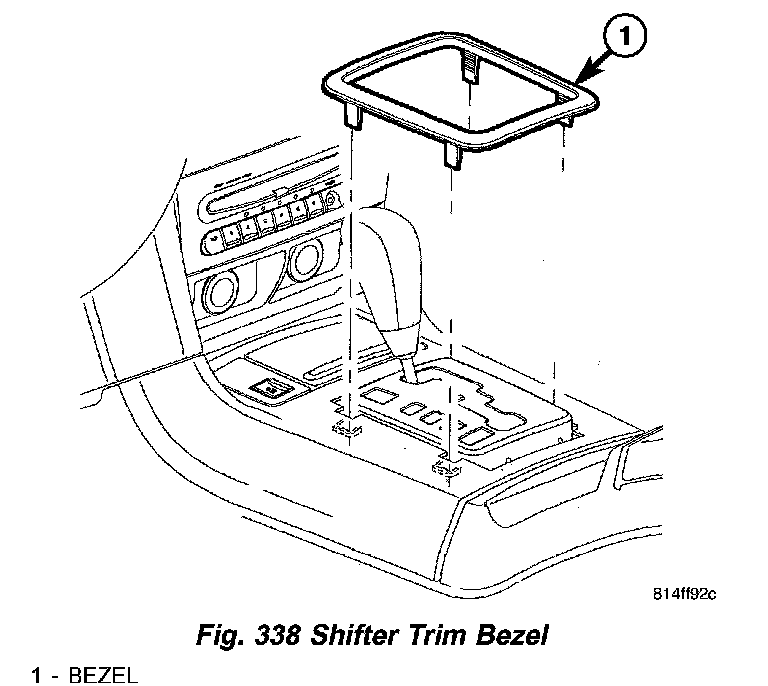
1. Remove shifter trim bezel (Fig. 338).
Fig. 339 PRNDL Surround Bezel:

2. Remove PRNDL surround bezel. Disconnect lamp bulb harness connector. Disconnect traction control switch connector (if equipped). (Fig. 339).
Fig. 340 Front Console Removal/Installation:

3. Remove front center console assembly as shown in (Fig. 340). Move front seats fore and aft to gain access to and remove console base screws.
4. Disconnect battery negative cable.
Fig. 341 BTSI Cable at Mechanism:
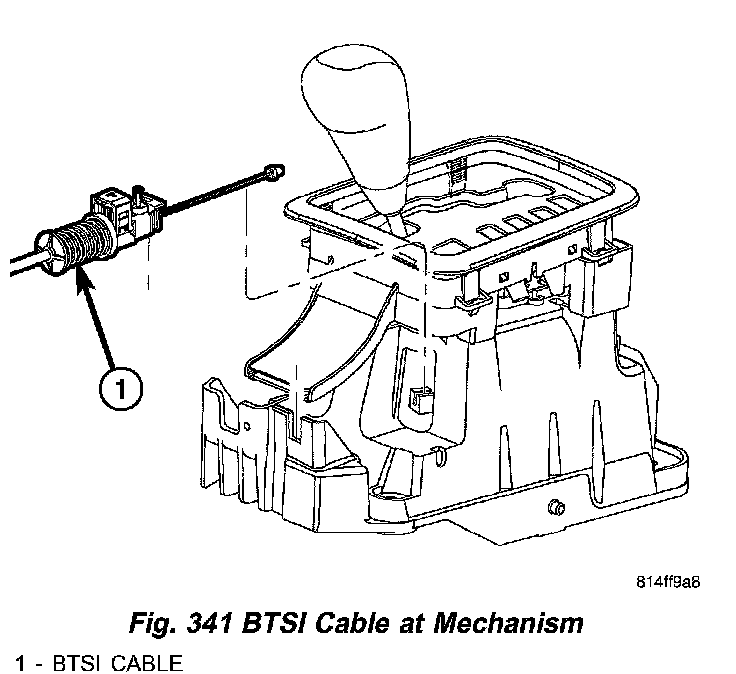
5. Disconnect BTSI cable from shift mechanism (Fig. 341).
Fig. 342 Gearshift Cable at Mechanism:
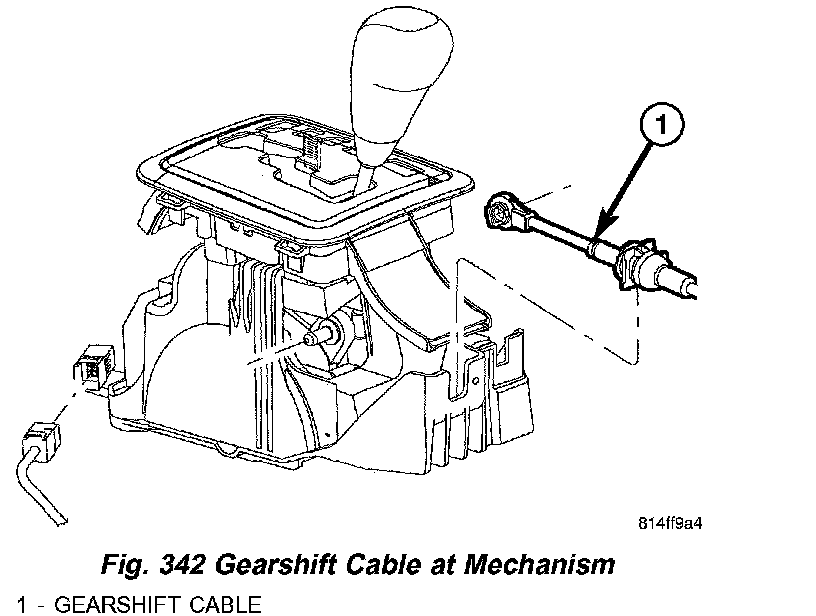
6. Disconnect and remove gearshift cable from shift mechanism (Fig. 342).
Fig. 343 Gearshift Mechanism Removal/Installation:

7. Disconnect eight-way harness connector (Fig. 343).
8. Remove four (4) shift mechanism-to-lower console nuts. Remove shift mechanism.
INSTALLATION
Fig. 344 Gearshift Mechanism Removal/Installation:
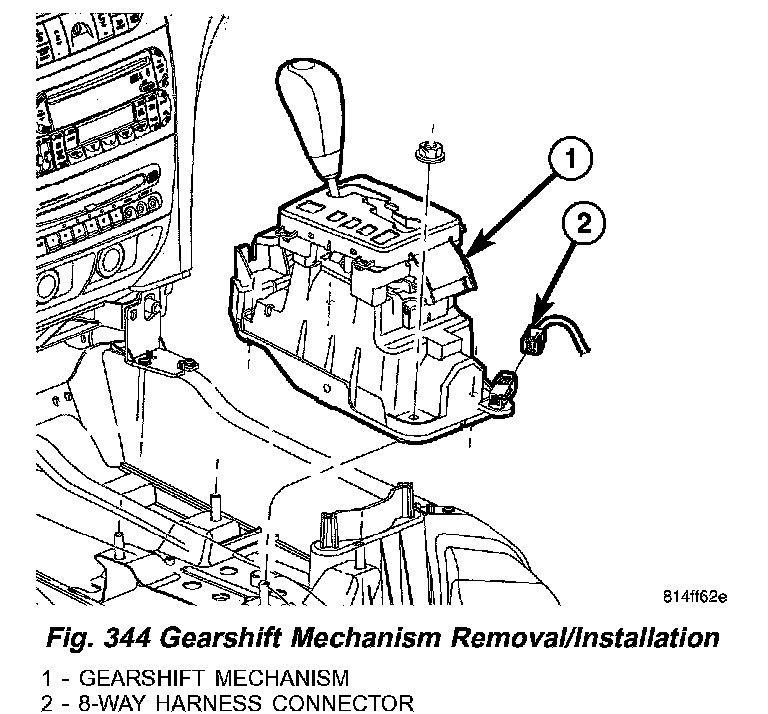
1. Install shift mechanism to lower console (Fig. 344). Install and torque four (4) mechanism-to-console base nuts to 12 Nm (105 inch lbs.).
Fig. 345 Gearshift Cable at Mechanism:
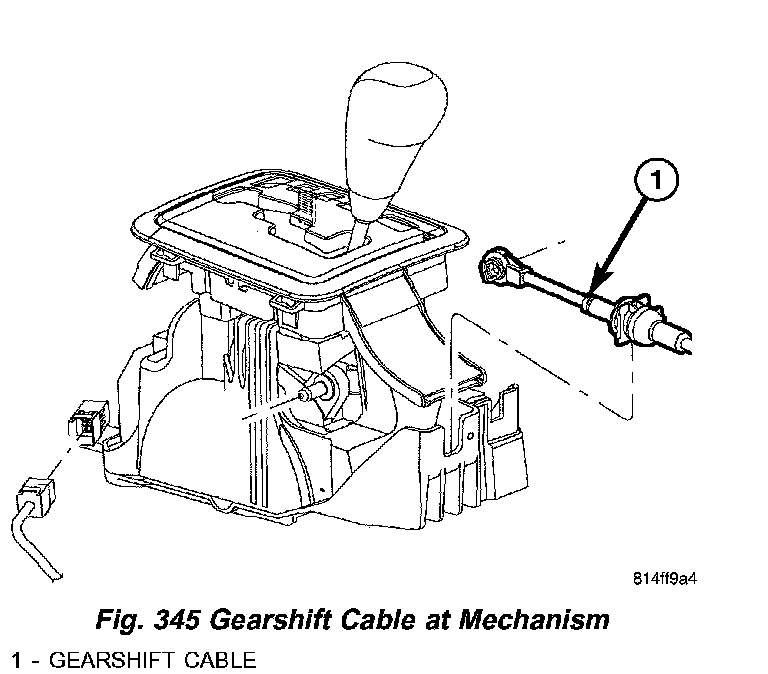
2. Install gearshift cable to mechanism (Fig. 345).
Fig. 346 BTSI Cable at Mechanism:
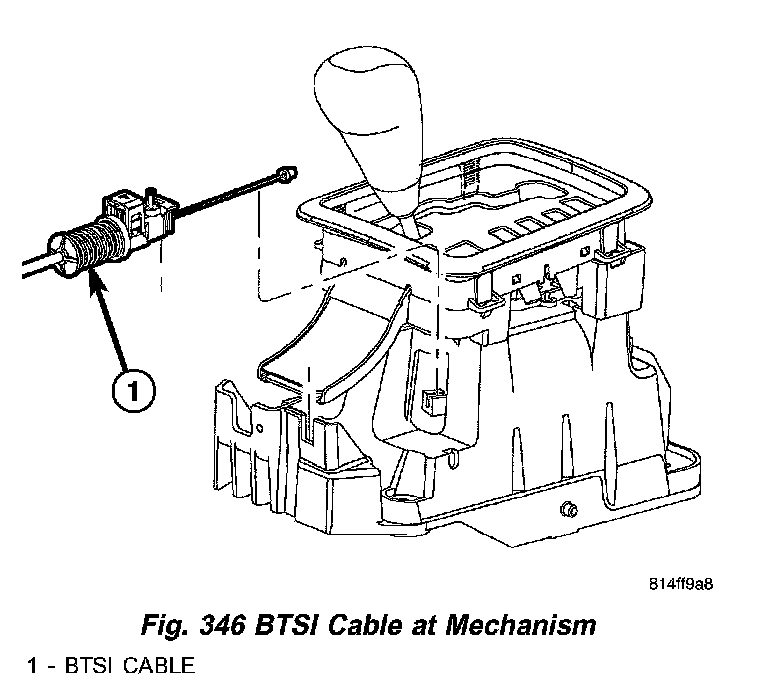
3. Install shift interlock cable to mechanism (Fig. 346).
4. Adjust shift interlock cable.
Fig. 347 Front Console Removal/Installation:
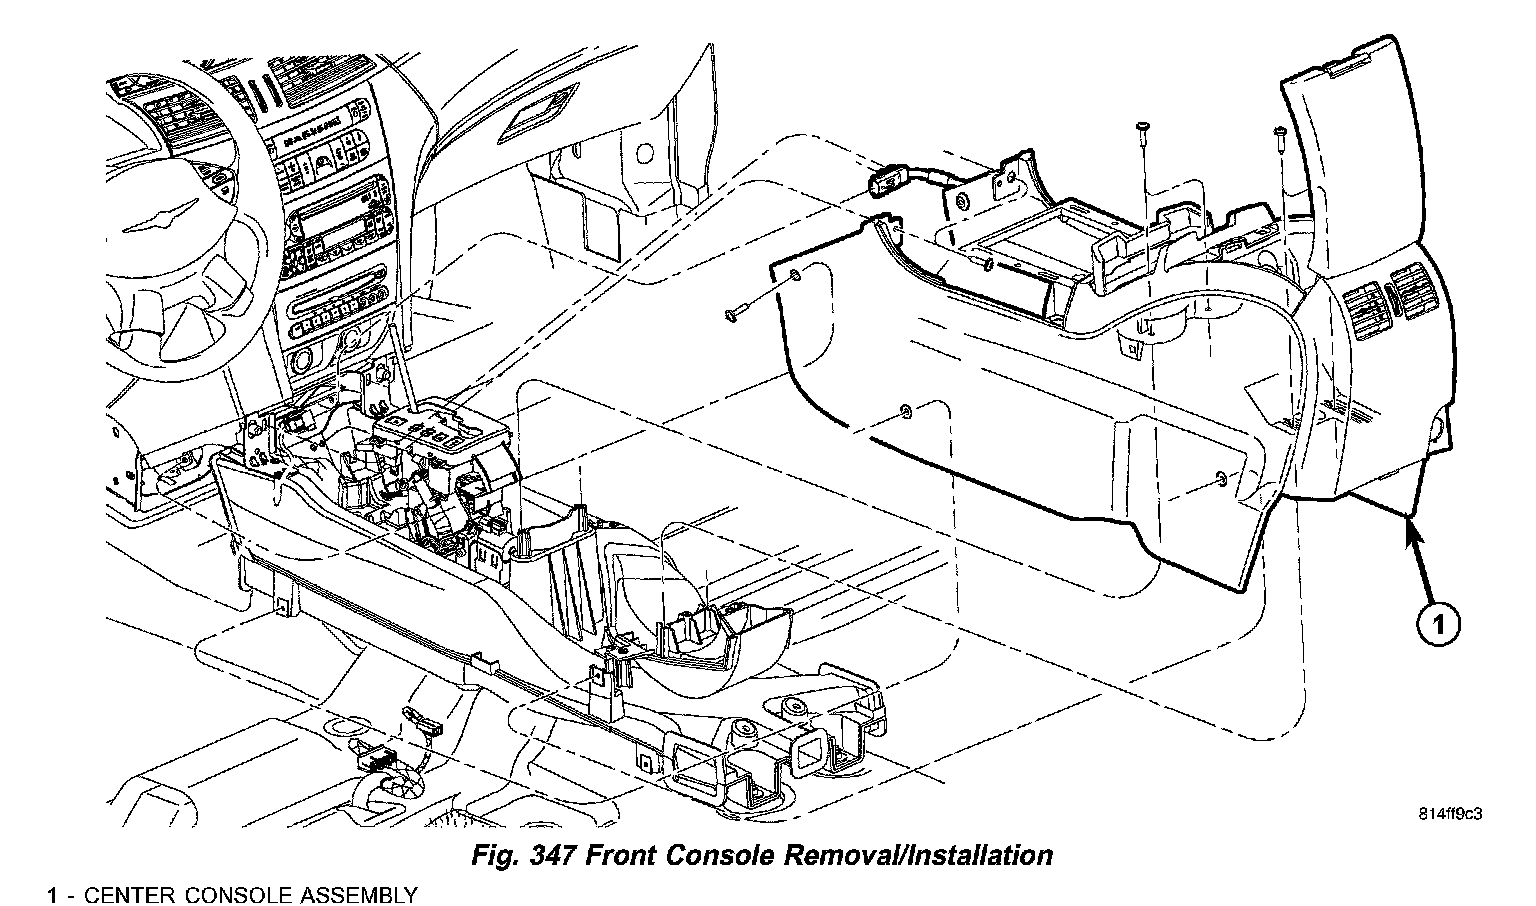
5. Install center console assembly (Fig. 347).
Fig. 348 PRNDL Surround Bezel:
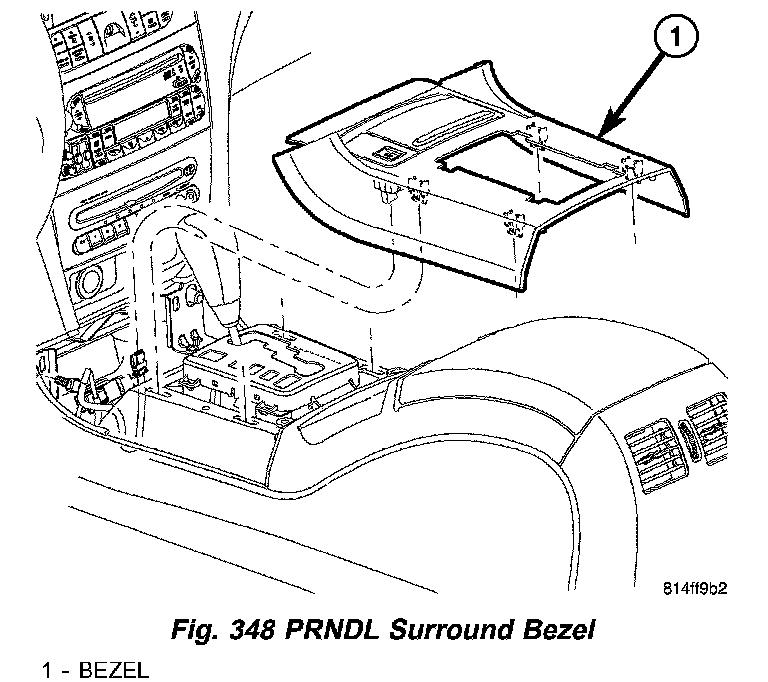
6. Install PRNDL surround bezel (Fig. 348).
Fig. 349 Shifter Trim Bezel:
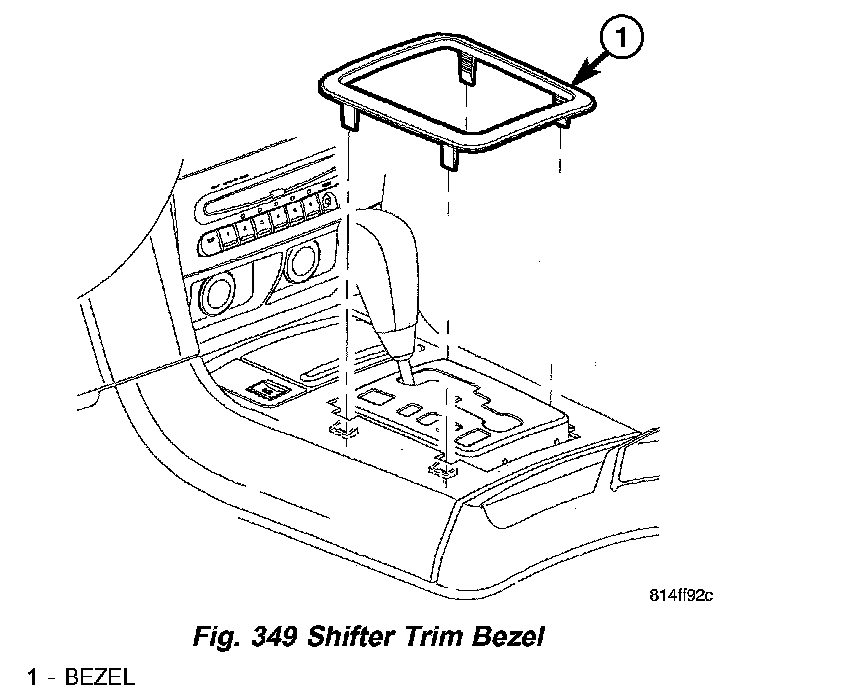
7. Install gearshift bezel (Fig. 349).