Installation
INSTALLATION
1. Cut a piece of Butylband(R) 60 mm (2.36 in.) long.
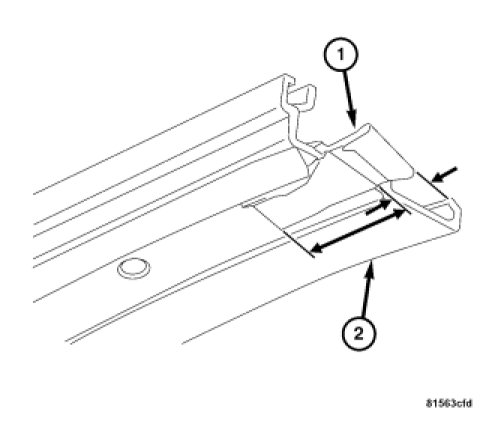
NOTE: Apply the Butyl(R) to each A-pillar. Left side is shown; right side is similar.
2. Apply the Butylband(R) (1) to the support strip (3), with 20 mm (0.79 in.) of contact on each side (4), and a 10 mm (0.39 in.) overhang (2).
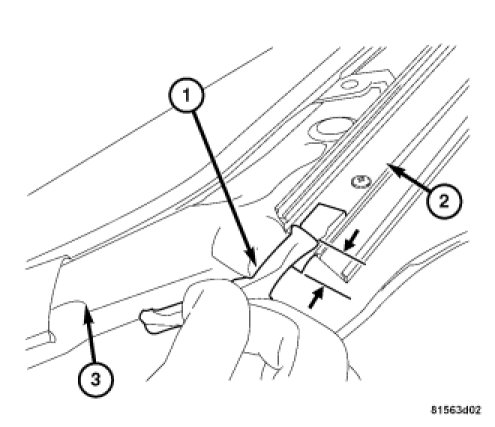
3. Apply a bead of Butyl(R) (1) 80 mm (3.15 in.) to the A-pillar (3), with an overlap of 10 mm (0.39 in.) on the support strip (2).
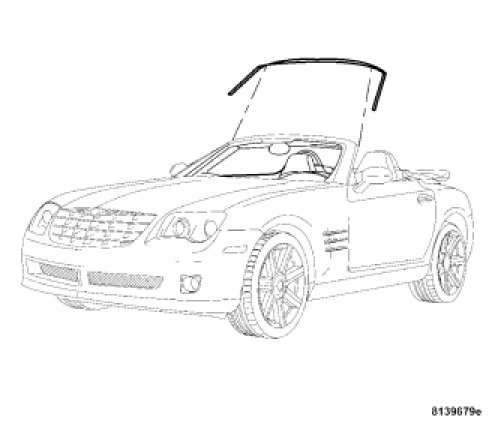
4. Position the weatherstrip on the header and pillar.
5. Firmly press downward to seat the weatherstrip in the flange.