Piston and Connecting Rod - Installation
INSTALLATION
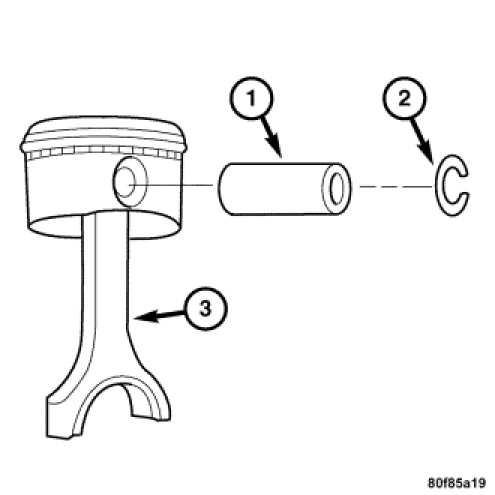
1. Fit the piston onto the connecting rod (3).
2. Press in the piston pin (1).
3. Install the snap rings (2).
4. Replace the piston rings as required. Piston Ring(s) - Removal.
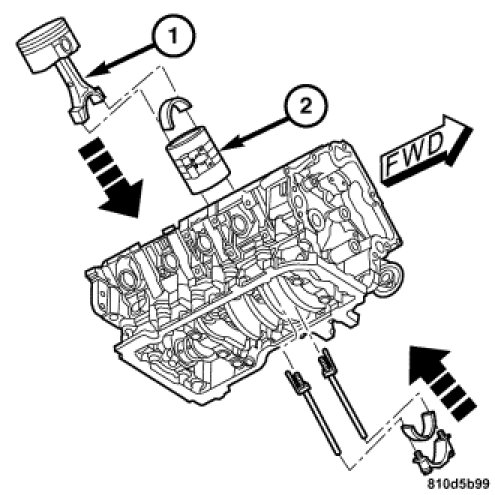
5. Load the piston/connecting rod assembly (1) into a ring compressor (2) with light oil lubrication.
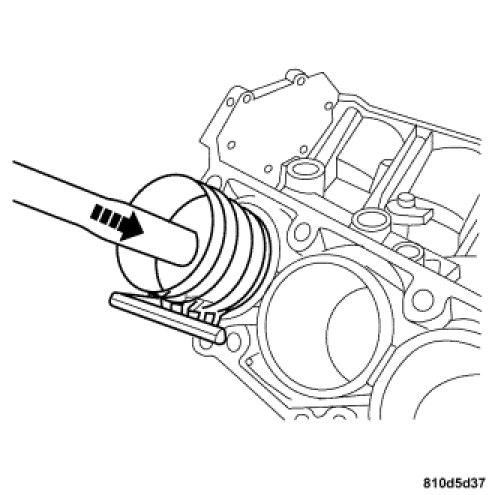
6. Drive the piston into the cylinder using a wooden drift and a mallet.

NOTE: The connecting rod bearing shell with the oil drilling (2) must be installed in the connecting rod, otherwise the connecting rod bearings will not be lubricated. The anti-twist locks of the connecting rod bearing shells must be located in the slots (1) of the connecting rods and the connecting rod bearing caps.
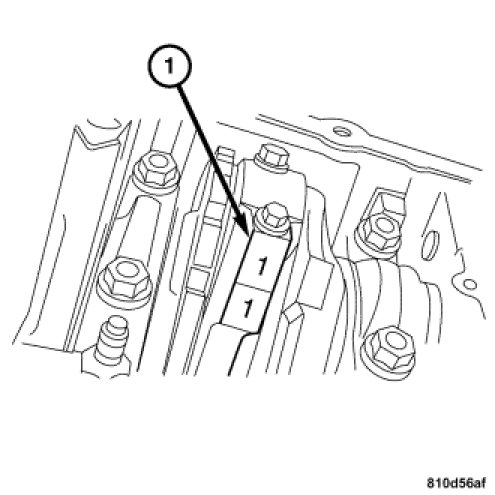
7. Align the connecting rod caps with the marks (1).
8. Install the connecting rod bolts.
9. Tighten the connecting rod bolts in three stages.
- Stage one, 5 Nm (44 in. lbs.)
- Stage two, 25 Nm (18 ft. lbs.)
- Stage three, rotate bolts 90° clockwise.
10. Test the engine for ease of rotation.
11. Install the timing chain. Installation.