Spring Link
INSTALLATION
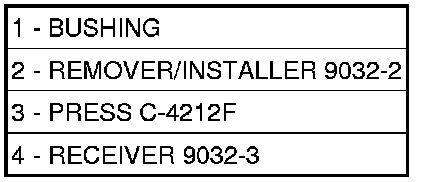
Special Tools:


1. Position bushing (1) over rear of crossmember bushing bore.
2. Assemble tools over bushing and crossmember as shown (See list). Ensure Receiver, Special Tool 9032-3, is positioned to avoid welds on rear of crossmember bushing bore.
- (2) Remover/Installer 9032-2
- (3) Press C-4212F
- (4) Receiver 9032-3
3. Tighten Press screw-drive, pressing bushing into crossmember. Install bushing until screw-drive stops, when bushing contacts Receiver on opposite side of crossmember.
4. Remove tools.

5. Swing spring link up to bushing in crossmember and install bolt and nut (1) fastening spring link (4) to crossmember. Do not tighten bolt at this time.

6. Export Only - If servicing right side bushing, connect headlamp leveling sensor (1) link at spring link (3).
7. Install rear spring as well as all components necessary to access it. Rear Suspension Coil Spring(s) - Installation
8. Lower vehicle.
9. Position vehicle on alignment rack/drive-on lift. Raise vehicle as necessary to access mounting bolt.
10. Tighten spring link bolt (1) at crossmember to 108 Nm (80 ft. lbs.).
11. Perform wheel alignment. Service and Repair