Compressor HVAC: Service and Repair
PREPARATORY STEPS1. Remove the drive belt.
2. Discharge the system.
3. Disconnect the suction and discharge lines from their respective ports. Immediately cap the lines and the ports to prevent moisture and dirt from entering the system.
4. Disconnect the clutch electrical wire.
WARNING: To prevent suffocation and frostbite, wear protective clothing and ONLY disconnect liquid refrigerant (freon) lines in a well ventilated area.
REMOVAL
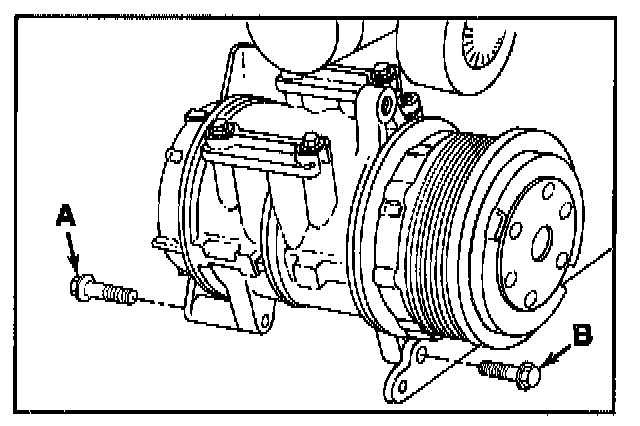
Remove the two capscrews (B) that fasten the compressor front bosses to the water inlet bracket.
Remove the two capscrews (A) that fasten the compressor to the rear bracket.
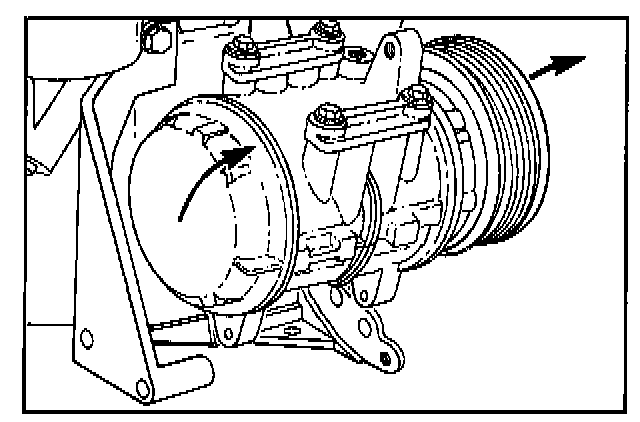
Remove the compressor.
INSTALLATION
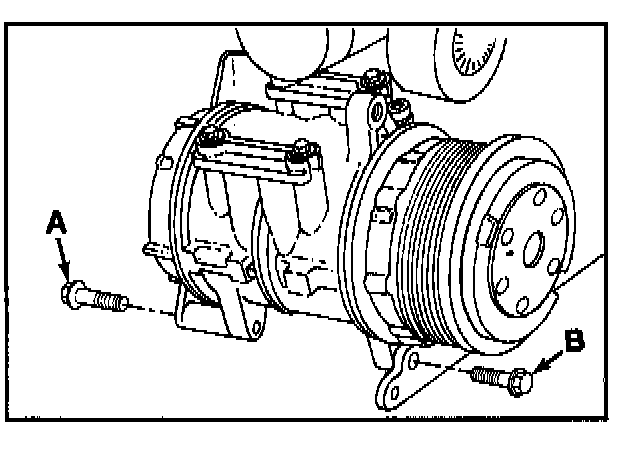
Position the compressor so the four capscrew bosses are aligned wfth the holes In the brackets.
Insert the capscrews (A) and (B) and tighten evenly.
Torque Value: 47 N-m [35 ft-lb]
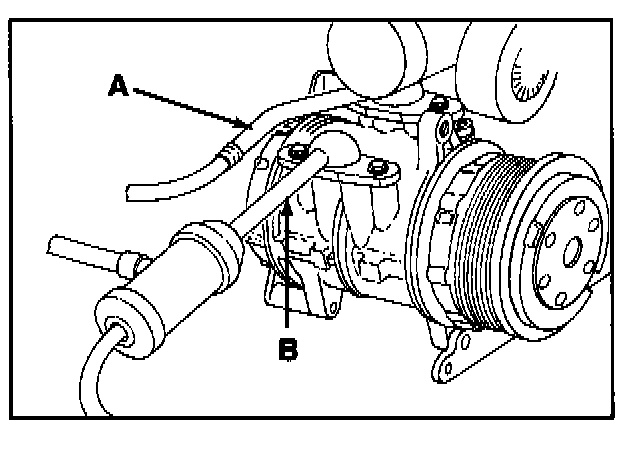
Remove the protective caps from suction (A) and discharge (B) line and ports and Install onto the compressor using new gaskets. Tighten the capscrews.
Torque Value: 20 N-m [15 ft-lb]
Reconnect the clutch electrical wire.