Forward Clutch Assembly
Forward Clutch Assembly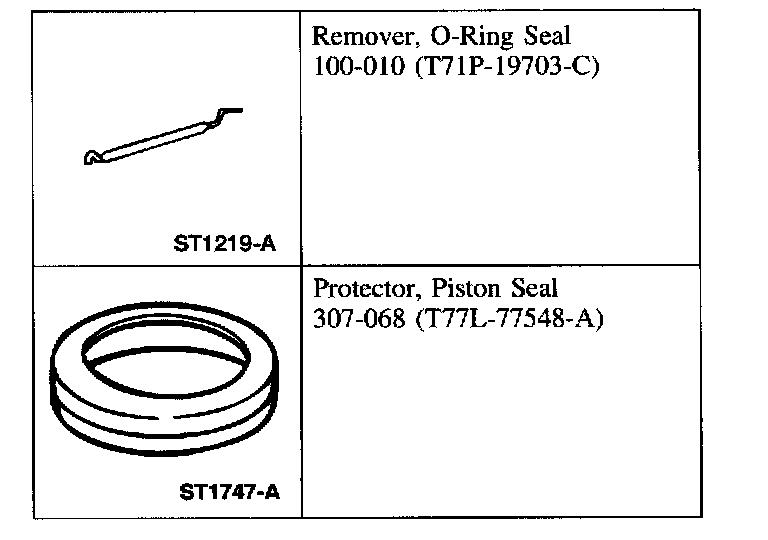
Special Tool(s)
Part 1 Of 2:

Part 2 Of 2:

Forward Clutch Assembly, Disassembled View
Disassembly

1. Remove the No. 9A forward clutch thrust bearing.

2. Remove the No. SIB forward clutch needle bearing assembly.

3. Remove the 2 interlocking cast iron forward clutch cylinder seals.

4. Remove the selective forward clutch pressure plate retaining rind.

5. NOTE: Tag the parts for identification during installation.
Remove the forward clutch pressure plates.
1 Remove the top forward clutch pressure plate.
2 Remove the clutch plates.
3 Remove the forward clutch pressure spring.
4 Remove the bottom forward clutch pressure plate.

6. Remove the forward clutch piston return spring retaining ring.

7. Remove the forward clutch piston return spring.

8. Remove the forward clutch piston apply ring.

9. Using compressed air, remove the forward clutch piston.

10. Remove the outer forward clutch piston seal.

11. Using the special tool, remove the forward clutch piston inner seal.
12. Inspect the clutch cylinder thrust surfaces, piston bore, and clutch plate splines for scores, burrs or wear. Install a new clutch cylinder if it is badly scored or damaged.
13. Check the fluid passage in the clutch cylinder for obstructions. Clean out all fluid passages. Inspect clutch piston for scores and install new if necessary. Inspect the check balls for freedom of movement.
14. Check the clutch release spring for distortion and cracks. Install a new spring if it is distorted or cracked.
15. Inspect the friction clutch plates, steel clutch plates, and clutch pressure plate for worn or scored surfaces. Install new parts that are scored, burred or burnt.
16. Check the clutch plates for flatness and wear on the clutch hub splines. Discard any plate that does not slide freely on the splines or that is not flat.
17. Check the clutch hub thrust surfaces for scores and the clutch hub splines for wear. Install new parts that are worn.
Assembly
NOTE: Soak the clutch plates for 15 minutes in clean automatic transmission fluid.

1. Install the forward clutch piston inner seal.

2. Inspect the forward clutch piston check ball.
^ Check for freedom of movement and correct seating.
^ Clean with a suitable solvent, if necessary.
^ Replace the forward clutch piston assembly. if necessary.

3. NOTE: Make sure the seal lip is facing upward.
Install the forward clutch piston outer seal.

4. Using the special tool, install the forward clutch piston.

5. Install the steel forward clutch piston apply ring into the forward clutch piston groove.

6. CAUTION: To ensure durability, the notch between the spring fingers must be positioned so that both ends of the forward clutch piston apply ring are visible.
Install the forward clutch piston return spring.
1 Install the forward clutch piston return spring, with the spring fingers against the forward clutch piston apply ring.
2 Make sure the notch is positioned so that both ends of the forward clutch piston apply ring are visible.

7. Install the forward clutch piston return spring retaining ring. Make sure it is correctly seated in the groove.

8. NOTE: Soak the clutch plates for 15 minutes in clean automatic transmission fluid.
Install the forward clutch pressure plates.
1 Install the bottom forward clutch pressure plate.
2 Install the forward clutch pressure spring.
3 Install the forward clutch pressure plates.
4 Install the top forward clutch pressure plate.

9. Install the selective forward clutch pressure plate retaining ring.

10. Check the stack-up clearance.
^ Using a feeler gauge, check the stack-up clearance in three places, 120 degrees apart.
^ If the clearance is not to specification, install the correct selective forward clutch pressure plate retaining ring and recheck the clearance.

11. NOTE: Lightly lubricate the needle bearing with petroleum jelly to hold it in place during assembly.
NOTE: The bearing large inner diameter radius must face inward.
Install the No. 8B forward clutch needle bearing.

12. NOTE: Stagger the interlocking opening on the seals 180 degrees apart.
Install the two new cast iron forward clutch cylinder seals in the grooves.

13. NOTE: Lightly lubricate the thrust bearing with petroleum jelly to hold it in place during assembly.
NOTE: The black side of the bearing must face upward.
Install the No. 9A forward clutch thrust bearing.