Removal and Installation, Front Drive Halfshafts
HalfshaftRemoval and Installation
1. WARNING: The electrical power to the air suspension system must be shut off prior to hoisting, jacking or towing an air suspension vehicle. This can be accomplished by turning off the air suspension switch located in the left rear quarter trim panel. Failure to do so can result in unexpected inflation or deflation of the air springs, which can result in shifting of the vehicle during these operations.
Position the vehicle on a hoist.
2. Remove the front wheel and tire assembly.
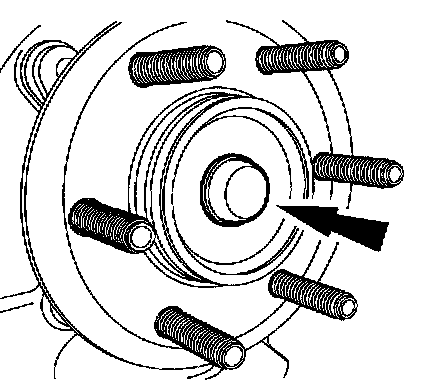
3. Remove the dust cap.

4. Remove the axle nut.
^ Discard the axle nut.

5. Remove the vacuum/vent line at the vacuum/vent port of the integrated wheel end disconnect.

6. Remove the three bolts retaining the integrated wheel end disconnect to the steering knuckle.

7. Remove the tie rod end nut.
^ Disconnect the tie rod end from the steering knuckle.
^ Discard the tie rod end nut.

8. Remove the upper ball joint nut.
^ Disconnect the upper ball joint from the steering knuckle.
^ Discard the upper ball joint nut.

9. CAUTION: Do not damage the hub seal.
NOTE: Allow the steering knuckle to swing outboard while keeping the constant velocity shaft pushed inboard.
Once clearance is available, remove the constant velocity shaft joint outboard end and integrated wheel end disconnect from the steering knuckle hub bearing.

10. Remove the integrated wheel end disconnect from the outboard constant velocity joint housing.

11. Remove the six bolts retaining the halfshaft to the axle.

12. Separate the halfshaft from the axle and the hub, and remove the assembly from the vehicle.
13. CAUTION: Verify the spline engagement by checking for spline lash before installing the halfshaft nut.
To install, reverse the removal procedure.
^ Install a new axle nut, tie rod end nut and an upper ball joint nut.