Driveshaft-Front
Driveshaft-FrontRemoval and Installation
1. WARNING: The electrical power to the air suspension system must be shut off prior to hoisting, jacking or towing an air suspension vehicle. This can be accomplished by turning off the air suspension switch located in the rear jack storage area. Failure to do so can result in unexpected inflation or deflation of the air springs, which can result in shifting of the vehicle during these operations. Failure to follow these instructions may result in personal injury.
With the vehicle in neutral, position the vehicle on a hoist.
The universal joint (U-joint) connects to the drive axle of the driveshaft and allows for up and down movement of the axle The U-joint is lubricated for the life of the vehicle.

2. Remove the front driveshaft shield
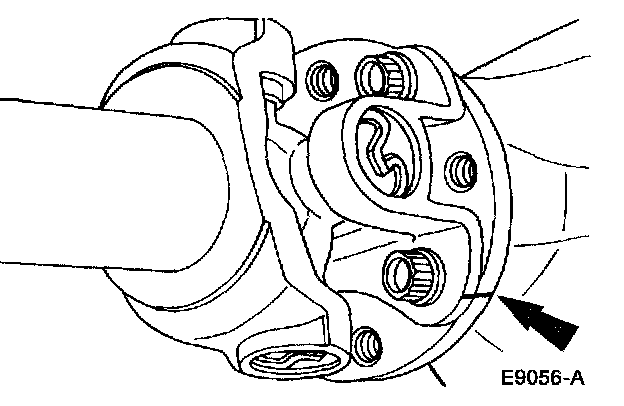
3. Index-mark the front flange and pinion flange.
^ Repeat for the rear flange and transfer case flange.

4. Remove the four bolts retaining the rear flange to the transfer case.

5. Remove the four bolts retaining the front flange to the pinion flange.

6. Remove the front driveshaft.
7. CAUTION: If new bolts to retain the driveshaft to the axle and the driveshaft to the transfer case are not available, coat the threads of the original bolts with threadlock and sealer.
CAUTION: The front driveshaft must be installed with the boot toward the transfer case to prevent damage to the boot from the exhaust system.
To install, reverse the removal procedure.