Ignition Coil: Service and Repair
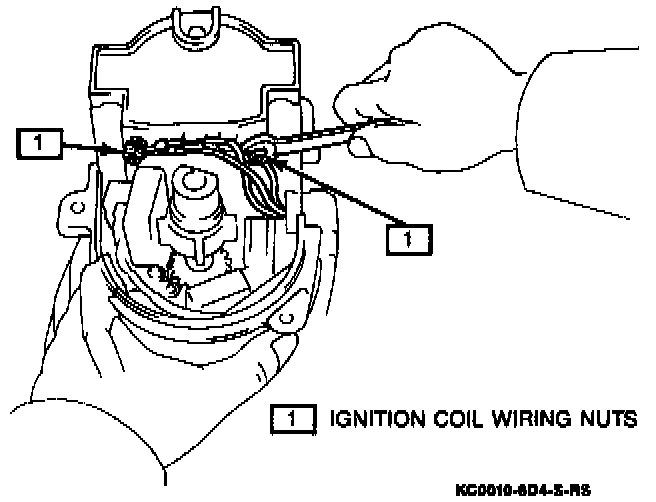
(Figure 5) Removing The Ignition Coil Wiring:
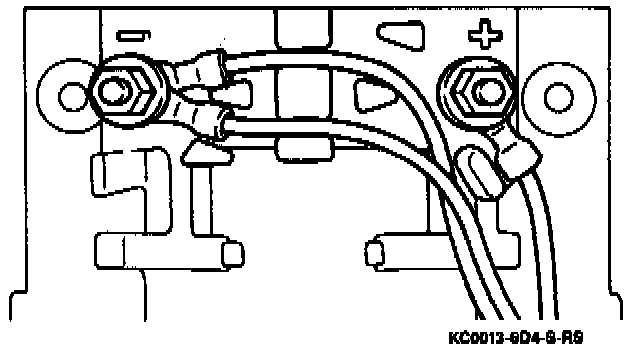
Ignition Coil Wire Routing:
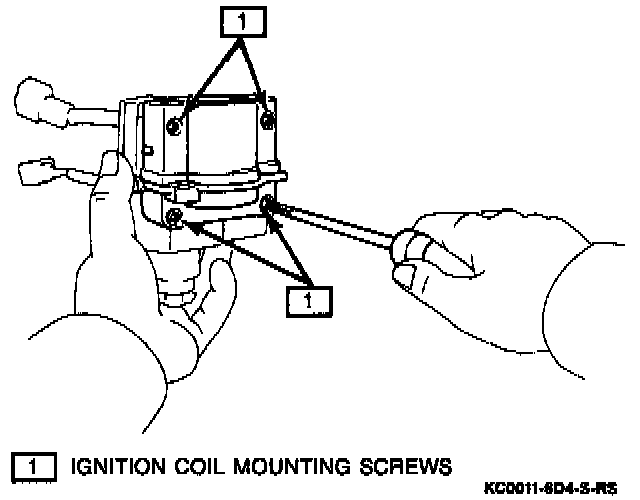
Ignition Coil Mounting Screws:
REMOVAL
1. Battery negative (-) cable.
2. Distributor cap by removing the 3 screws.
3. Rotor and the ignition coil dust cover.
4. Two ignition coil wiring nuts and ignition coil wiring.
5. Four ignition coil mounting screws.
6. Ignition coil and gasket from the distributor housing.
INSTALLATION
1. Install the ignition coil and gasket to the distributor housing with the 4 mounting screws.
2. Connect the ignition coil wiring with the 2 ignition coil wiring nuts.
3. Install the ignition coil dust cover and the rotor.
4. Distributor cap with 3 attaching screws.
5. Connect the battery negative (-) cable.