Transaxle Range Switch
REMOVE OR DISCONNECT1. Negative (-) battery cable. Refer to Battery.
2. Transaxle range switch Electrical connector at engine wiring harness.
3. Transaxle range switch harness from Retaining clamps.
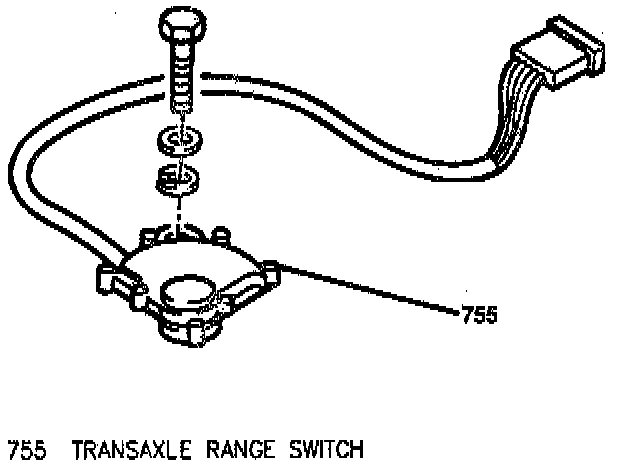
4. One bolt and transaxle range switch from transaxle.
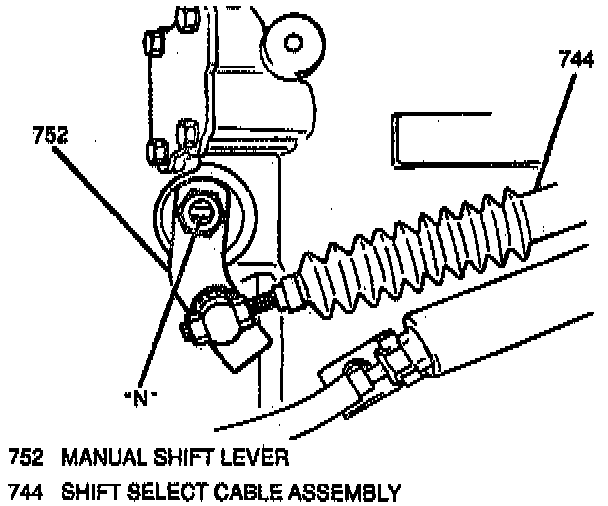
Adjust
- Move transaxle lever to "N" position.
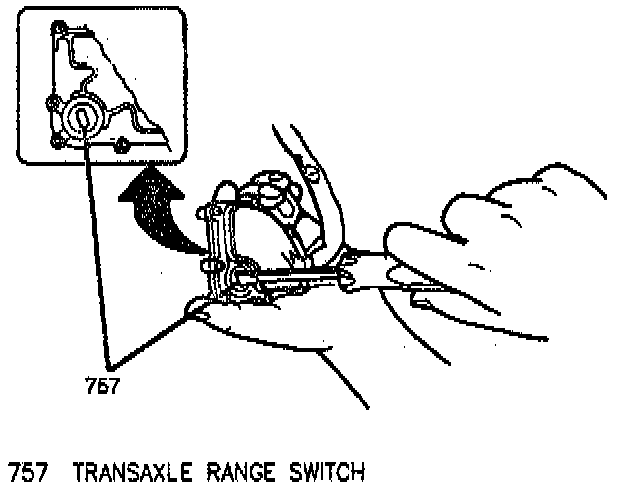
- Transaxle range switch joint by using a standard flat-bladed screwdriver. Turn the transaxle range switch joint clockwise or counterclockwise until a distinct "click" noise is heard in the position shown in the image.
INSTALL OR CONNECT
1. Transaxle range switch to transaxle, secure with one bolt.
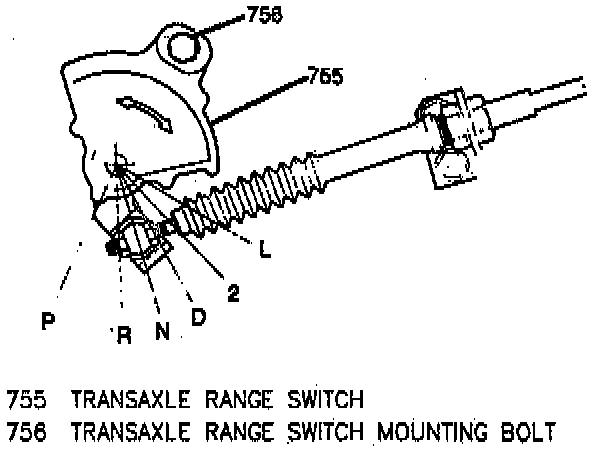
Tighten
- Transaxle range switch mounting bolt to 23 N.m (17 lb. ft.).
2. Transaxle range switch harness into retaining clamps.
3. Transaxle range switch electrical connector at engine wiring harness.
4. Negative (-) battery cable. Refer to Starting and Charging.
Important
- Upon completion of transaxle range switch installation, perform the following steps to ensure proper operation:
A. Apply parking brake and block vehicle wheels.
B. With the manual selector lever in "P" position, turn ignition switch to "START" and verify that the starter motor operates.
C. Stop engine and return ignition switch to "ON" position.
D. Move shift selector lever from "P" to "N" position, turn ignition switch to "START" position and verify that the starter motor operates.
E. Verify that the starter motor DOES NOT operate in "D," "2," "L," or "R."