Monitor Check
Monitor CheckOverview of navigation display
The illumination input from the gauge brightness control provides back lighting for the buttons surrounding the screen.
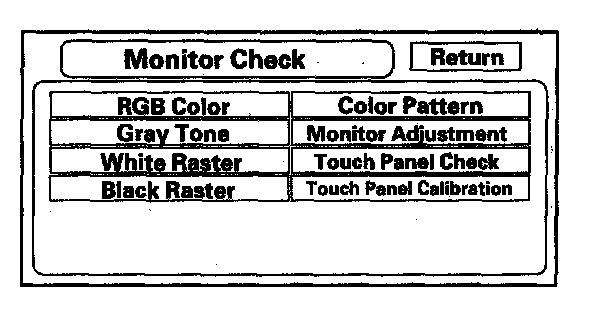
These screens allow you to troubleshoot the navigation display. Select the item you want to troubleshoot, and follow the diagnostic instructions.
- RGB Color
- Gray Tone
- White Raster
- Black Raster
- Color Pattern
- Monitor Adjustment
- Touch Panel Check
- Touch Panel Calibration
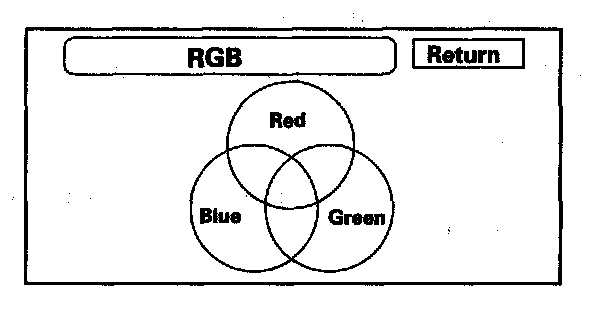
RGB Color
This screen verifies that the navigation display is receiving the video (R, G, B and Composite sync) signals properly. The three primary colors should all be shown without distortion. The combination of all three should produce a central white section. If any of the colors are missing, troubleshoot for the color signal. If the picture has lines in it, or scrolls horizontally or vertically, troubleshoot for a Composite sync problem.
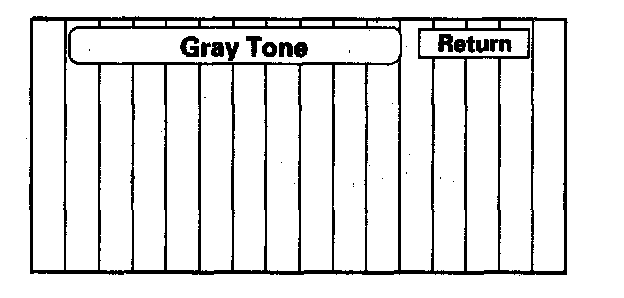
Gray Tone
This screen looks for problems with contrast. You should be able to see the changes from bar to bar across the scale. If you can't see changes from bar to bar, replace the navigation unit.
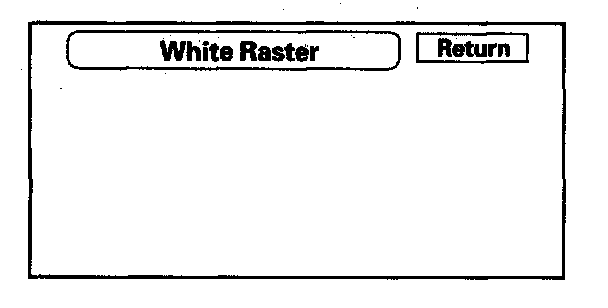
White Raster
This diagnostic screen checks for pixels that may be dead (off). The entire display must be white. If pixels are dead, replace the navigation unit.
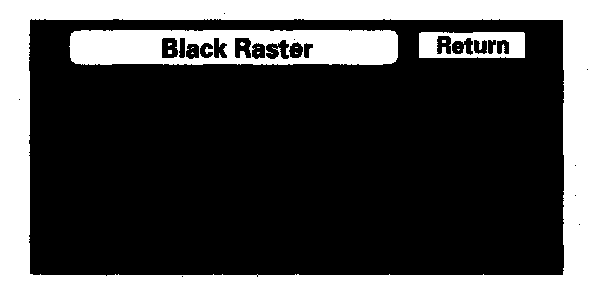
Black Raster
The entire display must be black. This diagnostic screen checks for pixels that may be stuck (on). If pixels are stuck on, replace the navigation unit.
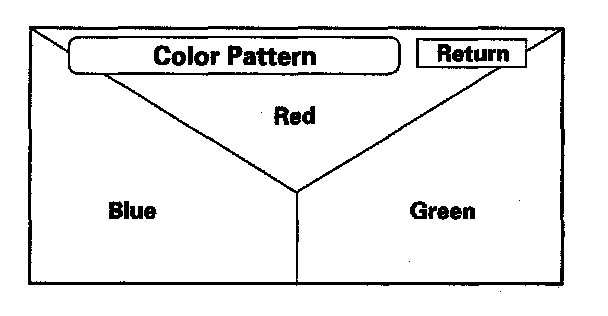
Color Pattern
The chart below shows the colors being used for the Map and Menu screens. This is for factory use only. To check the color signal use the RGB test.
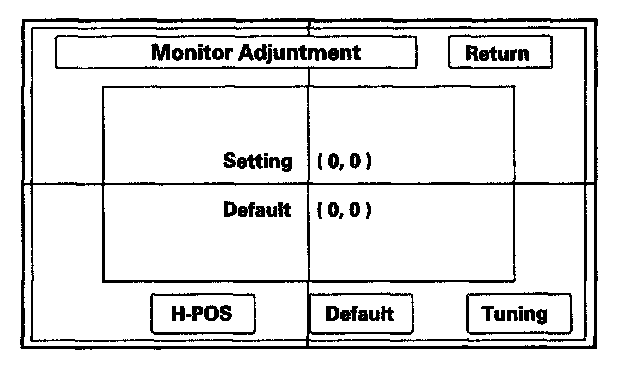
Monitor Adjustment
This allows you to center the navigation display. Use the joystick to move the picture up/down or left/right. It is unlikely that you will ever need to adjust the monitor position. The Default button will reset the display position to factory specifications. The factory default is 0, 0. The H-POS button is for factory use only.
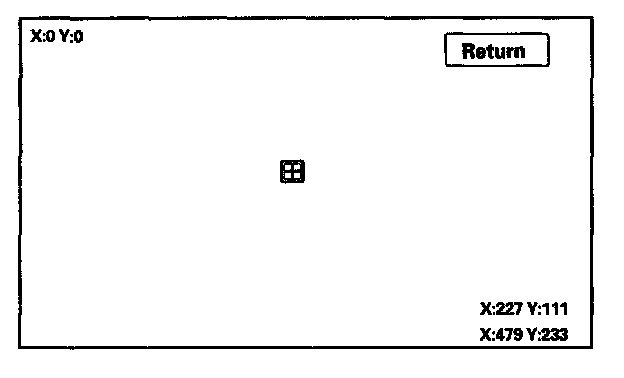
Touch Panel Check
The panel touch sensing system consists of a touch sensitive resistive membrane covering the display. Contrary to other systems using infrared beams, the screen has to be physically touched to make it work. The display has the capability of 479 locations (left to right), and 233 touch locations (top to bottom). The upper left hand corner is position (0, 0) and the lower right hand corner is (479, 233) as displayed. Touching anywhere on the screen will display the coordinate of the location, and cause the place you touch to display a + icon. If any areas of the screen either don't respond, or respond at some other location when touched, then replace the navigation unit.
NOTE: Unlike earlier screens that used infrared sensors, direct sunlight will not affect this test.
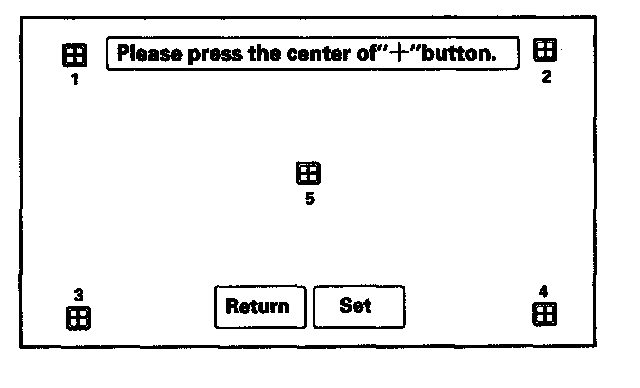
Touch Panel Calibration
The display screen uses a touch sensitive membrane. This means that every location of the entire surface of the display is touch sensitive. This diagnostic allows alignment of these touch locations with the location of the button images on the screen.
Normally this should never need adjustment, and is used only to adjust the touch locations for parallax (the touch locations appear different when viewed at an angle). However, if an adjustment is necessary, follow this procedure:
- The screen consists of the + button icons. Touch the center of the five + buttons in order 1 - 5.
- To store any change you make, touch the Set button.
- Use the Return key to exit the diagnostic.