Oil Pan Installation
Oil Pan Installation1. Remove old liquid gasket from the oil pan mating surfaces, bolts, and bolt holes.
2. Clean and dry the oil pan mating surfaces.
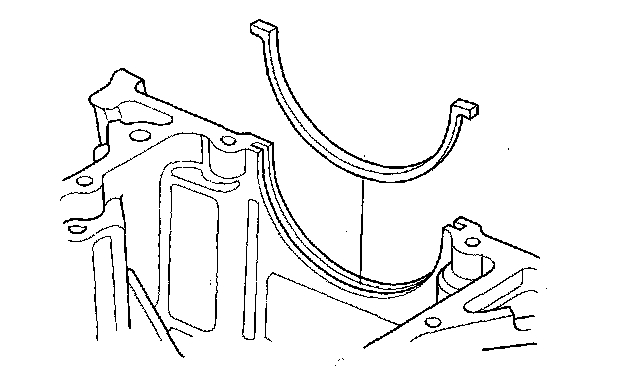
3. Install the new oil pan gasket on the oil pan.
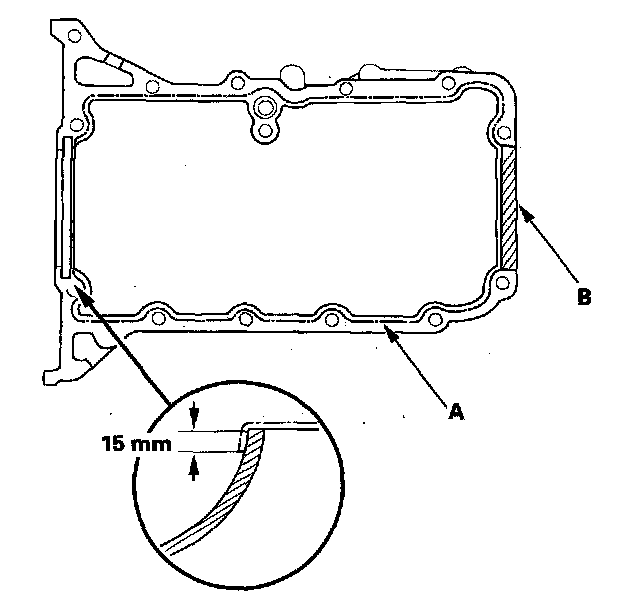
4. Apply liquid gasket, P/N 08718-0001 or 08718-0009, to the engine block mating surface of the oil pan. Install the component within 5 minutes of applying the liquid gasket.
NOTE:
^ Apply a 1.5 mm wide bead of the liquid gasket along the broken line (A).
^ Apply a 5.0 mm wide bead of the liquid gasket to the shaded area (B).
^ If you apply liquid gasket P/N 08718-0012, the component must be installed within 4 minutes.
^ If too much time has passed after applying the liquid gasket, remove the old liquid gasket and residue, then reapply new liquid gasket.
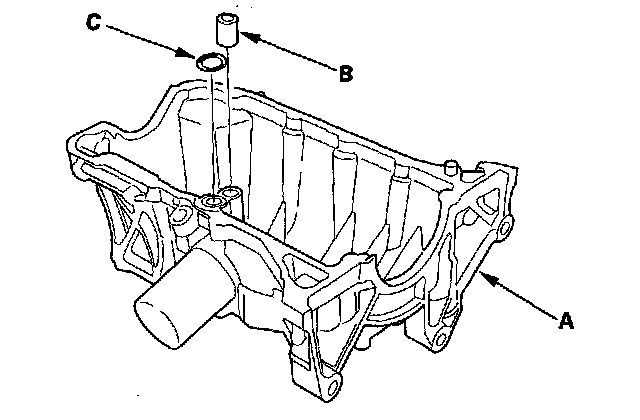
5. Install the oil pan (A) with dowel pin (B) and new O-ring (C).
6. Tighten the bolts in three steps.
NOTE:
^ Wait at least 30 minutes to allow liquid gasket to cure before filling the engine with oil.
^ Do not run the engine for at least 3 hours after installing the oil pan.

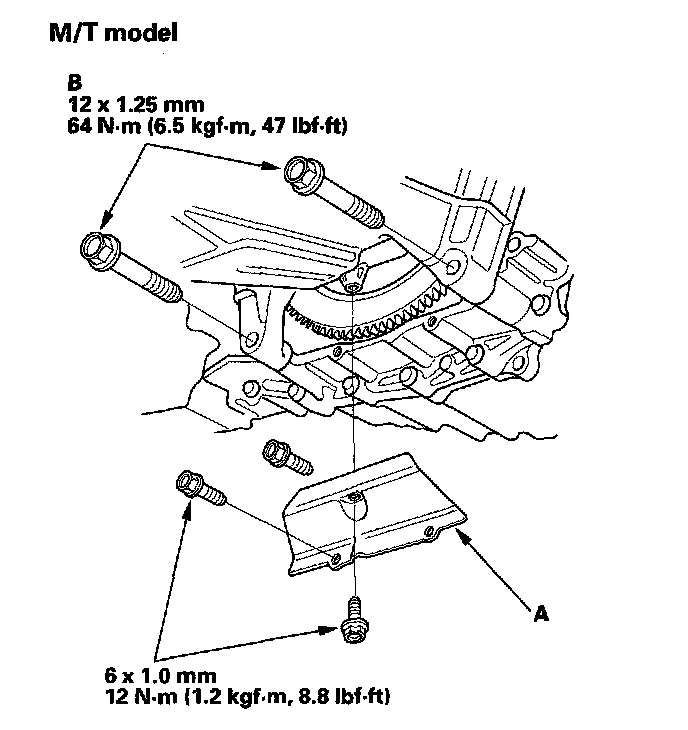
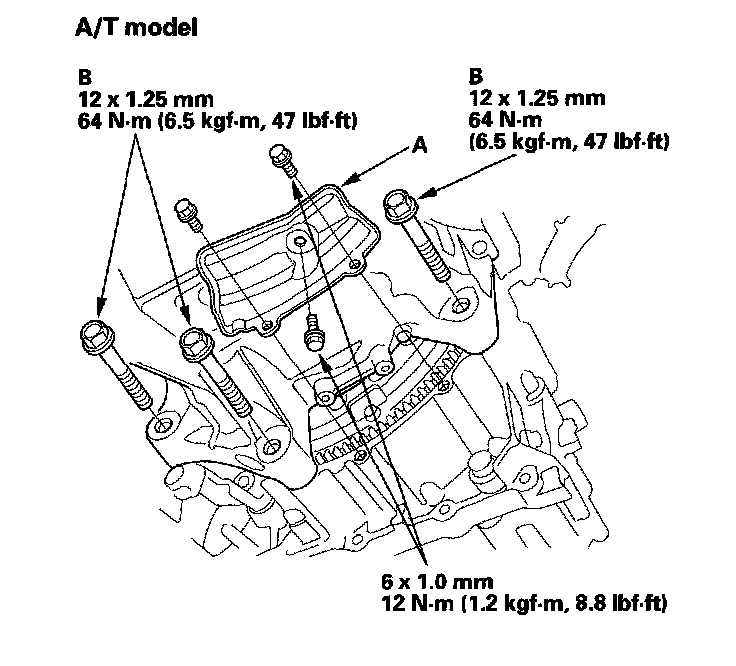
7. Install the clutch cover/torque converter cover (A), and tighten the bolts (B) securing the transmission.
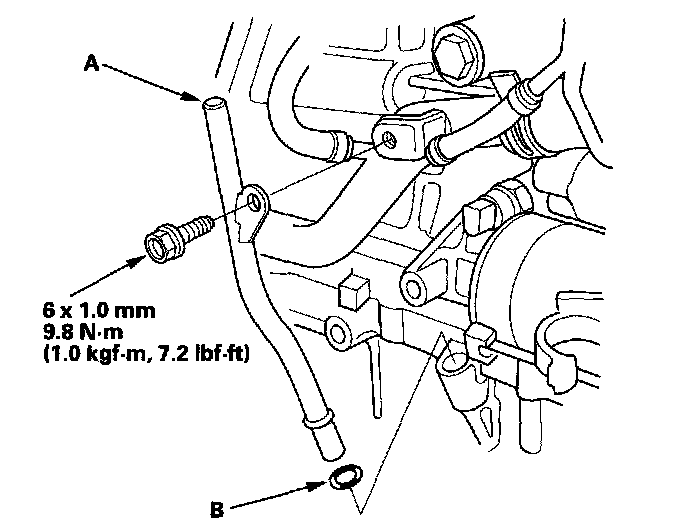
8. Install the dipstick tube (A) with new O-ring (B).
9. M/T model: Install the heat shield.