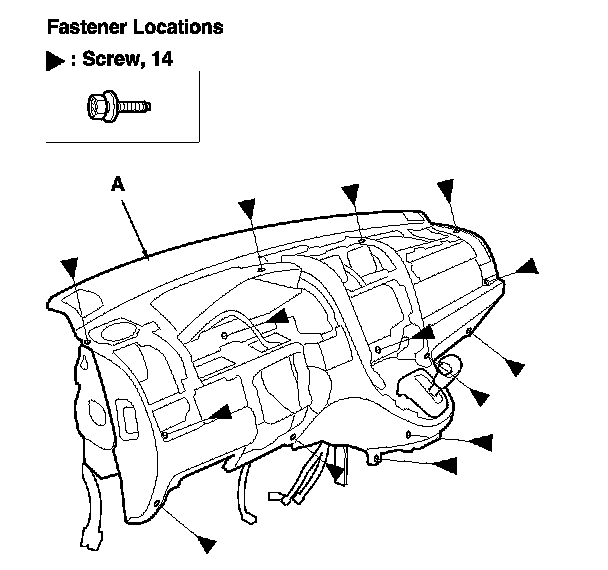
Dashboard Replacement
Dashboard Replacement
Special Tools Required
- KTC trim tool set SOJATP2014*
NOTE:
- Have an assistant help you when removing and installing the dashboard.
- Put on gloves to protect your hands.
- Use the appropriate tool from the KTC trim tool set to avoid damage when prying components.
- Take care not to scratch the dashboard and related parts.
1. Remove these items:
- Center upper dashboard panel Center Upper Dashboard Panel Removal/Installation
- Driver's vent panel Drivers Vent Panel Removal/Installation
- Dashboard center vent Center Upper Dashboard Panel Removal/Installation
- Passenger's vent panel Passengers Vent Panel Removal/Installation
- Passenger's airbag Front Passengers Airbag Replacement
- Glove box Glove Box Removal/Installation
- Instrument panel Instrument Panel Removal/Installation
- Gauge control module Gauge Control Module Replacement
- Navigation display unit, with navigation system Service and Repair
- Audio unit, without navigation system Audio Unit Removal/Installation (Without Navigation)
Driver's side
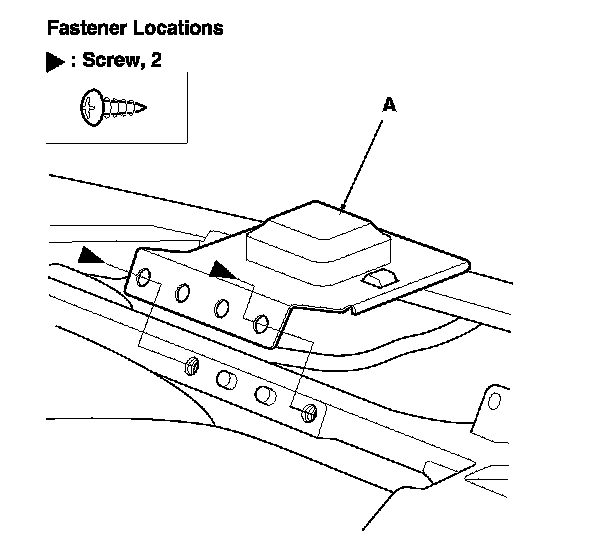
2. Remove the screws, then remove the GPS antenna (A), then pull the antenna out through the hole in the dashboard.
Center
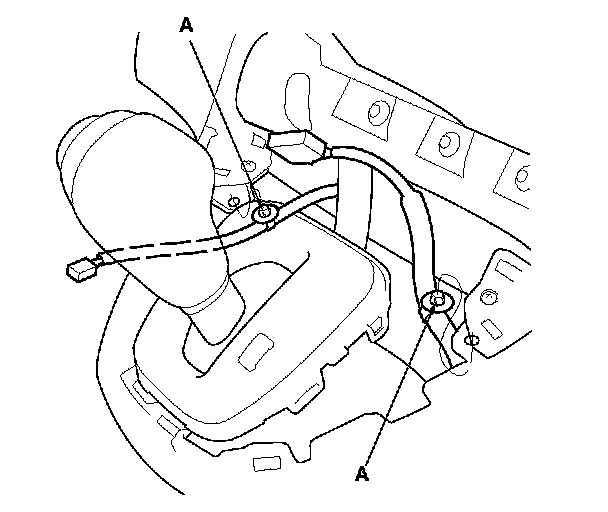
3. Detach the wire harness clips (A) from the shift lever panel opening.
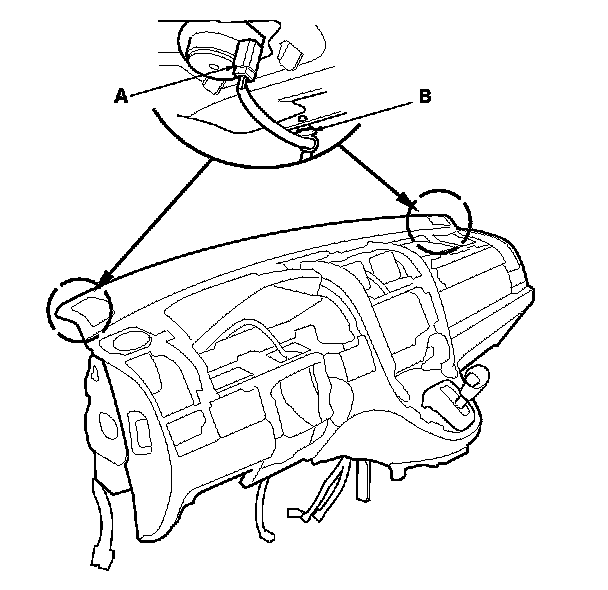
4. From the back of the dashboard, disconnect the tweeter connectors (A), then detach the wire harness clips (B).
Passenger's side
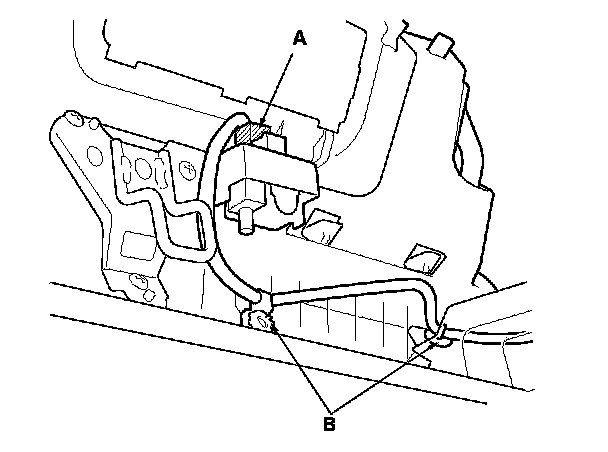
5. Carefully pry the glove box light (A) from the inside of the dashboard, and detach the wire harness clips (B).
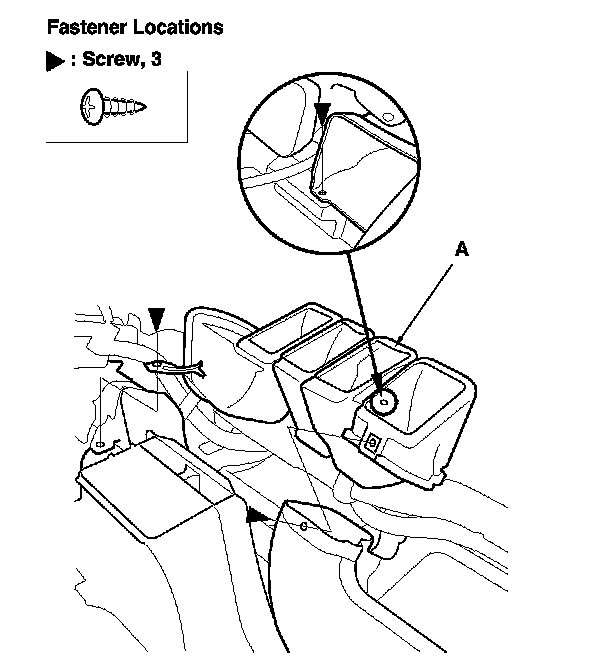
6. From the back of the dashboard, remove the screws and the center joint duct (A).
7. From the front of the dashboard (A), remove the screws.
8. Assemble the dashboard and the steering hanger beam in the reverse order of removal, and note these items:
NOTE:
- Make sure the dashboard wire harness is not pinched.
- Make sure the connectors are plugged in properly.