Steering Column Cover: Service and Repair
Steering Column Cover Removal/Installation
SRS components are located in this area. Review the SRS component locations Locations and the precautions and procedures Technician Safety Information before doing repairs or service.
NOTE: Take care not to scratch the dashboard and related parts.
1. Release the tilt/telescopic lock lever, tilt the steering wheel to fully down, and pull it fully out.
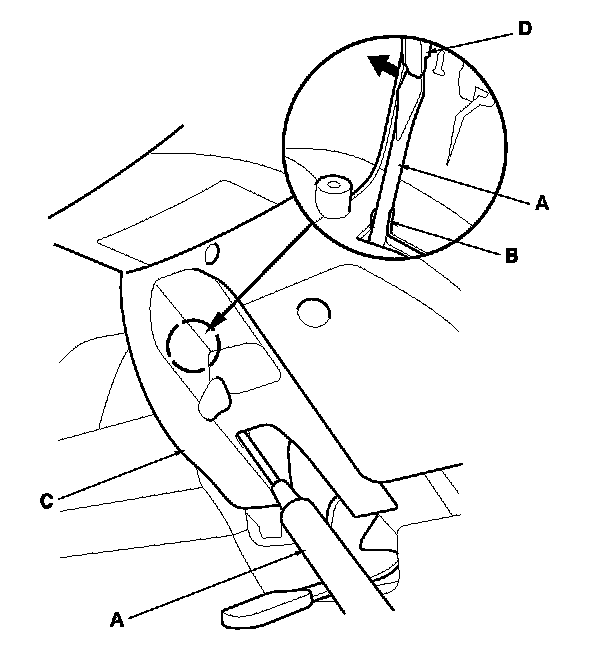
2. Insert a suitable sized screwdriver or equivalent tool (A) along the guide rib (B) into the lever hole in the lower column cover (C).
3. Release the hook (D) located on the left side of the upper column cover. The right side hook on the upper column cover can't be released from the inside.
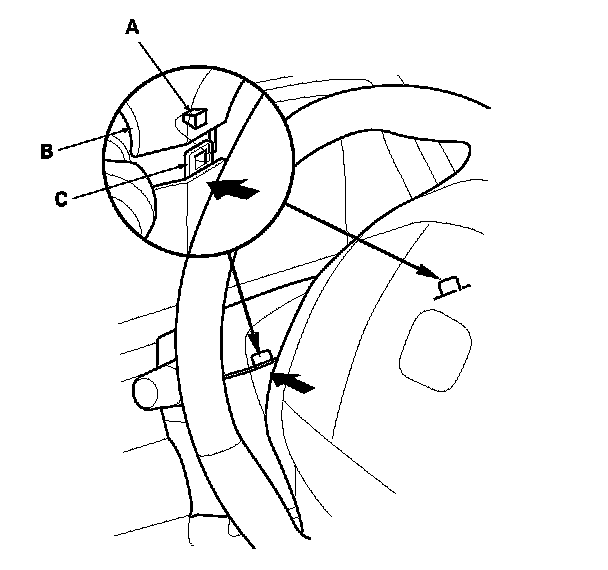
4. Turn the steering wheel to left. Release the pawl (A) of the upper column cover (B) while pushing the lower column cover from the front side. Carefully release the hooks, noting the hooks (C) may break if upper column cover is pulled up too hard.
5. Turn the steering wheel to right. Release the pawl on the upper column cover the same as the step 4.
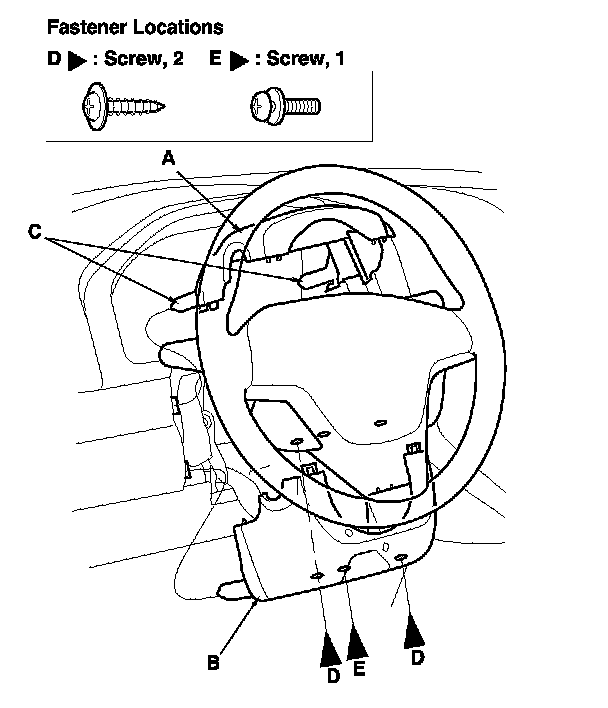
6. Separate the upper column cover (A) from the lower column cover (B) by pulling up it lightly. Release the pins (C) of the cover to remove it.
7. Remove the screws (D, E), then remove the column lower cover.
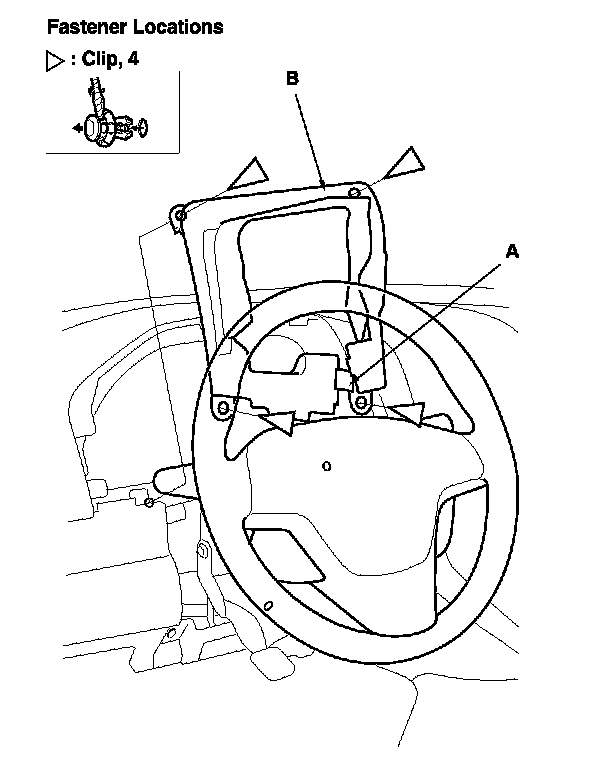
8. If necessary, remove these items, then remove the clips and release the Velcro fastener (A), then pull out the column cover seal (B) from dashboard.
- Instrument upper visor Instrument Upper Visor Removal/Installation
- Dashboard driver's lower cover Drivers Dashboard Lower Cover Removal/Installation
9. Install the cover in the reverse order of removal, and note these items:
- If the clips are damaged or stress-whitened, replace them with new ones.
- Push the clips and the hooks into place securely.