Dashboard Center Vent Removal/Installation
Dashboard Center Vent Removal/Installation
Special Tools Required
- KTC trim tool set SOJATP2014*
NOTE:
- Put on gloves to protect your hands.
- Use the appropriate tool from the KTC trim tool set to avoid damage when prying components.
- Take care not to scratch the dashboard and related parts.
1. Remove the center upper dashboard panel. Center Upper Dashboard Panel Removal/Installation
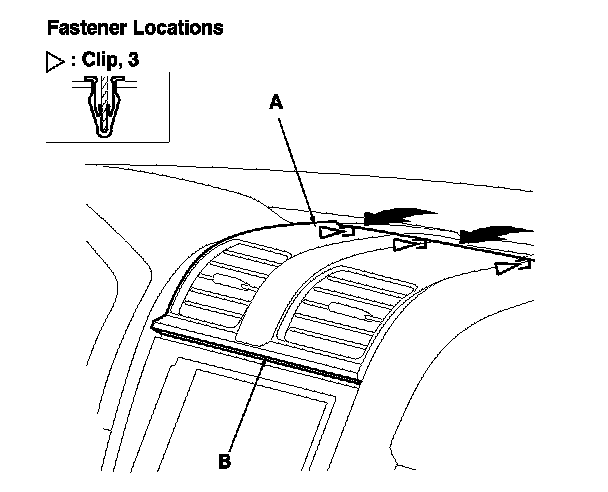
2. From the center upper dashboard panel opening, pull the edges of the dashboard center vent (A) slightly toward you to release the clips.
NOTE: If the vent is pulled upward, the audio panel (B) will be damaged.
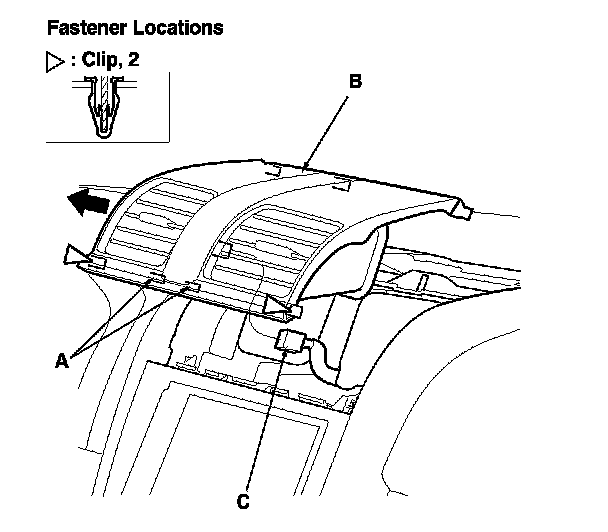
3. Detach the lower clips, and release the hooks (A) by pulling the dashboard center vent (B) back.
4. Disconnect the hazard warning switch connector (C), and remove the center vent.
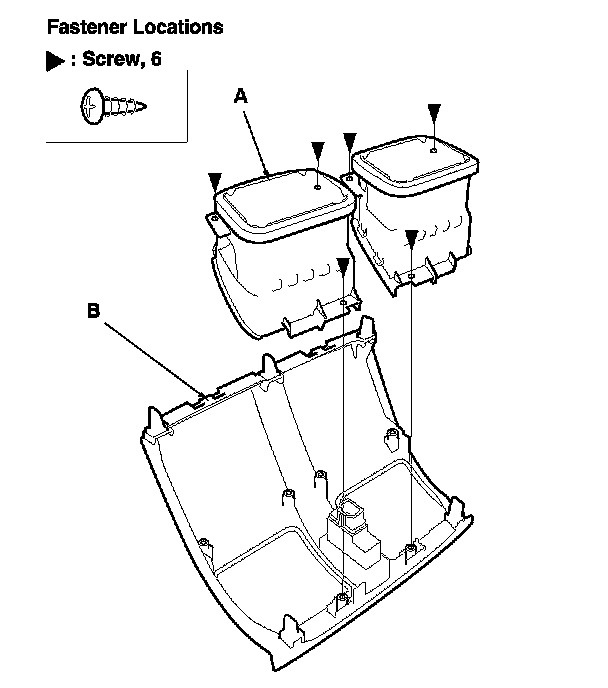
5. If necessary, remove the screws, then remove the center vent (A) from the vent panel (B).
6. Install the center vent in the reverse order of removal, and note these items:
- If the clips are damaged or stress-whitened, replace them with new ones.
- Push the clips into place securely.
- Make sure the connector is plugged in properly.