Part 1
Service Information
Heater Unit/Core Removal and Installation
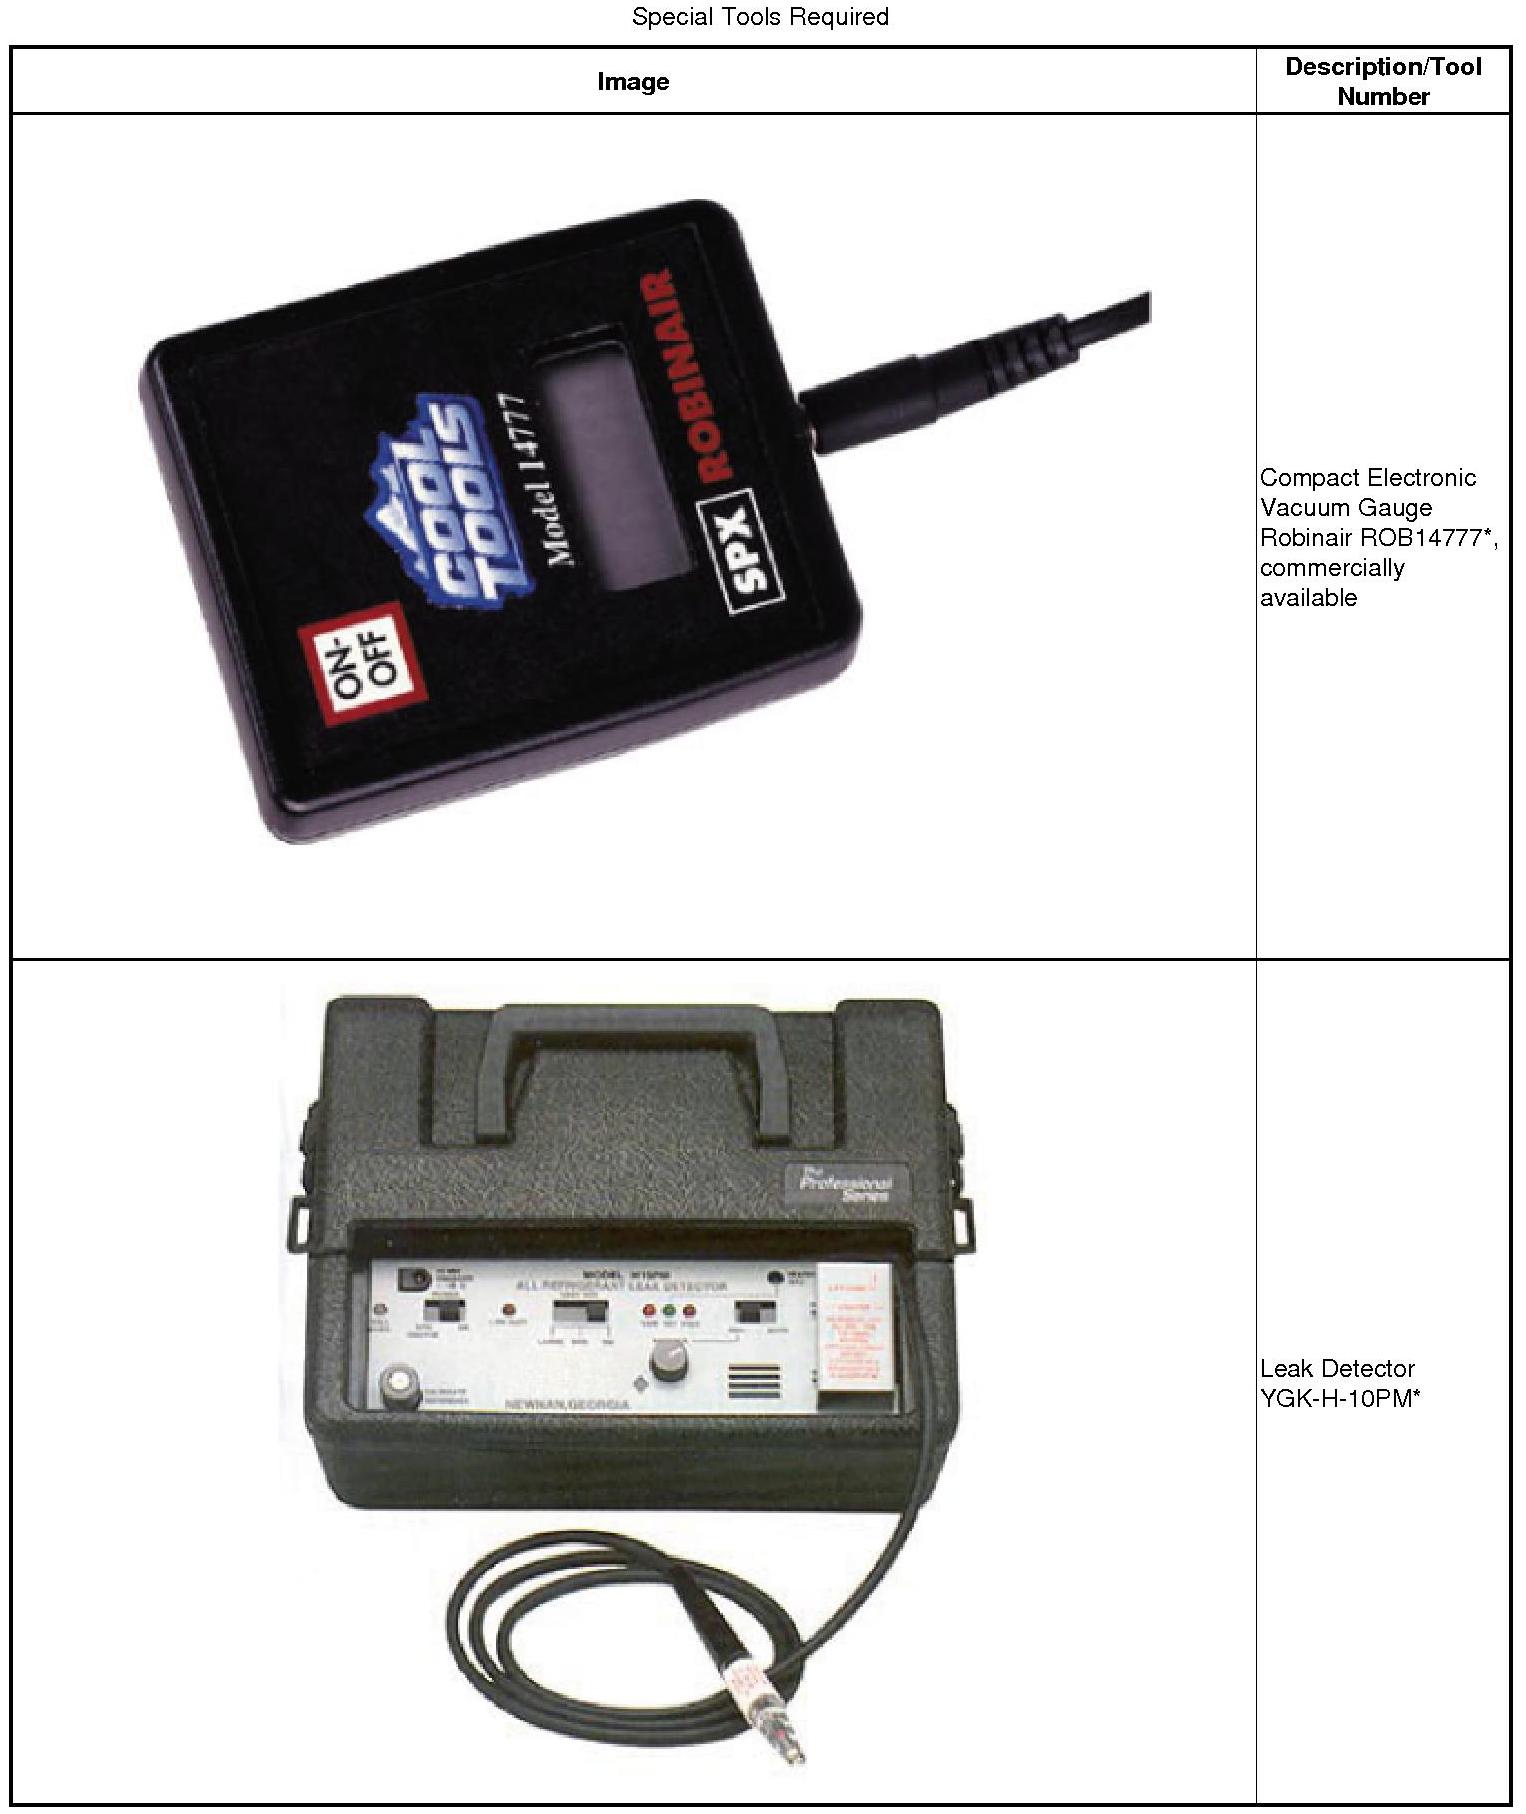
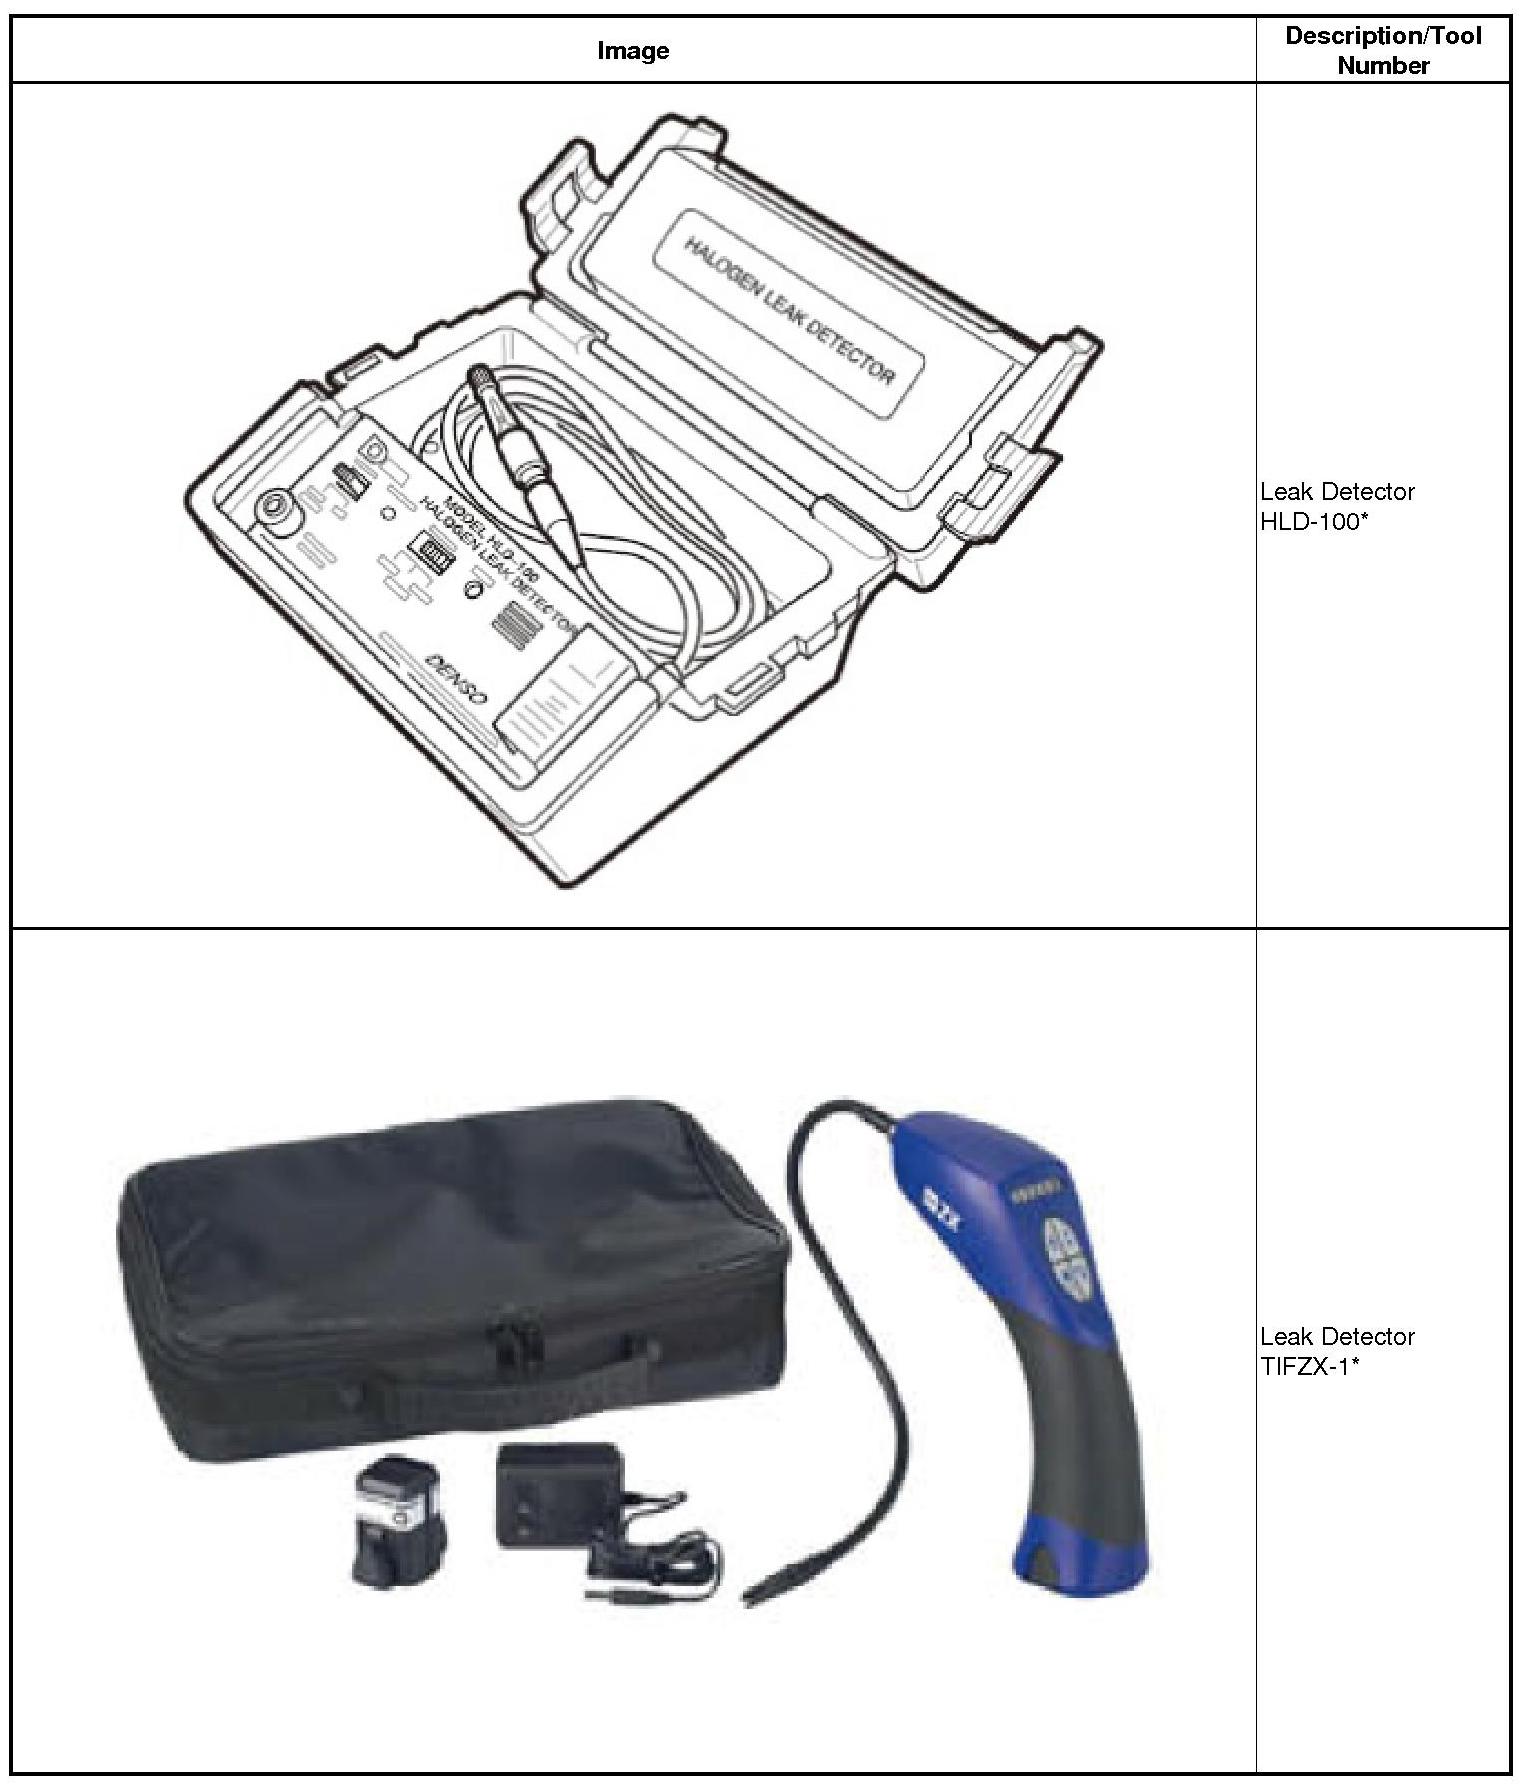
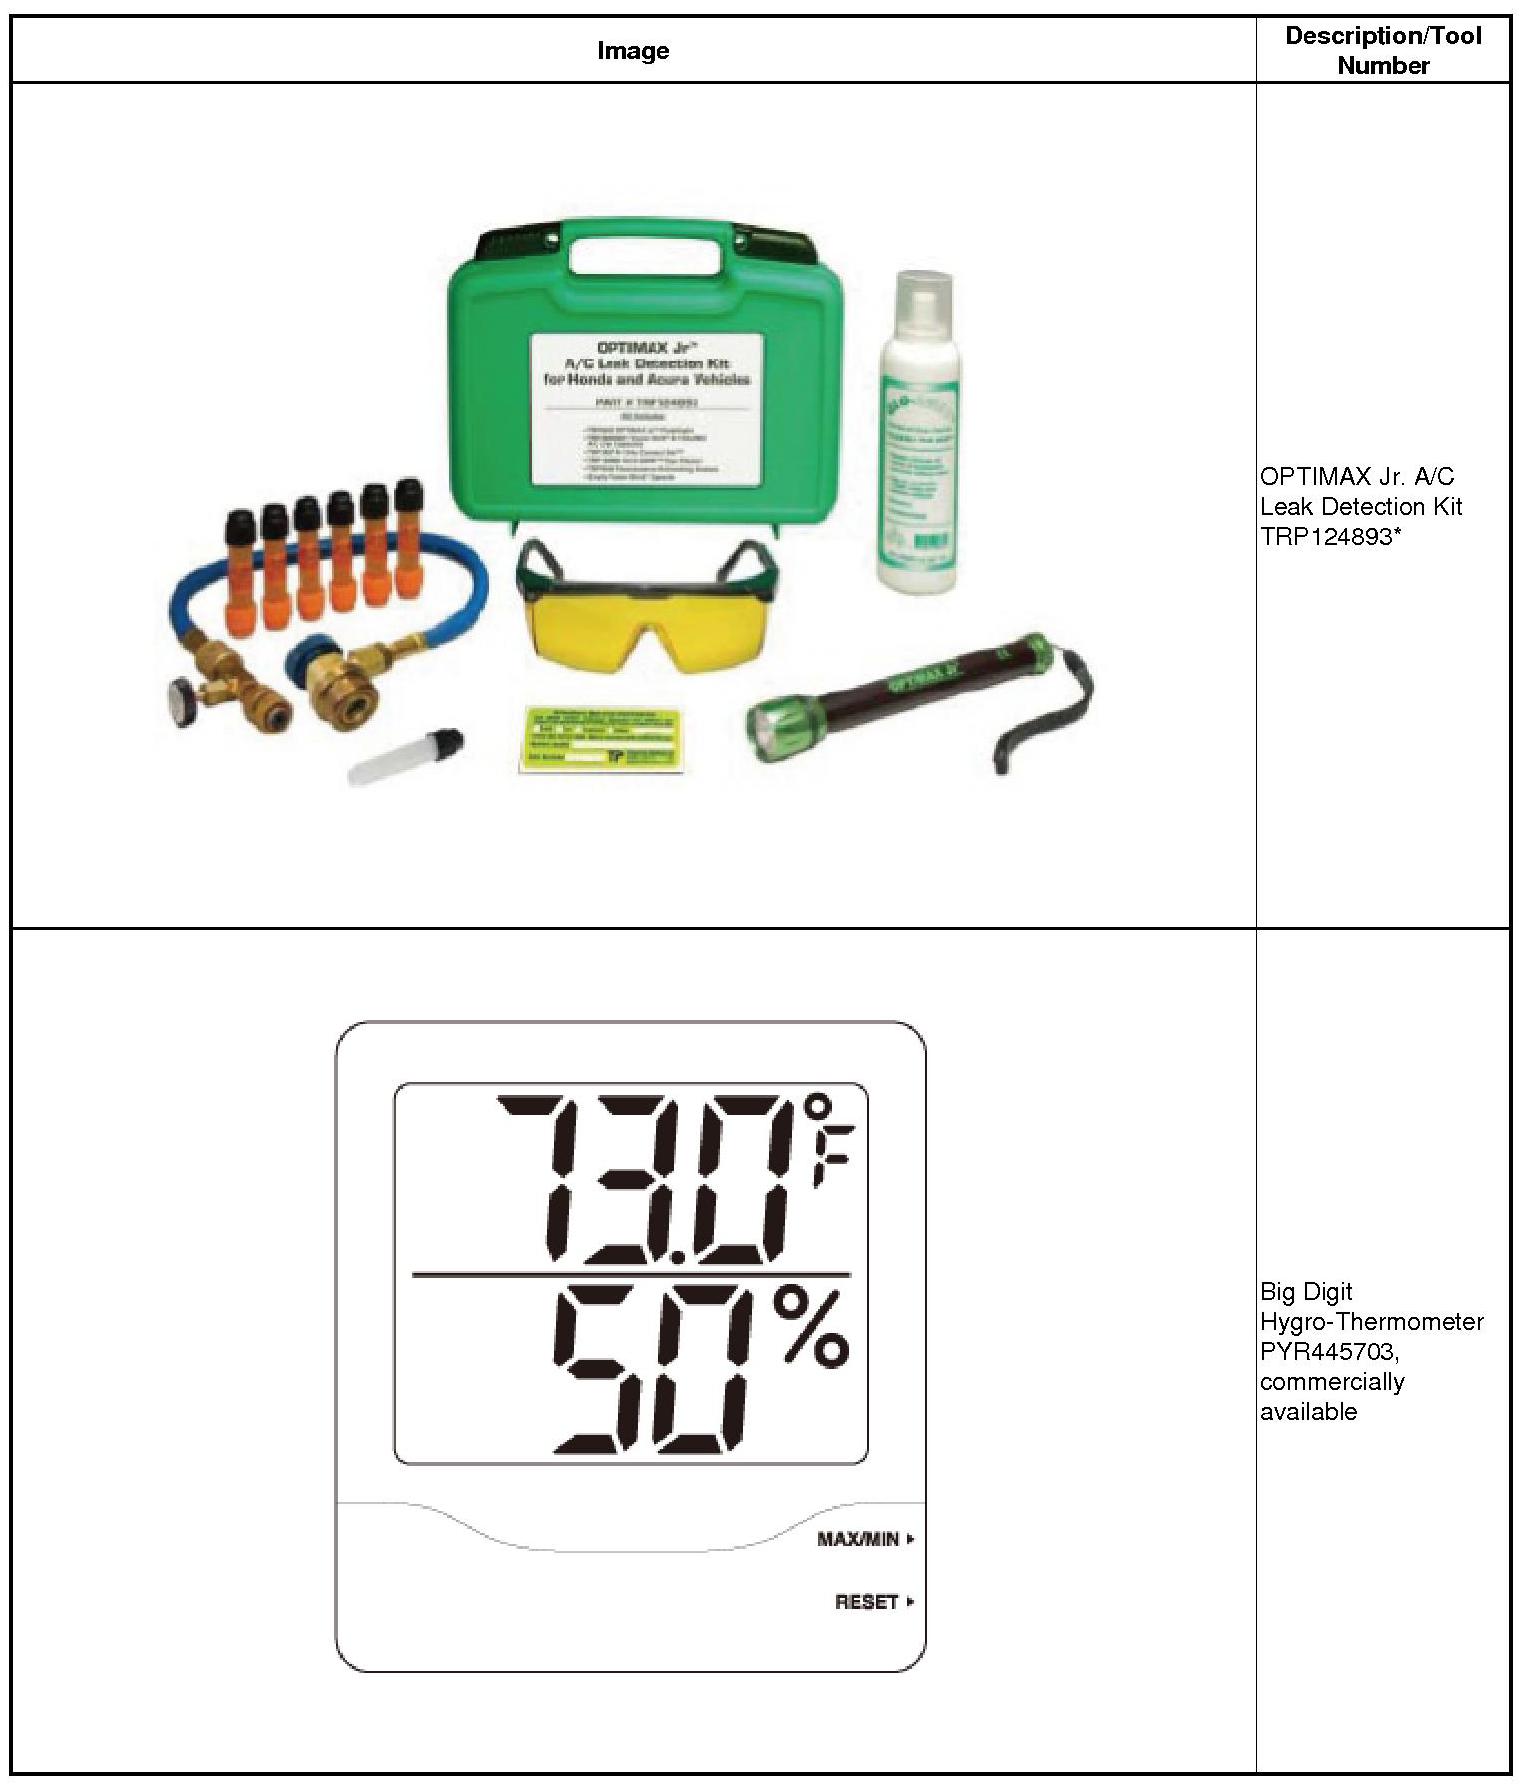
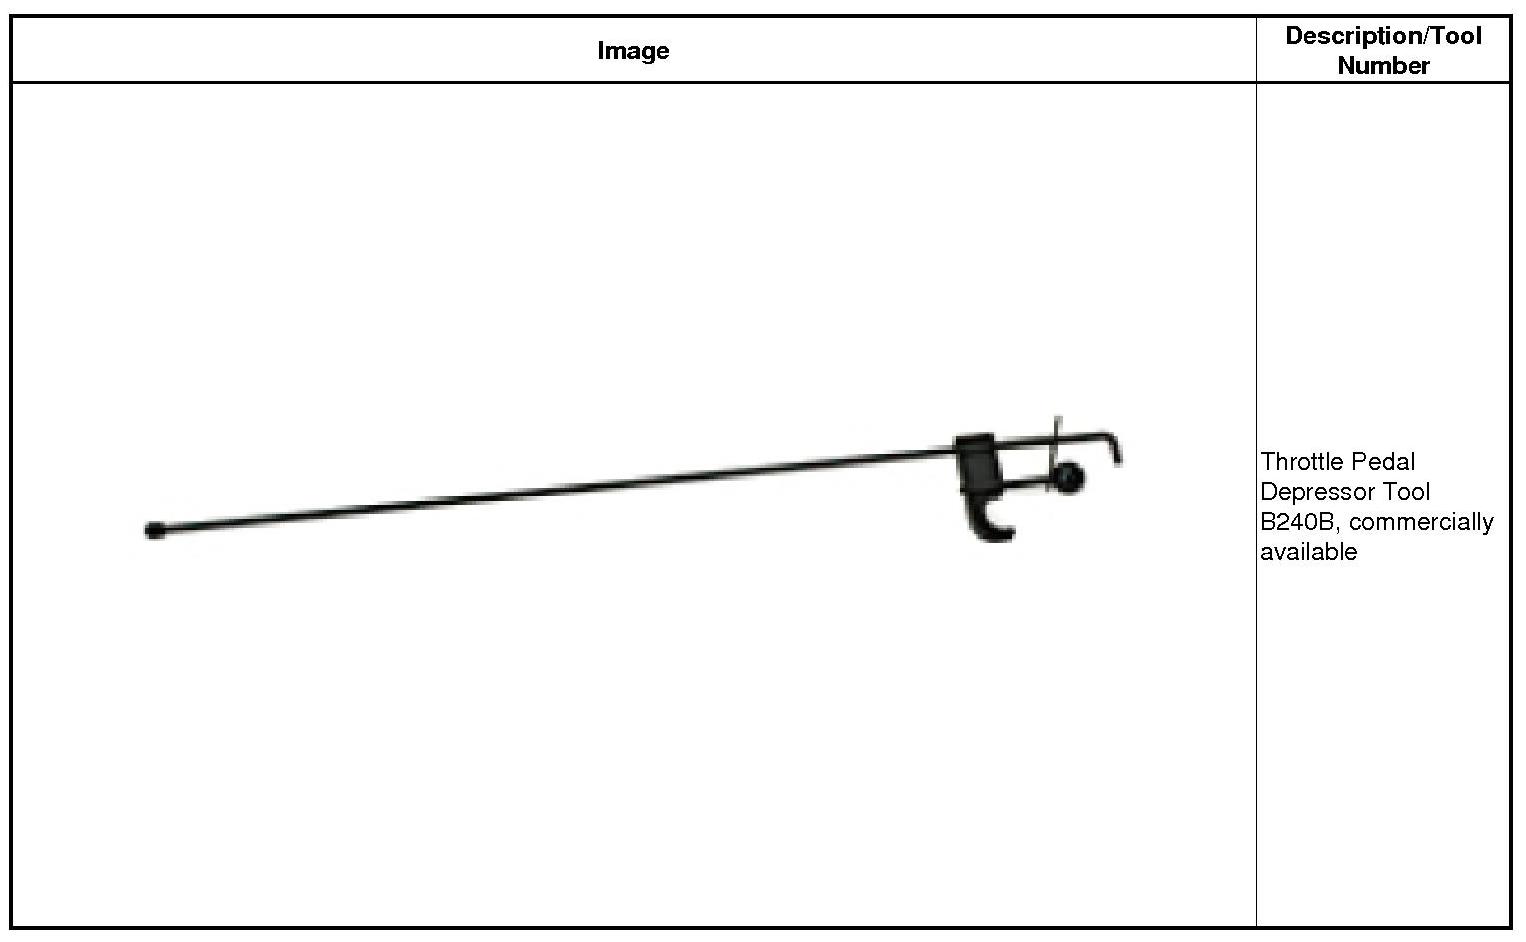
*These tools are available through the Honda Tool and Equipment Program; call 888-424-6857
Removal
CAUTION:
* Air conditioning refrigerant or lubricant vapor can irritate your eyes, nose, or throat.
* Be careful when connecting service equipment.
* Do not breathe refrigerant or vapor.
SRS components are located in this area. Review the SRS component locations Locations and the precautions and procedures Service and Repair before doing repair or servicing.
NOTE:
* If accidental system discharge occurs, ventilate the work area before resuming service.
* Additional health and safety information may be obtained from the refrigerant and lubricant manufacturers.
1. Vehicle - Lift
1. Raise the vehicle on a lift, and make sure it is securely supported.
2. 12 Volt Battery Terminal (SRS) - Disconnection
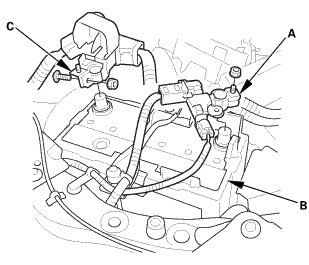
1. Make sure the ignition switch is in LOCK (0).
2. Disconnect and isolate the negative cable and battery sensor (A) from the 12 volt battery (B).
NOTE: Always disconnect the negative side first.
3. Disconnect the positive cable (C) from the 12 volt battery.
4. Wait at least 3 minutes before starting work.
3. R134a Refrigerant Recovery/Recycling/Charging Station - Connection
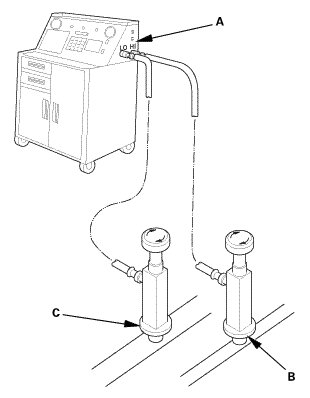
1. Connect an R-134a refrigerant recovery/recycling/charging station (A) to the high-pressure service port (B) and the low-pressure service port (C), as shown, following the equipment manufacturer's instructions.
4. A/C Refrigerant - Recovery
1. Recover the refrigerant from the A/C system.
2. Measure the amount of refrigerant oil removed from the A/C system after the recovery process is completed. Be sure to put the same amount of new refrigerant oil back into the A/C system before charging.